|
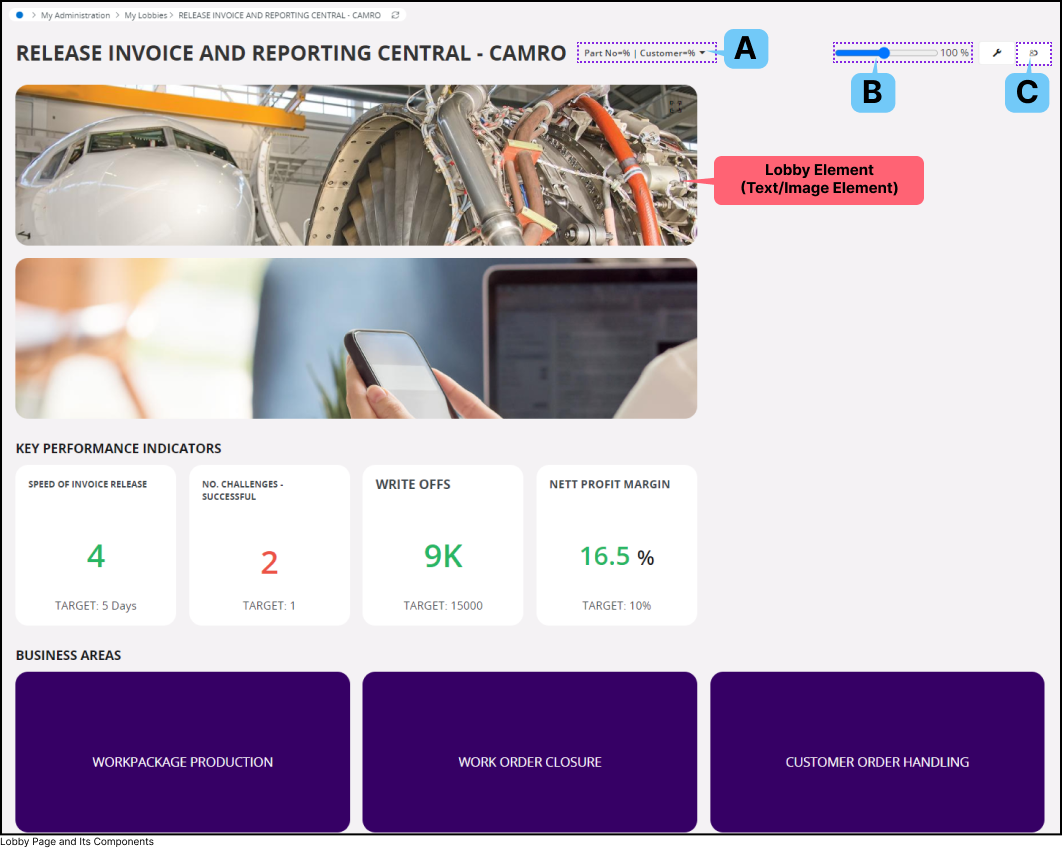
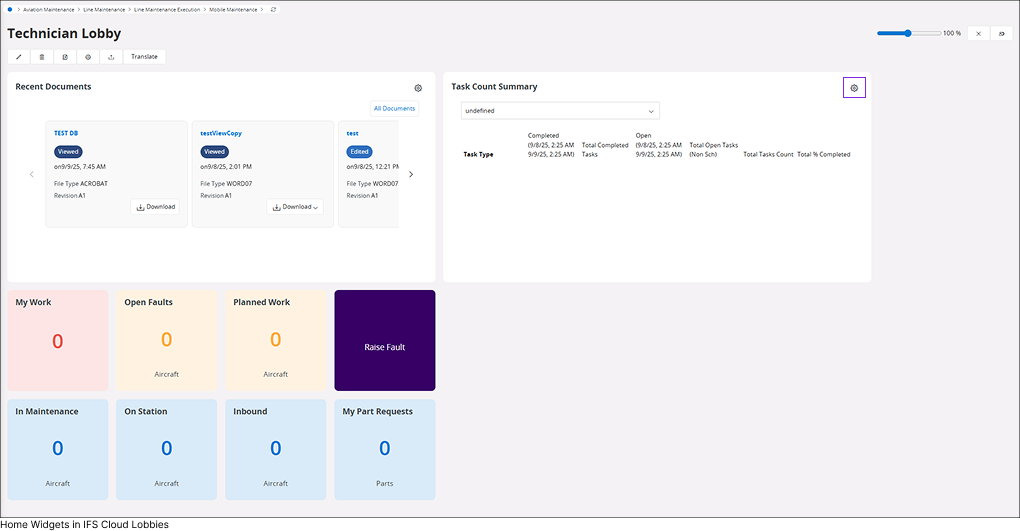
IFS Cloud Web Lobby Page serve as a bridge between IFS Cloud Pages, Lobby Elements, and Data Sources. Within a
Lobby Page, you can find one or more Lobby Elements, each linked to a Data Source. However, there are exceptions to this
rule. For instance, the Links List element may be associated with multiple data sources, while the text/image element does
not rely on any data source.
IFS Cloud Pages display data in a predefined format. Users can navigate to different pages within IFS Cloud or external websites
through links embedded in the Lobby Elements. Each Lobby Element can be configured to present the underlying data in various ways. However, it's important to note that Lobby Elements can only display data
available from their connected Data Source.
|
|
A. |
Page Parameters |
|
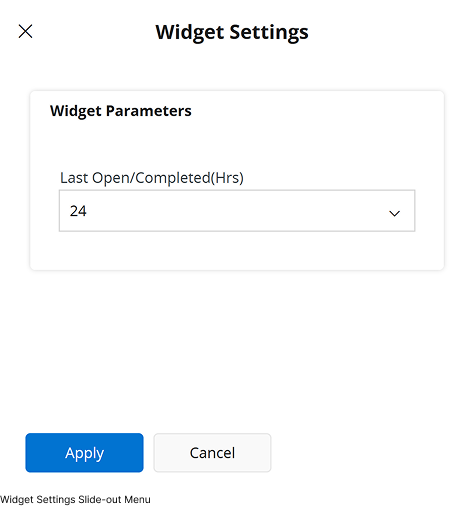
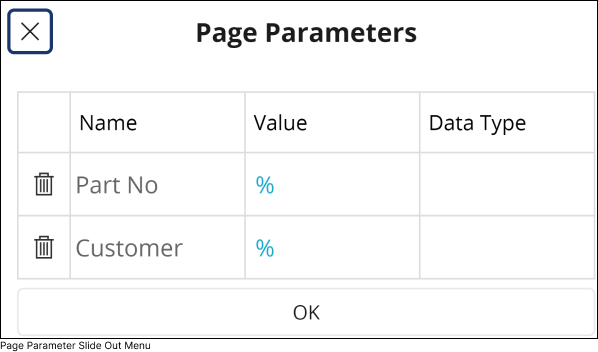
Page parameters are used to configure data visualization within lobby elements. Admin users have the ability to set
up page parameters at the Data Source level. Once configured, these parameters are displayed as input fields within the Page Parameter
slide-out menu.
 |
|
Click on the Page Parameter(A) icon to access Page Parameters slide out menu.
You can input a parameter value into the field and then click OK to trigger a refresh for all lobby elements dependent on the parameter.
This action ensures that the lobby element renders the data according to the parameter configuration.
|
|
|
B. |
Zoom In / Out |
|
Utilize the Zoom in/out(B) slider to adjust the zoom level of lobby elements within the boundaries of your screen size.
|
|
C. |
 |
|
Personalize |
|
If you want to create a personalized Lobby Element or edit the one you've created, simply click on the
Personalize (D) button, and follow the instructions given.
|
|
|
|
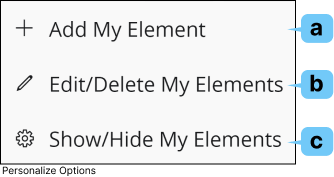
a. |
 |
|
Add My Element |
 |
|
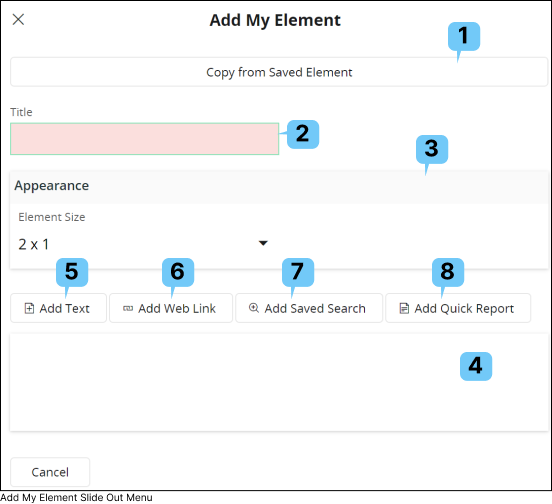
To create a new personalized Lobby Element, click on the Add My Element(a) button to open Add My Element slide out menu
|
|
|
1. |
Copy From Saved Element
|
 |
|
If you have previously created Custom Elements, you can select one of those Custom Element and modify its content to create a new custom
element using Copy from Saved Element(1) option.
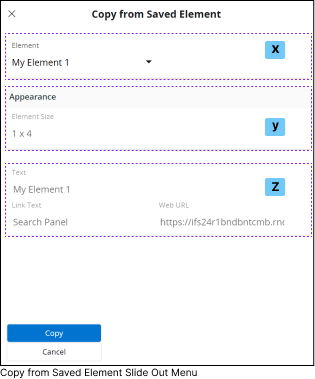
Once you click on the Copy from Saved Element(1) button, it will open the Copy from Saved Element slide out menu.
- Select the Element you wish to copy the content from, using the drop down menu in Element(x) section.
- Appearance(y) section shows the selected custom element size
- Final section(z) shows the properties within the Element
After selecting a custom element, click the
Copy button to add a copy of your previously created element to the
Add My Element slide-out menu for editing.
|
|
|
|
2. |
Title
|
|
Provide a title for the Custom Element you are creating by adding relevant context to this field.
|
|
|
3. |
Appearance
|
 |
|
Define the appearance for the Custom Element you are creating by utilizing the options in the Appearance section.
To define a size for the Element, click the Element Size drop-down menu and select any of the available size options.
|
|
|
|
4. |
Element Content
|
|
Element Content(4) section consists of all the content you have added to the Custom Element using options (5),(6),(7), (8).
|
|
|
5.
|
 |
Add Text |
 |
|
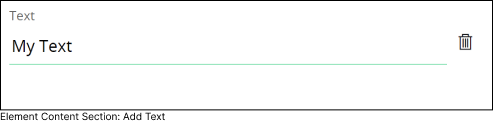
Use this option to add text for the Custom Element. Upon selecting this option, a new entry will appear in the
Element Content(4) section as demonstrated below.
|
|
|
6.
|
 |
Add Web Link |
 |
|
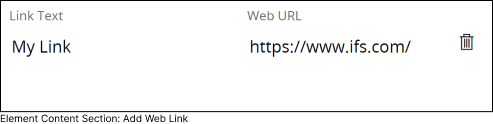
Use this option to add link for the Custom Element. Upon selecting this option,
a new entry will appear in the Element Content(4) section as demonstrated below.
|
|
|
7.
|
 |
Add Saved Search |
 |
|
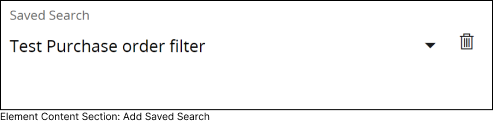
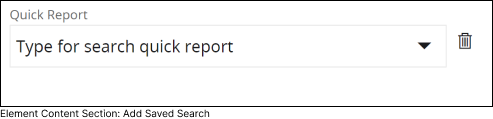
Utilize this option to add a saved search for the Custom Element. Upon selecting this option,
a new entry will appear in the Element Content (4) as shown below. This entry includes a drop-down menu
where you can select a saved search from the list. All your saved searches will be available in the drop-down menu.
|
|
|
8.
|
 |
Add Quick Report |
 |
|
Utilize this option to add a generated report for the Custom Element. Upon selecting this option, a new entry will appear in the Element Content (4)
as shown below. This entry includes a drop-down menu where you can select a quick report from the list. All your generated quick reports will be available in the drop-down menu.
|
|
|
|
b. |
 |
|
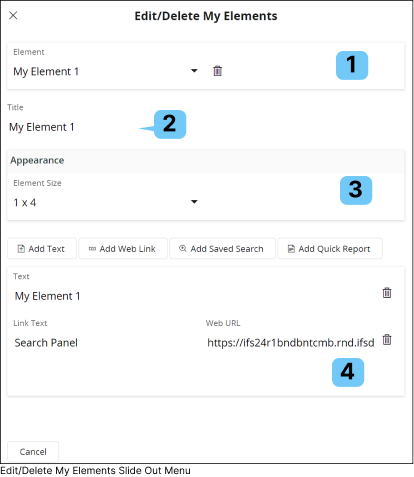
Edit/Delete My Elements |
|
To modify any Custom Element you have create, click on the Edit/Delete My Elements(a) button.
This will open Edit/Delete My Elements slide out menu
|
|
|
|
1. |
Element Selection
|
|
The Element Selection (1) section comprises a drop-down menu containing all the custom elements you have created over time.
By default, the most recently created element will be selected in this drop down. Choose any custom element from the drop down menu to modify it.
|
 |
|
Click the Delete button next to the Custom Element selection drop-down to delete the selected Custom Element.
|
|
|
|
2. |
Title
|
|
Modify the title of the Custom Element you have selected by adding relevant context to this field.
|
|
|
3. |
Appearance
|
|
|
|
Modify the appearance of the Custom Element you have selected by utilizing the options in the Appearance section.
To modify the size of the Element, click the Element Size dropdown menu and select any of the available size options.
|
|
|
|
4. |
Element Content
|
|
Modify any of the content within Element Content(4) section as per your requirement.
|
 |
|
Once you have made any modifications to the Custom Element, a Save button will appear for you to save the changes you have made.
|
|
|
|
|
c. |
 |
|
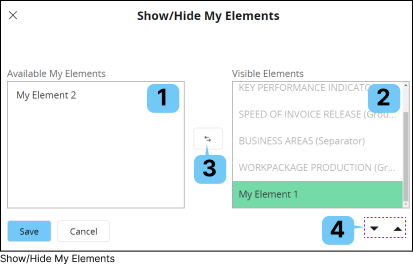
Show / Hide My Elements |
|
If you wish to show/hide any Custom Elements you have created, you can use the Show/Hide My Elements(c) option.
|
|
|
|
1. |
Available My Elements
|
|
This section comprises all the Custom Elements created by you that have not been used in the current Lobby Page.
If you wish to hide any Custom Lobby element, you should move it to the Available My Elements(1) section.
|
|
|
2. |
Visible Elements
|
|
This section includes all the Elements/Custom Elements that are currently used in the Lobby Page.
If you wish to make any Custom Lobby element visible, you should move it to the Visible Elements (2) section.
|
|
|
3. |
 |
|
Visible Elements |
|
To move a Custom Element from the Available My Elements(1) section to the Visible Elements(2) section or vice versa,
select the Custom Element within any section, and then press the Move(3) button to transfer it to the other section.
|
|
4. |

 |
|
Move Up/Down |
|
To change the display order of the Custom Element within the Lobby page use the
Move Up/Down button(4).
|
|
|
|