Scheduling - Mapping
The Mapping tab offers a geographical view of schedule data, for a specified date range.
The details displayed on the map will dynamically update as the schedule updates.
Colours on the map correspond to those used in the Activity and Resource views.
Warning
For the mapping tab to be available, this feature must be enabled and a map provider must be set up by the administrator. If Bing maps is used as the provider, costs will be incurred. Please ensure that you are using this feature appropriately.
Note
If your map is configured to use a provider that is being retired (for example Bing maps, or Esri without an API key), a banner is shown at the top of the map indicating that the provider is deprecated and the date after which it will stop working. Please contact your administrator to switch to a supported provider. You can dismiss the banner for the current session by clicking the close button.
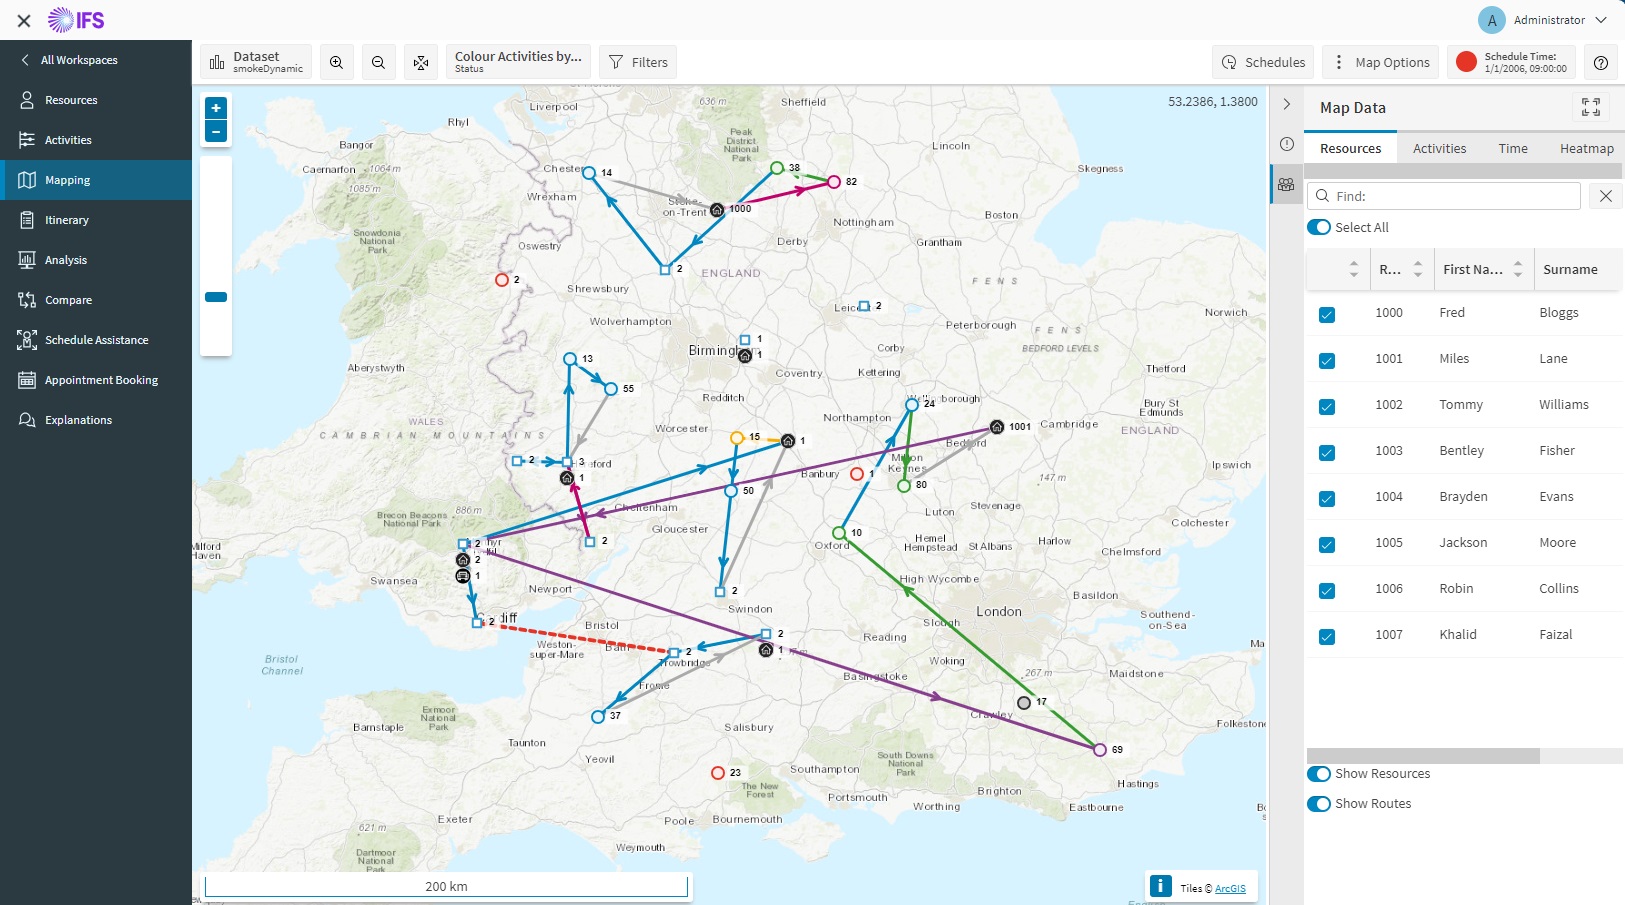
Using the Map
To zoom into or out of the map:
- Use the zoom slider bar on the left of the window or scroll your mouse wheel up to zoom in and down to zoom out.
- You can also double click on a specific area to zoom in.
To display resource and activity information from the map:
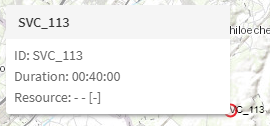
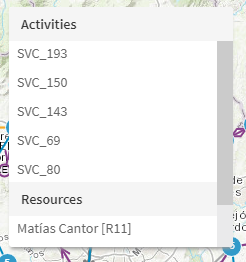
- Hover the mouse pointer over an activity or resource to display its various details in a tooltip:
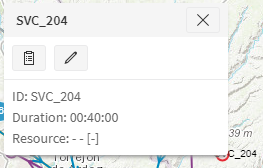
- Click on a resource or activity to bring up context menu where you can view details and do various actions like make changes.
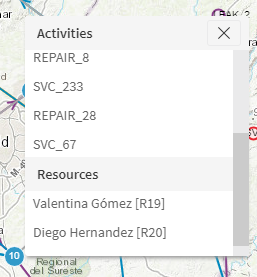
- Multiple resources and activities at the same location will all show on one tooltip rather than individually.
Note
The resource and activities pin tooltips on the map can also show customised details which can also be reordered, hidden or shown by user preference. Fields with no value are not displayed.
Turn-by-turn directions
Turn-by-turn directions can be viewed for an individual travel in the Mapping screen.
Warning
For Turn-by-turn directions to be available, this must be enabled and a map provider must be set up by the administrator. Currently Bing maps is the only supported provider. Costs will be incurred. Please ensure that you are using this feature appropriately.
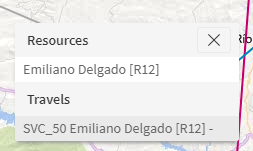
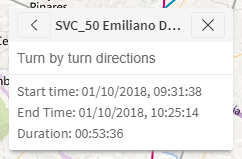
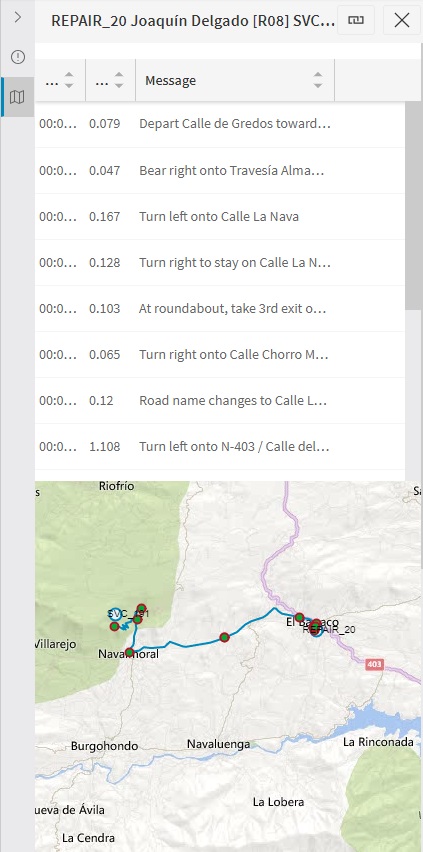
With the parameters set, you can view travels by clicking on the travel line on a route. This will open a menu that gives the option of viewing directions for the individual travel that was selected. Selecting this option opens the Turn-By-Turn Directions right hand panel which displays the directions on a map, with instructions. Selecting an instruction from the list will highlight the route segment on the map.
Note
Turn-by-turn directions considers real time travel information and, therefore, may provide different results to the plan travel displayed on the Gantt. This is not a reason for concern, it merely highlights the different methods of calculating the travel details. If you wish to include real time travel information in the schedule results please consult the Real Time Travel options for the DSE.
Map Data
The Map Data right hand panel has tabs that you can use to control the display of the map.
Resources
There are Options to show resources and routes. Select which resources are shown by checking the boxes in the resource picker.
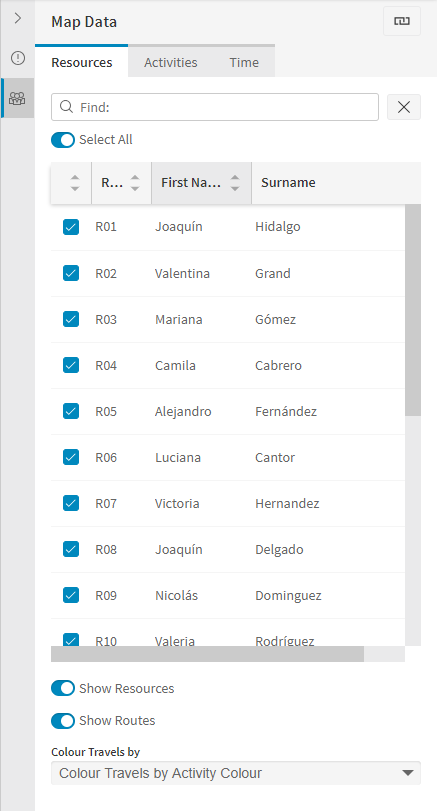
- Activities are shown as circles in the colour of their current status or value, as selected in the "Colour Activities by..." picker in the top bar.
- Travels in the current plan can be coloured in several ways as indicated in the "Colour travels by" picker in the resources tab.
- If travel is coloured by "Activity Colour", then they use the same colouring as selected in the "Colour Activities by..." picker in the top bar.
Activities
The activities tab allows the use to adjust how activities are shown on the map.
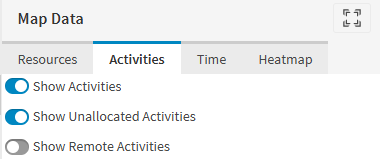
This has the following options:
- Show or hide all activities (default show)
- Show or hide unallocated activities (default show)
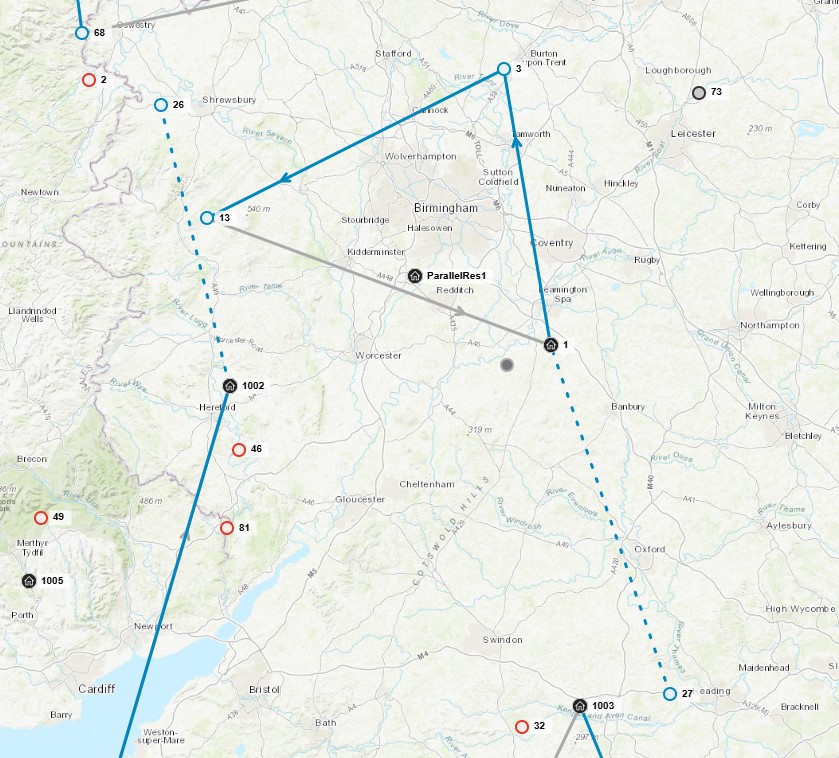
- Show or hide remote fulfillment activities (default hide). Remote fulfillment activities are those where the resource does not need to attend the location to carry out the work. They are shown with a dashed line on the map, originating from the resource's actual location when carrying out the work.
Time
Allows selecting a period of time for which resource routes are shown. 'Link to Schedule Time' toggle lets the user to decide whether to base the time filter on schedule time. By linking the time filter to schedule time the user can choose from 'First day', 'Two days', 'One week' or use the form controls to select a custom day range to get added to the schedule time.
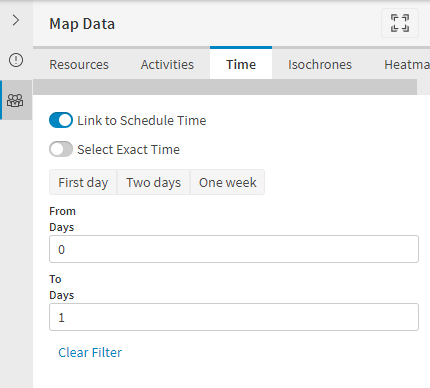
By switching on 'Select Exact Time' the user is allowed to select a custom day range together with an exact time using hours, minutes and seconds form controls.
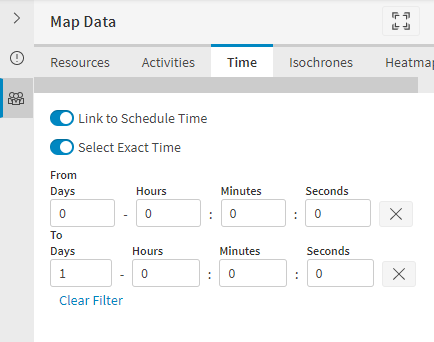
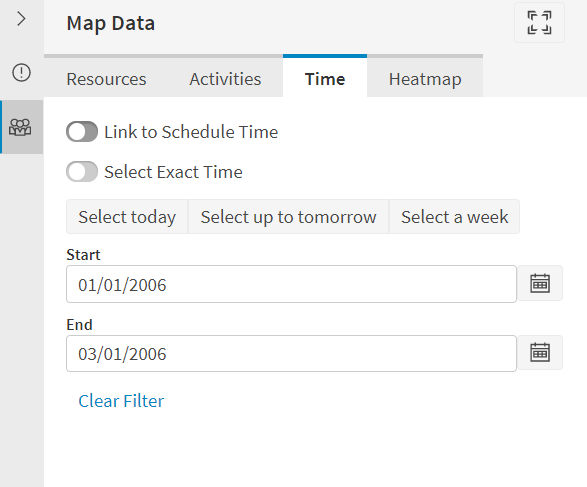
By switching off 'Link to Schedule Time' the user is allowed to select an exact period from 'Select today', 'Select up to tomorrow', 'Select a week' or use the form controls to select a custom period.
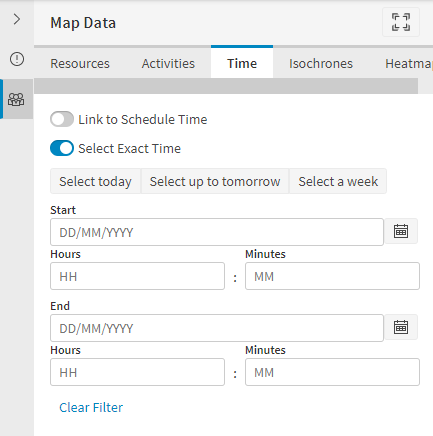
By switching on 'Select Exact Time' the user is allowed to select a custom period together with an exact time using hours and minutes form controls.
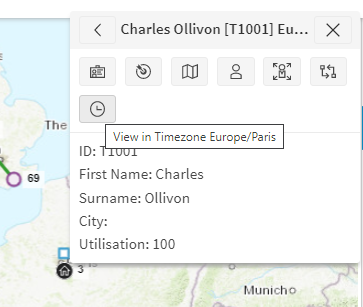
Resources can have a home timezone specified. If the resource timezone is different to the timezone you are using the view the schedule, the menu will include a button to switch to the correct timezone.
Isochrones
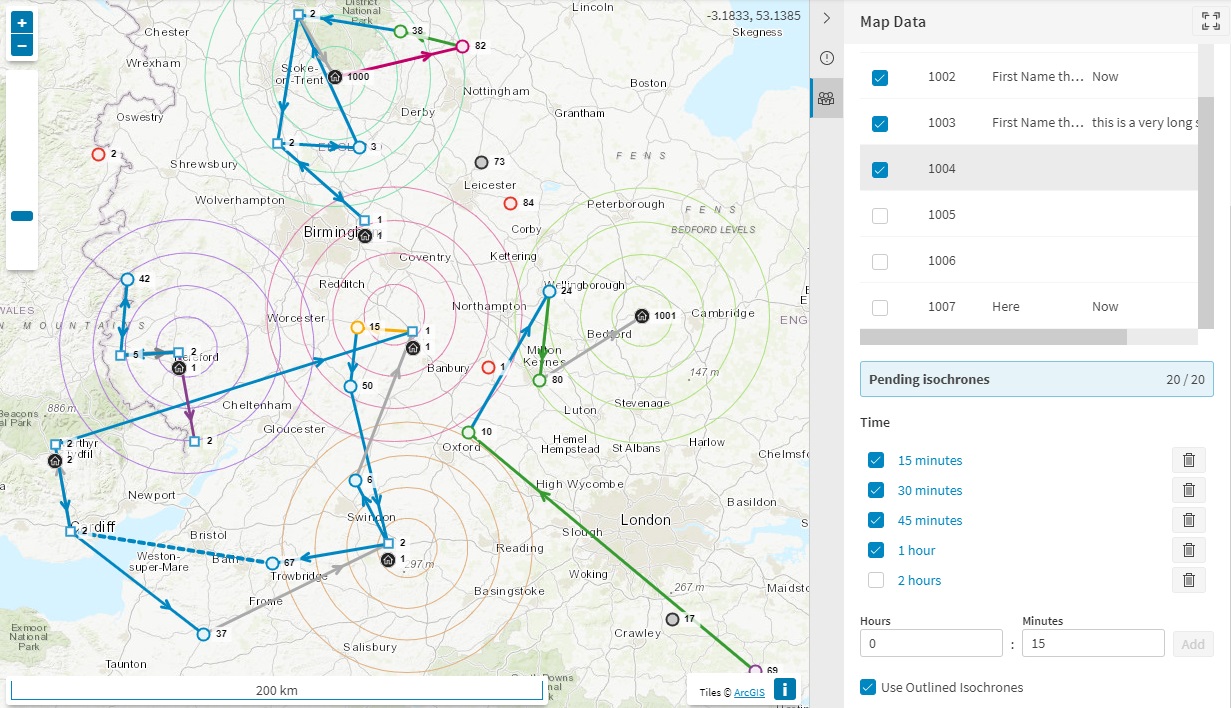
An isochrone shows the area on the map that can be reached from the home location in a specified time. Isochrones are only available for dynamic data sets, and when you have permission for the isochrone viewer.
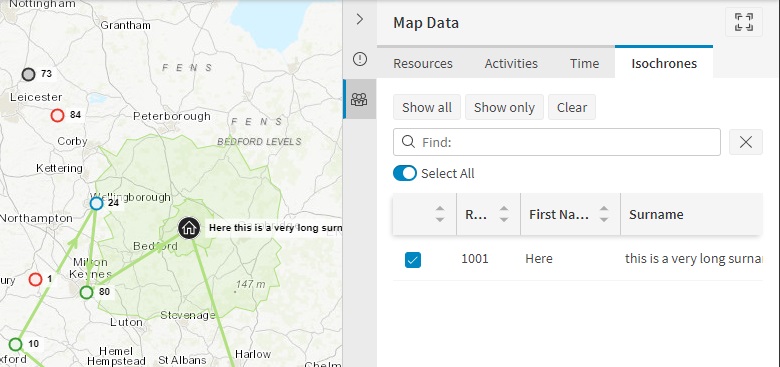
The resource picker on the isochrone tab shows the resources that are currently displayed on the map (the ones selected in the "Resources" tab). Select the resources you are interested in or choose select all. Below the resource picker is a list of journey times. Select the times you are interested in. An isochrone will be generated for each resource and each journey time. If the travel calculation mode configured by your administrator is "Straight line" then the isochrone will be a circle. If another travel calculation mode is selected an isochrone will be generated and displayed when it is ready. A circular isochrone based on a straight line calculation will be shown while the real isochrone is being generated. Generating isochrones can take some time so expect to see circles which are replaced by the real isochrones as they come available.
Warning
If a large number of resources and/or large number of isochrones are selected then PSO will take some time to generate the resulting isochrones. This will impose a burden on the HTM, the server and the client which may impact the performance of the system. It is strongly recommended that only a few localised resources are selected each time.
The "Show All" button will show all resources in the map and the isochrone resource picker. This is the same as going to the "Resources" tab and clicking show all. The "Show Only" button means that the resources not currently selected for isochrones will not be displayed in the map either. This is the same as going to the "Resources" tab and selecting only those resources. The "Clear" button will clear all the selection of resources and journey times for isochrones.
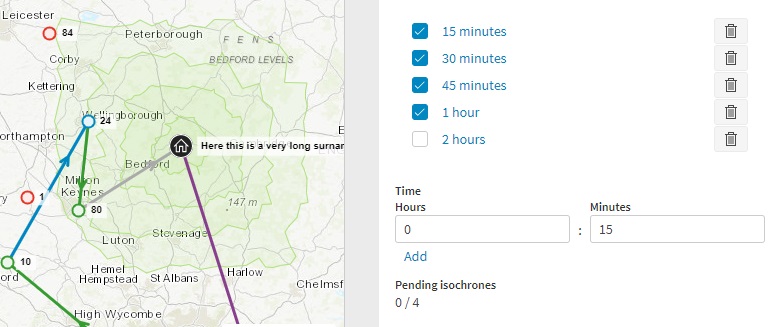
A range of journey times are offered initially. These can be configured by your administrator. You can remove journey times by clicking the delete button, or add journey times by setting the time and clicking the "Add" button. The "Pending isochrones" shows how many isochrones are still being generated, and how many are displayed altogether.
You can select any combination of journey times with the check boxes, or click on the journey time itself to select only that one.
Using Outlined Isochrones
Some browsers such as old versions of Microsoft Edge doesn't support opacity styling which helps in making isochrones filled and translucent.
Therefore, we have found a solution for this by adding a workbench parameter as 'UseOutlinedIsochrones' which is disabled by default but can be enabled by users who use MS Edge more frequently. Enabling this parameter will show isochrones as outlined on Scheduling Mapping screen.

We have also added a checkbox in Scheduling Mapping screen under Isochrones tab in Map Data as 'Use Outlined Isochrones' which can be toggled to show isochrones as outlined rather than filled/translucent on the map.
Exceptions
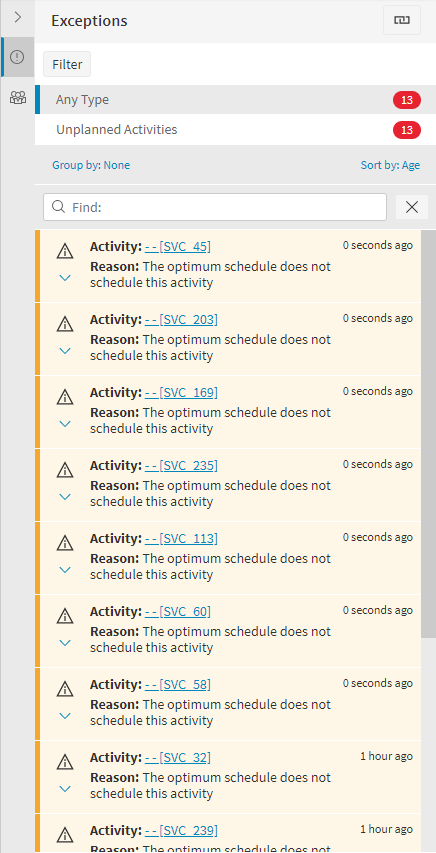
Click on the exception that further investigation is required for the list of details is populated below, then click on the required resource or activity to be taken to the details screen.
Markers
Resource home

Cluster of a number of Activities

Map Options
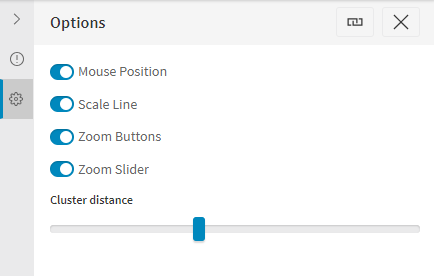
The Options button in the top bar opens the map options panel when you can customise what map controls show and adjust the clustering threshold.
Map providers
This section is intended for administrators configuring the PSO Workbench map. The map provider and its access key are set with the MapProvider and MapKey workbench parameters.
Most basemaps are rendered as vector tiles. MapProvider is entered as free text (there is no drop-down), so the value must exactly match one of the supported values below (case-sensitive, upper-case). An unrecognised value results in no basemap being rendered.
| MapProvider | Rendering | MapKey required? | Notes |
|---|---|---|---|
| OSM | Vector | No | Default OSM-data vector source built into the application. Free, no-SLA tile source – IFS holds no licence for OSM tile data or hosting. Customers needing SLA-backed rendering should choose another provider. |
| HERE | Vector | Yes | HERE Vector Tile API. Key read from MapKey. The customer billing tag is preserved on tile requests. |
| ESRI | Vector or raster | Conditional | With a key, ArcGIS vector (topographic). Without a key, a deprecated anonymous raster fallback – see below. |
| TOMTOM | Vector | Yes | TomTom Map Display API vector tiles. Key read from MapKey. |
| AZURE | Vector | Yes | Azure Maps base vector tileset. Subscription key read from MapKey. |
| BING | Raster | Yes | Unchanged. Deprecated path – see below. |
Note
Keys for every keyed provider are read from the existing MapKey parameter; no new parameter is introduced.
Esri with and without a key
- ESRI with a key – ArcGIS vector basemap (topographic style).
- ESRI without a key – the existing anonymous Esri raster basemap, behaving the same as before the migration. This is a deprecated compatibility path kept so that keyless Esri customers are not affected by the migration. To move onto the supported vector path, configure a
MapKey(ArcGIS access token).
Deprecated providers and the on-map banner
A banner is shown at the top of every map view when the configuration resolves to a deprecated tile path:
MapProviderset to BING, orMapProviderset to ESRI with an emptyMapKey.
The banner can be dismissed for the current session. Both deprecated paths share a 30 June 2028 sunset:
- Bing customers should plan migration to another provider before that date.
- Esri-without-key customers should configure a
MapKeyto migrate onto the supported vector path.
Note
A non-empty but invalid Esri key is treated as a configuration error (the map style fails to load and an error is surfaced), not as a deprecated path – the banner does not appear in that case.