Extending an existing Page Model (Extending a Standard Page)
Standard application pages in IFS Cloud can be extended with Custom Entities. Steps how to add Custom Entities to standard IFS Cloud pages are described in this section.
Add a Custom Entity to an IFS Cloud Standard Page
The Custom Entity created needs to be added to the Projection that the IFS Cloud standard page is based on.
-
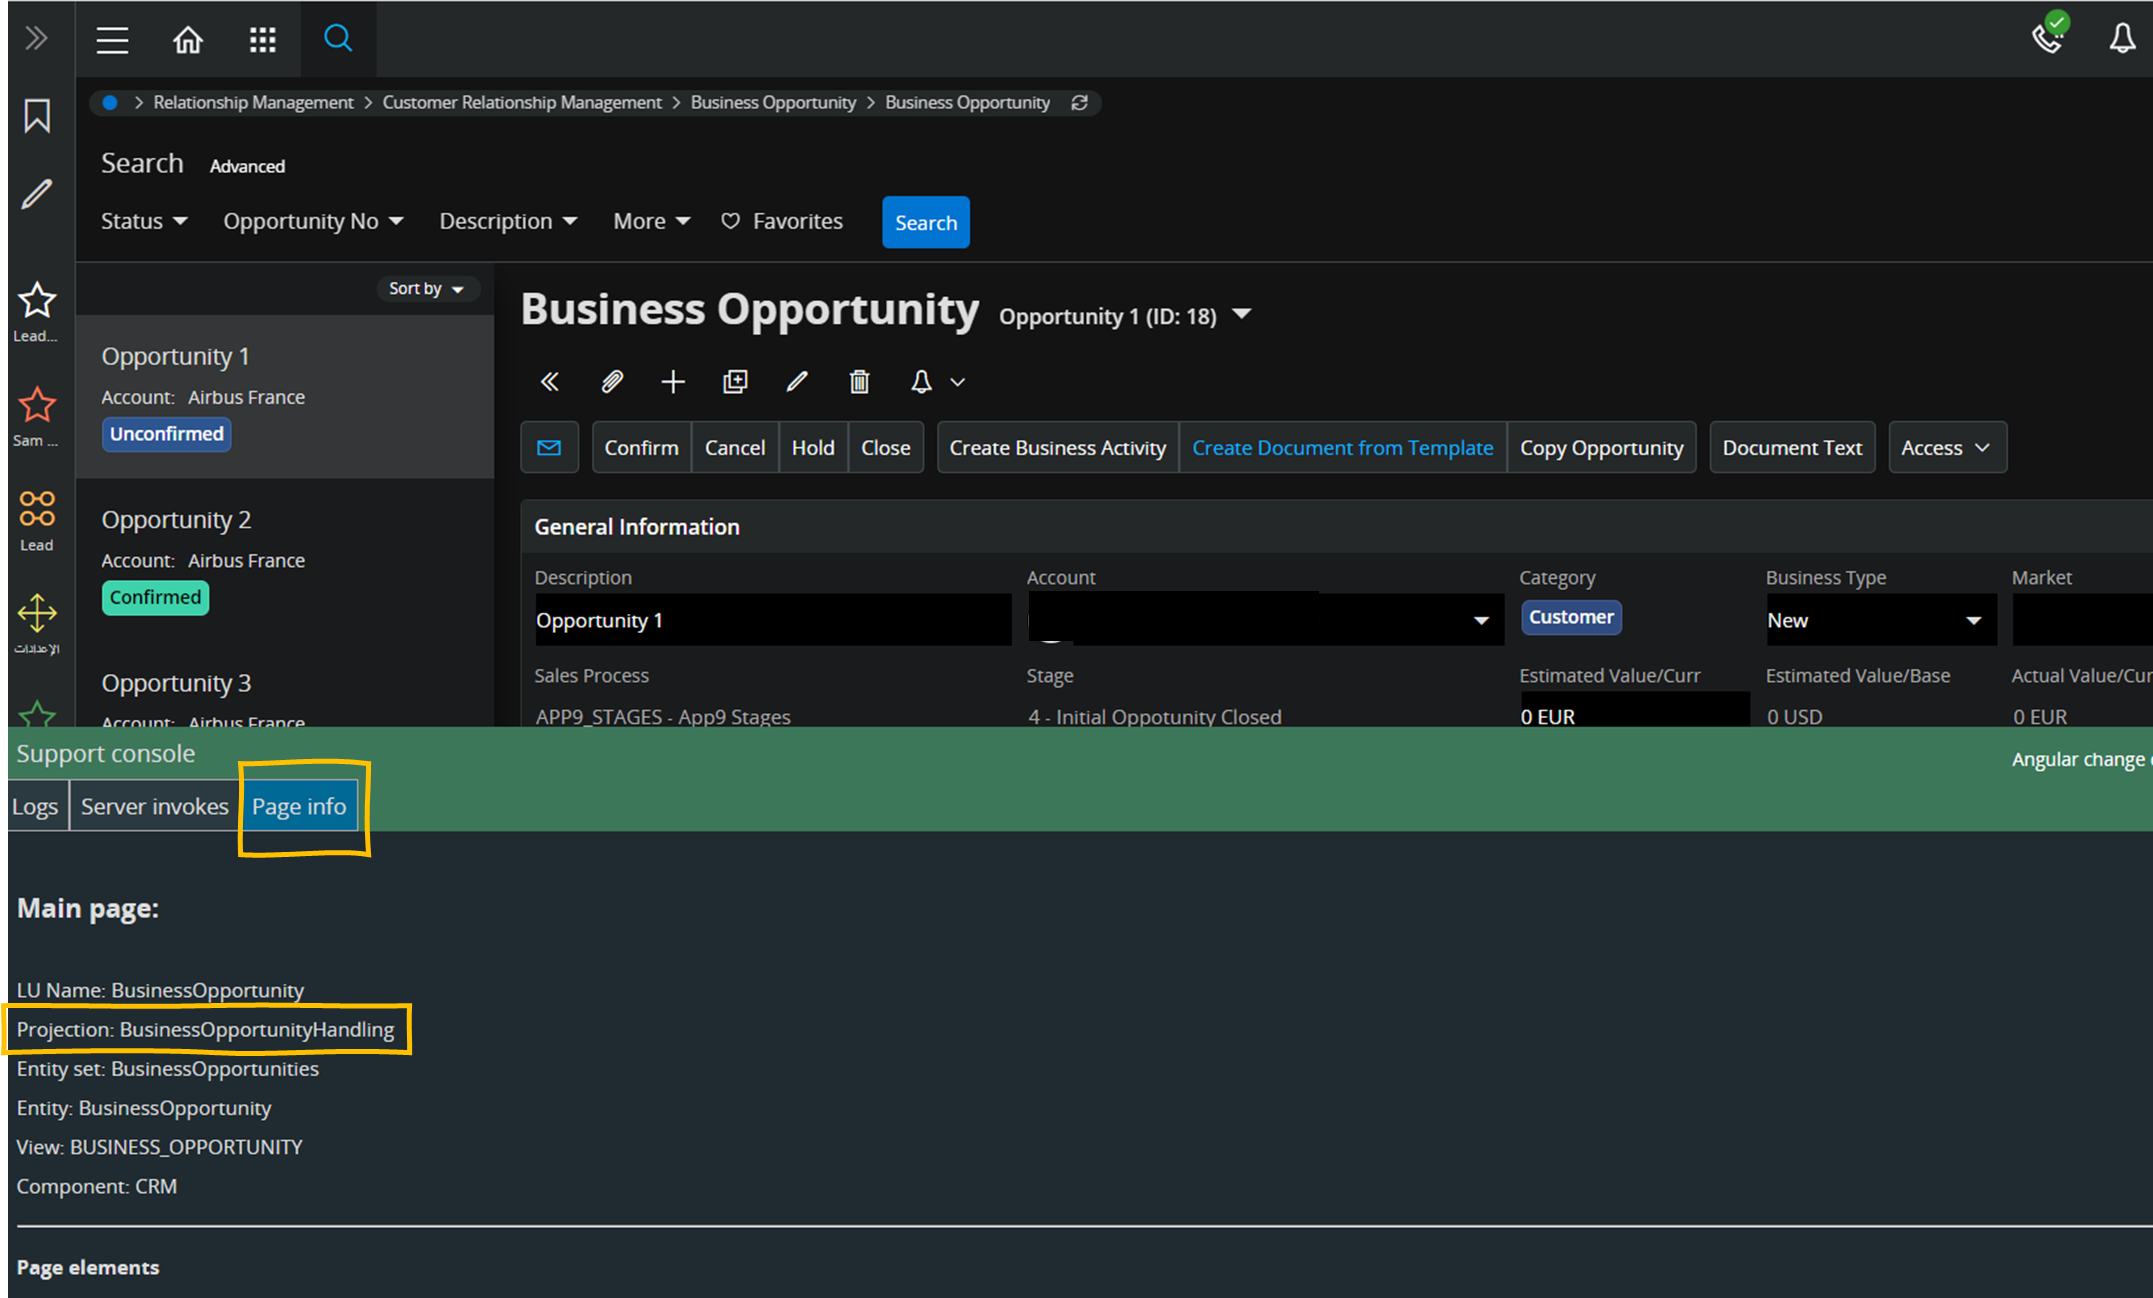
Step 1 is to find out which projection this is:
-
Go to the application page in IFS Cloud.
-
Open the User Menu in the upper right corner.
-
Click on Debug: Enable Debug Console .
-
In Page Info tab, the Projection name is provided:
-
Step 2 is to go to New Projection Configuration assistant and configure the Projection. (Refer for more Information Projection Configurations)
-
Step 3 is to add the Custom Logical Unit information to the application page:
-
Go to the Application Page and open the Page Designer.
-
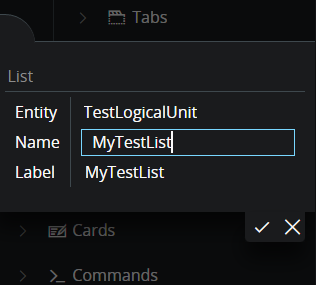
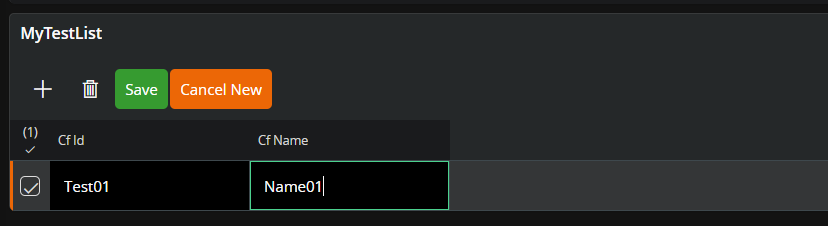
To create a list with the Custom Logical Unit Attributes: in the Library Section (ALL ELEMENTS), create a new List. Set the Custom Logical Unit as the Entity and set Name and Label to the list.
-
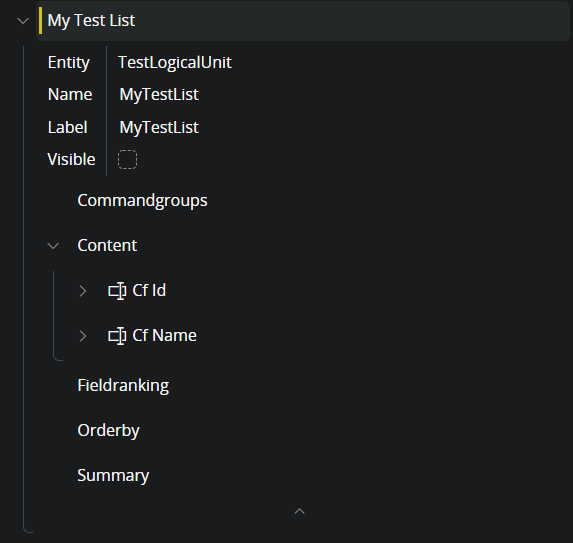
Stay in the list and add content to it. In this example MyTestList has been added with two Custom Fields.
-
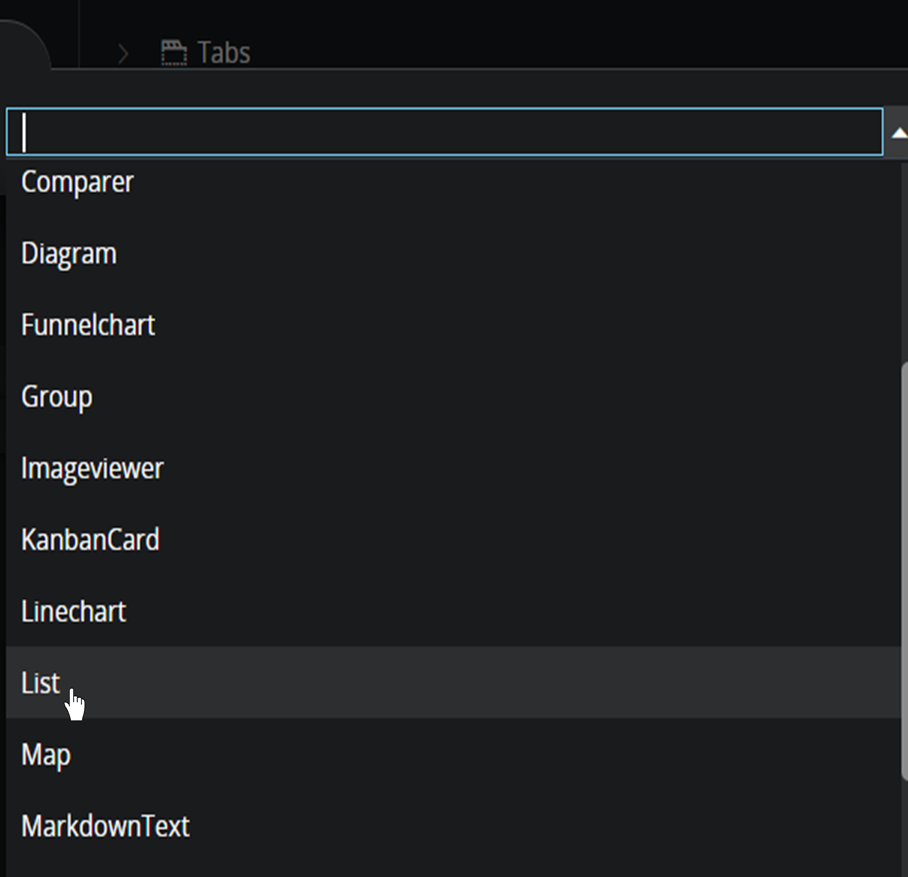
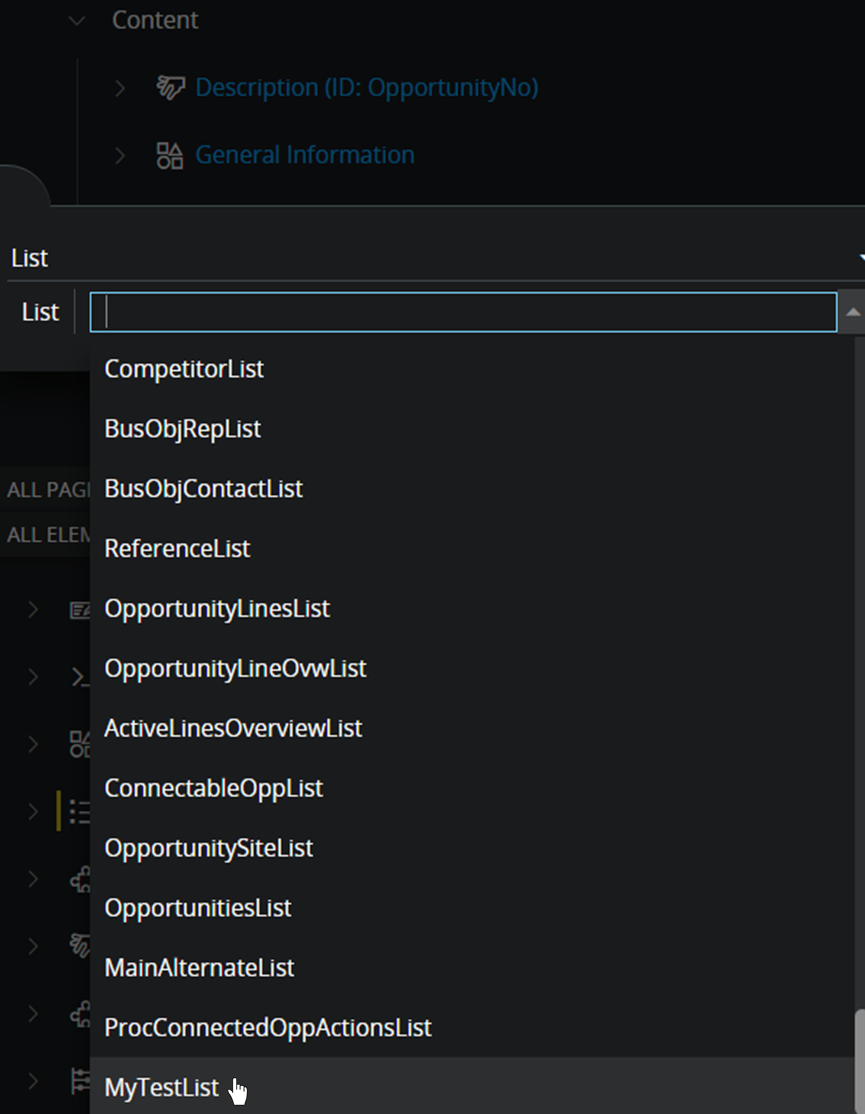
In the Active Page section of the Page Designer, add a new element to the page Content. Here it is a List.
-
Then select the newly created list from the dropdown menu of available lists.
-
Set the Datasource to the List.
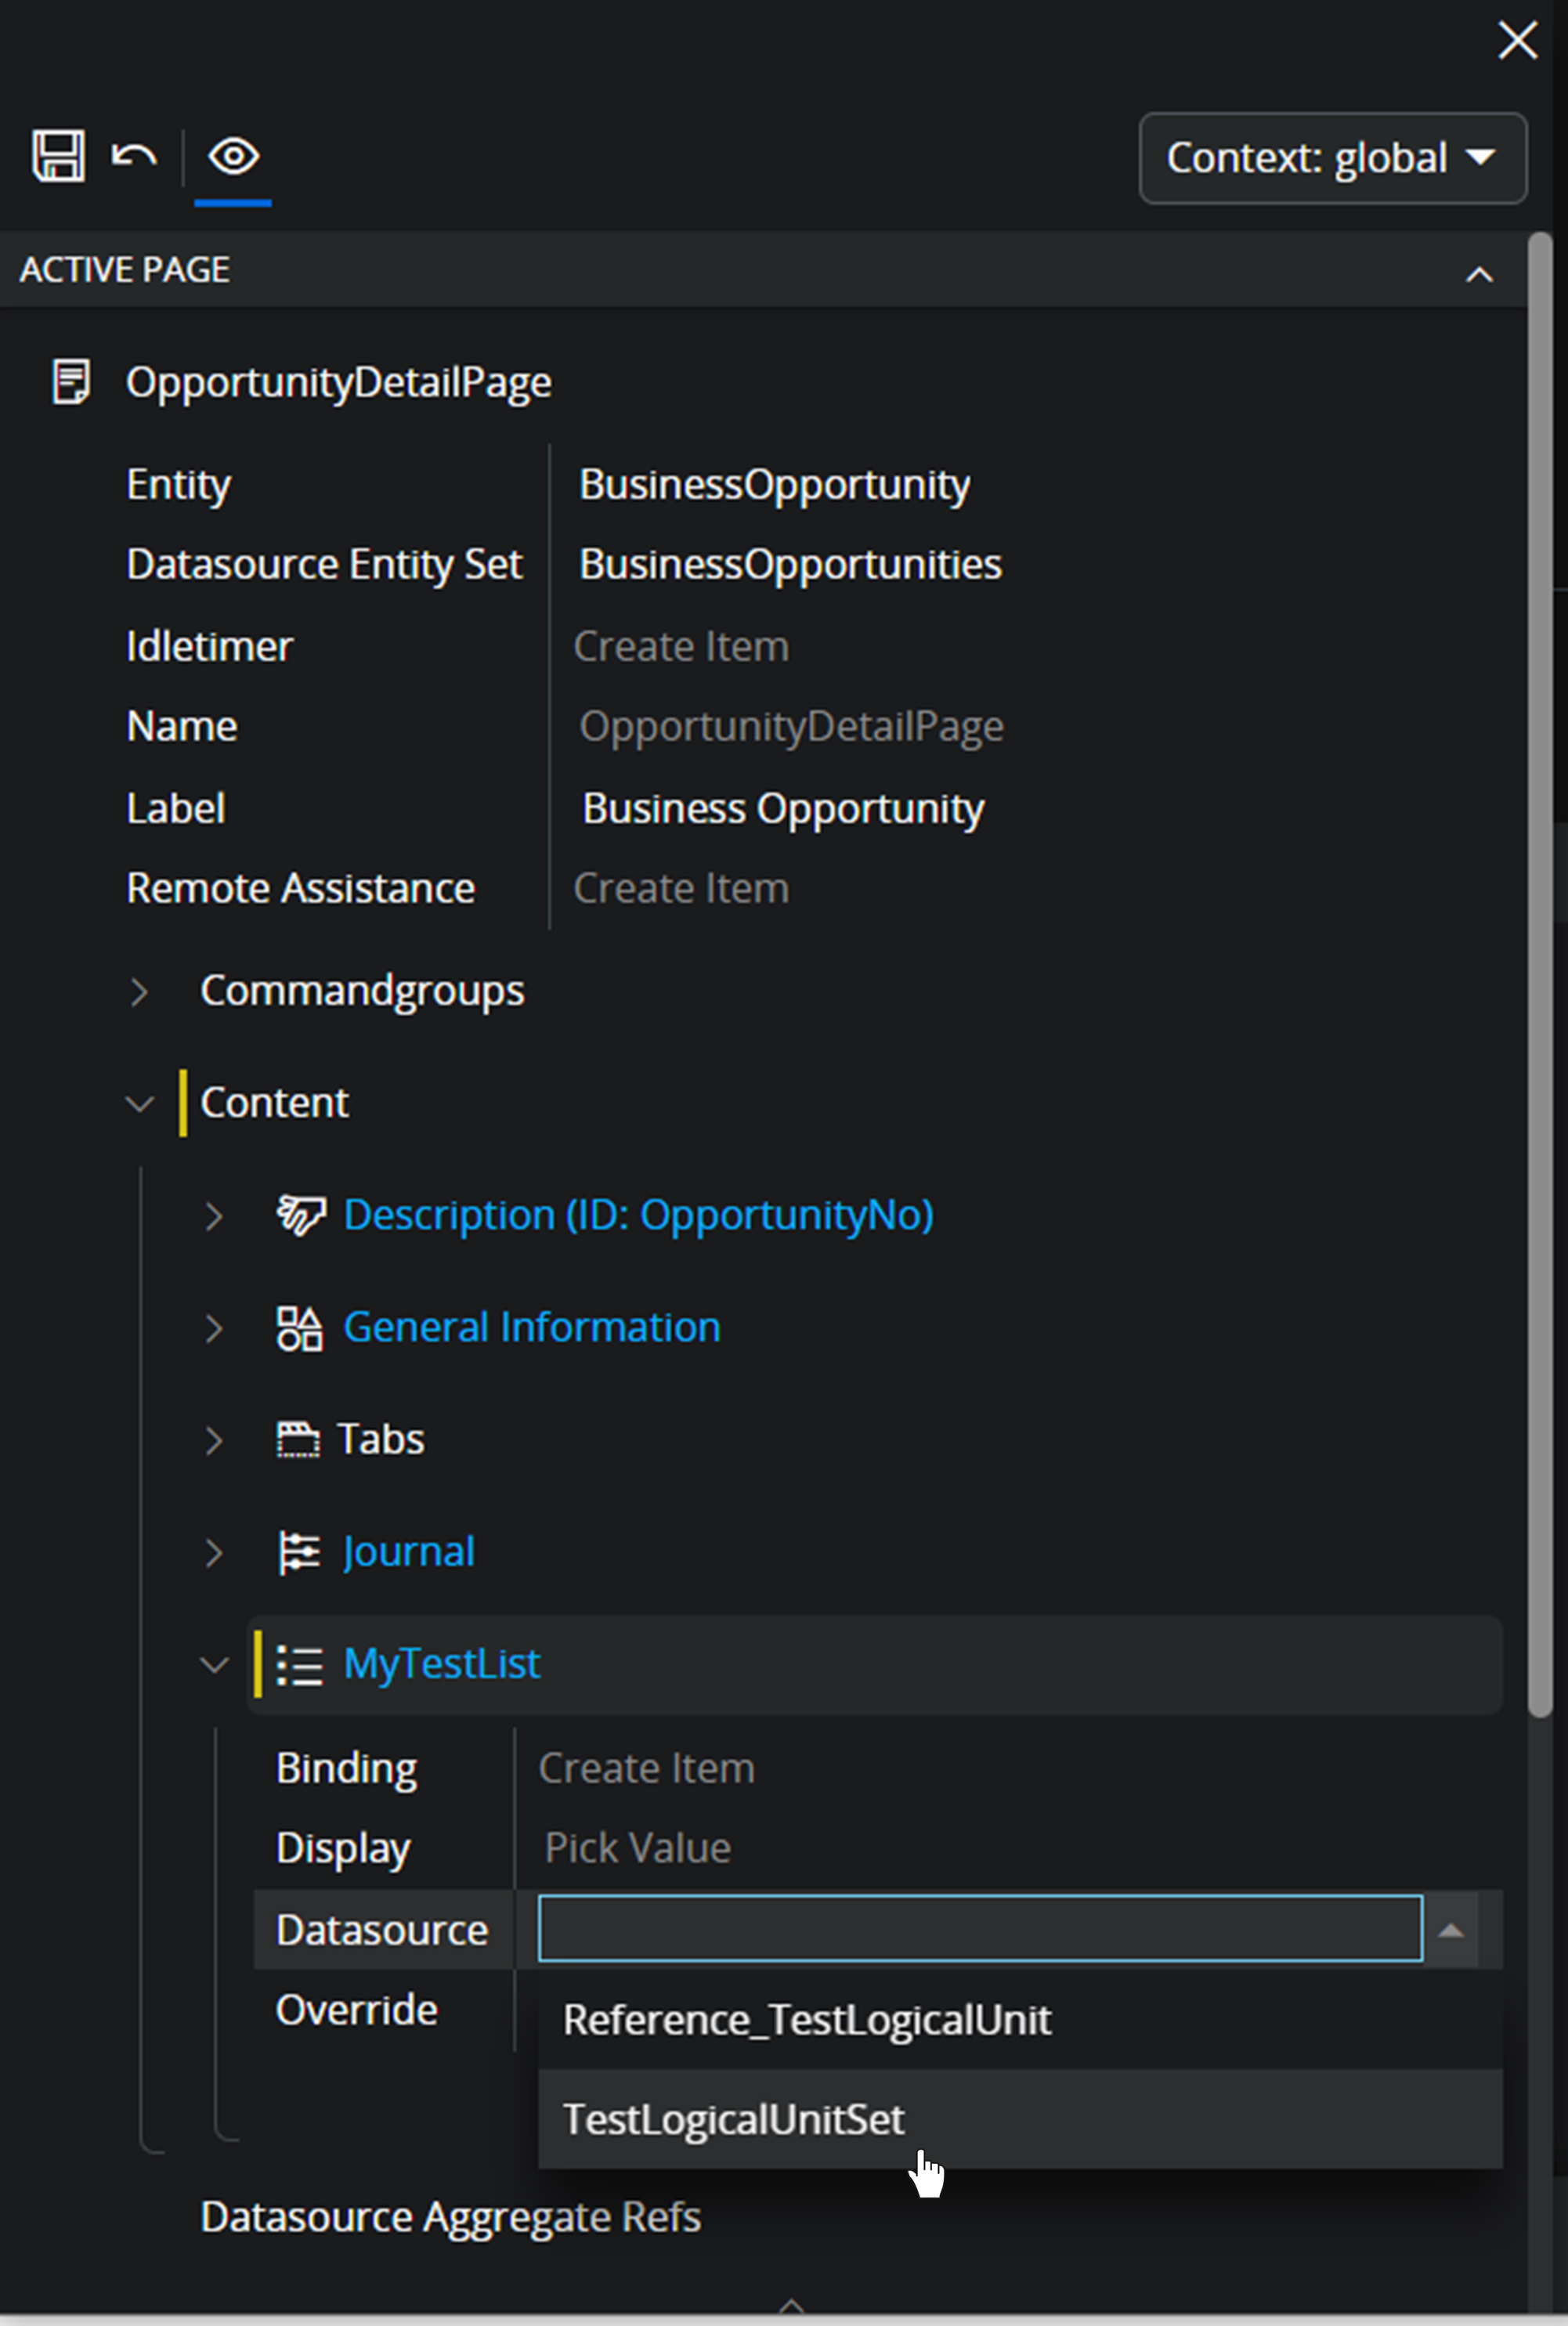
-
Save and Publish the configuration. The List based on attributes from the Custom Logal Unit is now added to the IFS Cloud Web Standard Page.
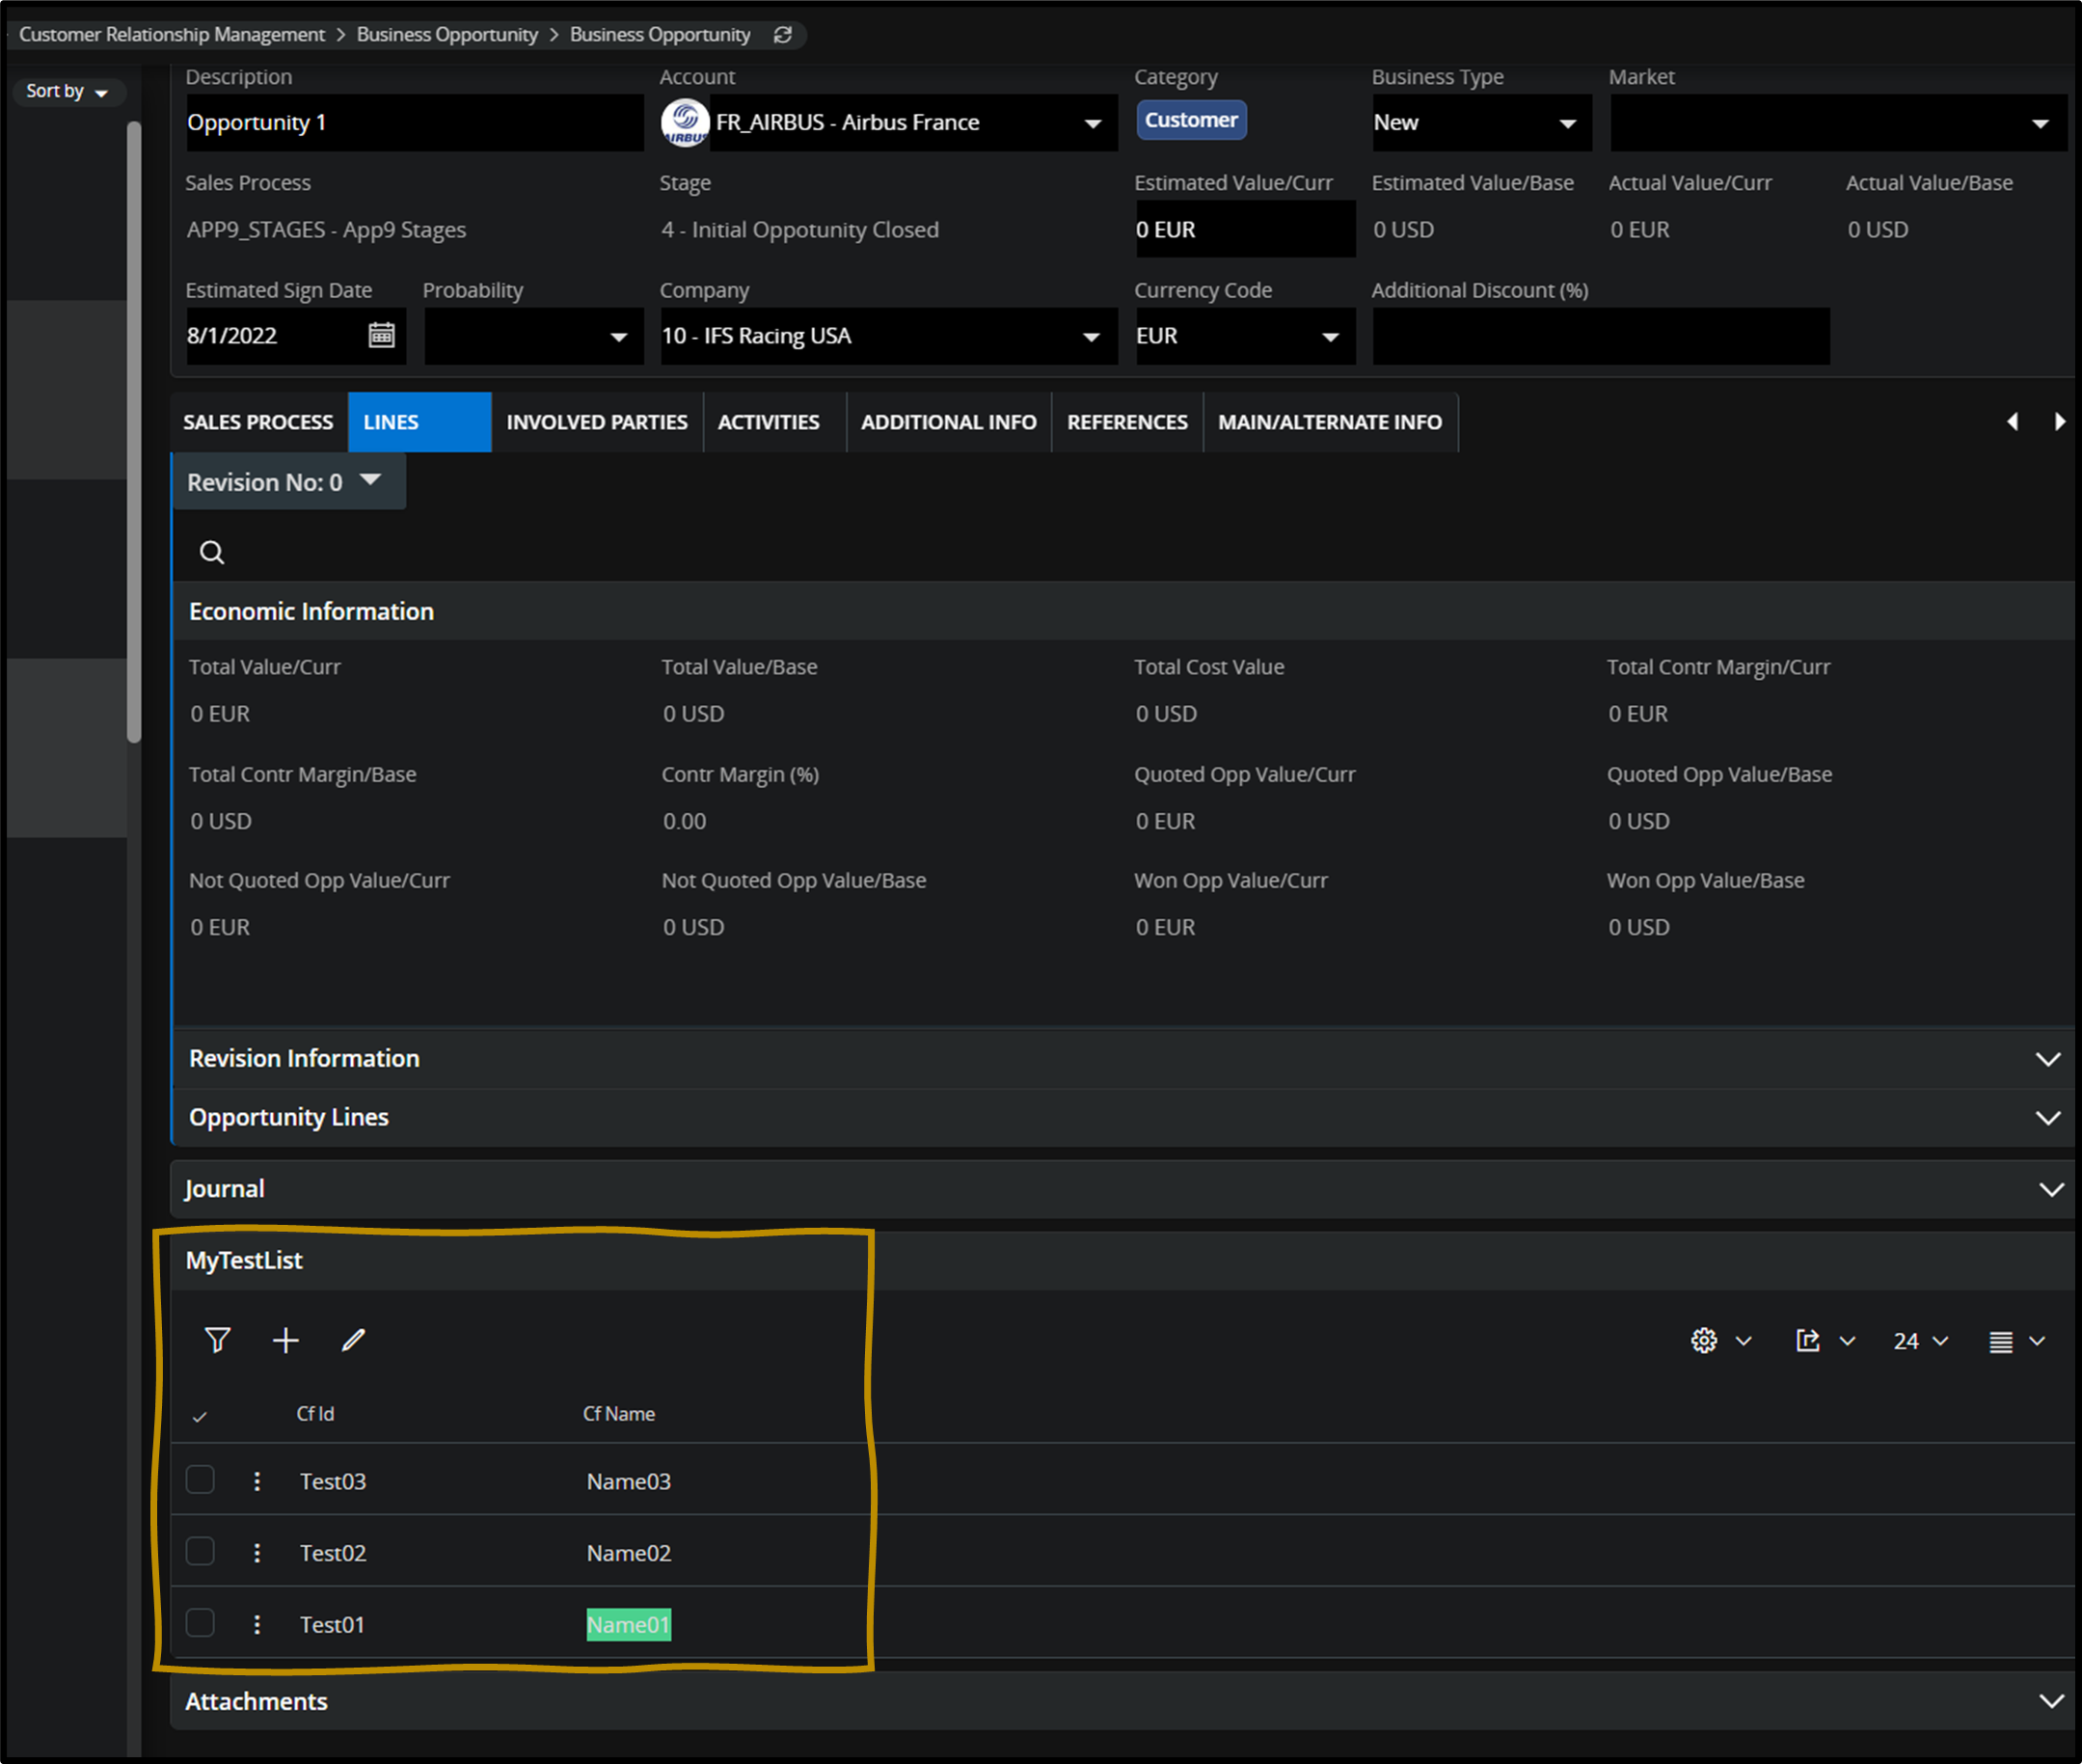
-
If the records needs to be filtered in the list depending on the Master Detail Relationships users can use Associations. (Refer how to configure Associations using Page Designer Building Master Detail Relationships)