SSIS Manual Deployment
Use this page to learn more about how to manually prepare
execution of IFS Analysis Models specific
SQL Server Integration Services
(SSIS) packages.
The documentation assumes basic knowledge about
SSIS.
Contents
In order to run SSIS packages after having created an instance home with
the IFS Analysis Models Installer it might be necessary to
first handle necessary SSIS Security
Administration.
The SSIS packages should be run through a SQL Server Agent Job,
but it is recommended to verify the SSIS
connection properties
before the ETL process is run through the packages.
Do the following:
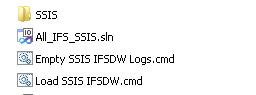
- Open the solution file All_IFS_SSIS.sln and import the .dtsx and
.dtsconfig files from the sub folder called
SSIS in the SSIS
base folder.
- In BIDS, open the IFSDW.dtsConfig file and
verify the connection string to point to your SQL Server database.

- In BIDS, open the IFSAppl.dtsConfig
file and verify the connection string data to the Oracle database that you
wish to load data from into the Data Warehouse

- In BIDS, open the IFSAppl_OLEDB.dtsConfig file
and verify the connection string data to the Oracle database that you
wish to load data from into the Data Warehouse.

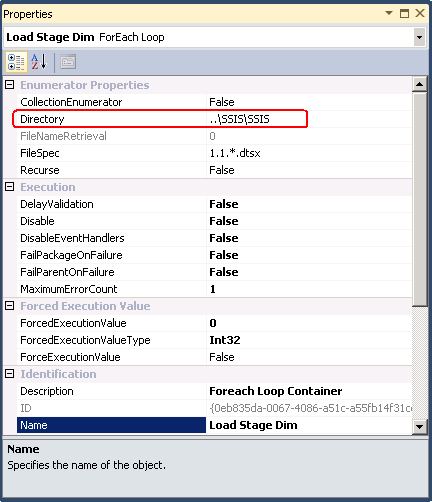
- In BIDS, verify the folder paths of load tasks of the
0.1.001 Execute All.dtsx SSIS package, by modifying the Directory property of the
SSIS packages in the properties window.
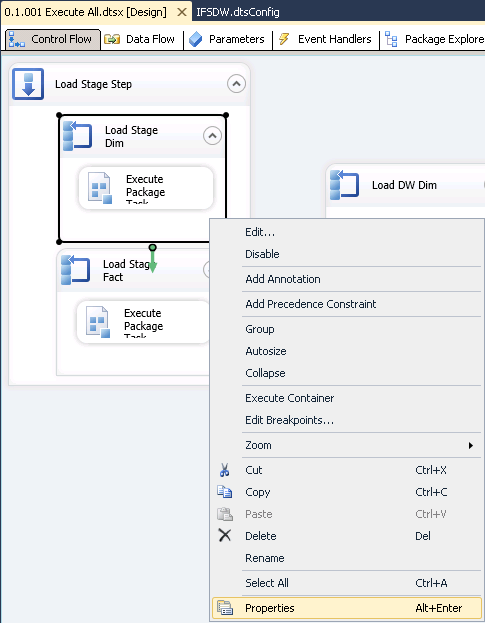
The Directory path should point at the directory containing the
SSIS packages. A relative path is ok.
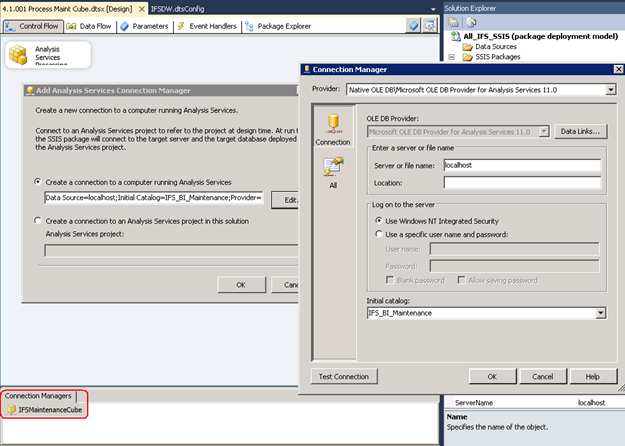
- In BIDS, verify the
Analysis Services Processing Tasks in packages
4.1.001 to
4.1.009, so that it points to the correct cube.

- Start by updating the cube connector in the Connection Managers
tab. Either double click on the connection manager or right click and select
Edit...
- Make sure that the database is the correct one by opening the
Task Editor, Task
-> Edit ->
Processing Settings
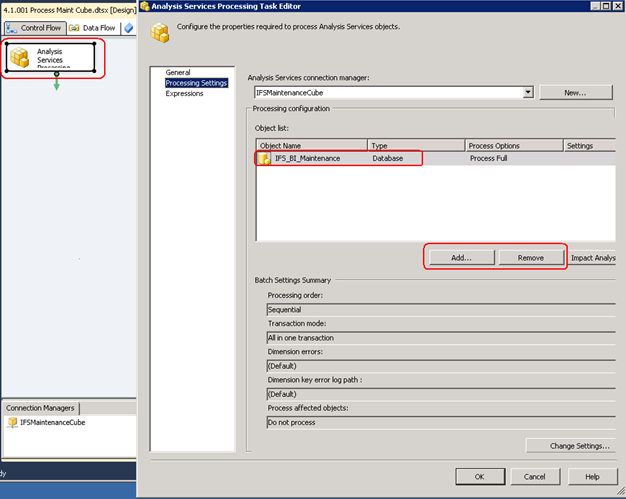
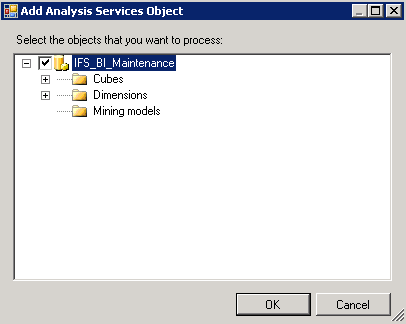
If the Object Name in the Object List is incorrect then:
- Remove the Object by clicking the Remove
button
- Add the correct Object by clicking the
Add... button. Select
the top check box, representing the complete database object.