Getting Started
Overview
This section details the end-to-end process of a customer requesting the Lifecycle Experience Team to make a Build Place ready to develop their solution and how it is made available for use by the Development Team.
 |
|---|
| Steps to Prepare the Build Place for Development |
The processes highlighted in the above diagram are explained in the succeeding sections.
IFS Lifecycle Experience Initialization
Note
For FedRAMP customers, the Build Place initialization and activation process is carried out by the IFS Fulfillment and Provisioning team. The Commercial customers must follow the steps outlined below to initialize and activate their Build Place.
A customer onboarded to IFS can request the Lifecycle Experience Service to develop a customized version of the purchased IFS Product. Upon this request, the customer's IFS Account Manager will initialize the IFS Cloud Lifecycle Experience for the customer.
Once the request has been completed, the customer-owned Build Place is created in an Initialized state. The Use Place will also be created if the customer has opted for Cloud-Hosted Residency.
Activate Build Place
The IFS Cloud Onboarding Team activates the Build Place. To be ready for use, the Build Place must progress through the following statuses.
 |
|---|
| Statuses of a Build Place |
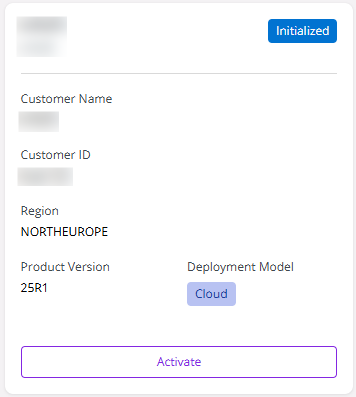
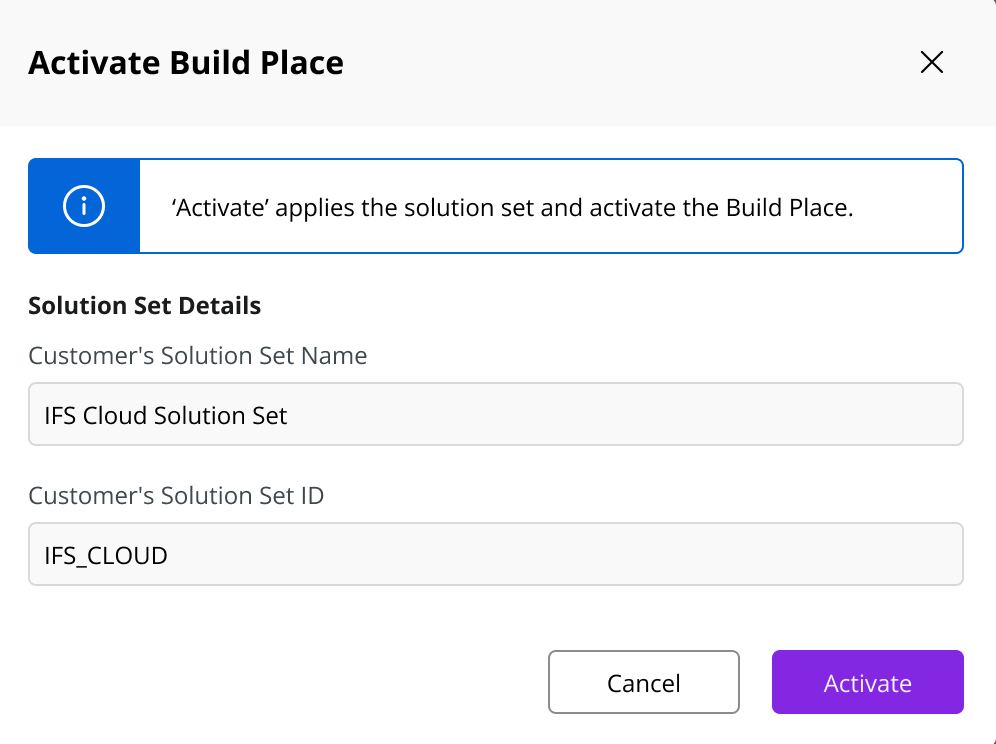
When the Build Place is in the Initialized status, the IFS Onboarding Team can go to the Build Studio of the Lifecycle Experience Center (LEC), select the relevant Build Place, and activate the Build Place. During the activation, the Solution Set will be fetched from an IFS Internal System and committed to the Customer Baseline and Customer Solution Repositories. While the activation process is in progress, the status of the Build Place will display as Activating. Once the activation process is complete, the status will change to Activated. It is estimated that 3- 6 hours of processing time would be required to activate a Build Place, depending on whether a customer is upgrading from a previous IFS Application or a new IFS Cloud Deployment.
 |
|---|
| Build Place in Initialized State |
 |
|---|
| Activating Build Place |
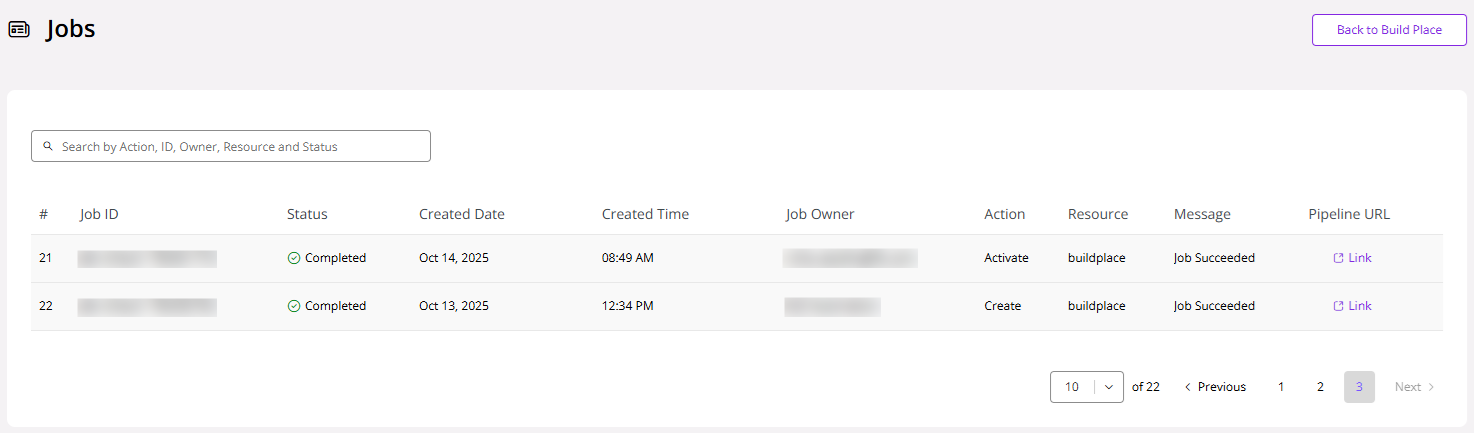
The progress of the Build Place activation can be viewed from the Pipeline URL in the Jobs Table. Note that the URL is not accessible if the user does not have Build Studio Admin permissions. (Go to Jobs in the Build Place. Find the relevant job for activating the Build Place and click on the Pipeline URL).
 |
|---|
| Jobs table showing Build Place activation record |
Note
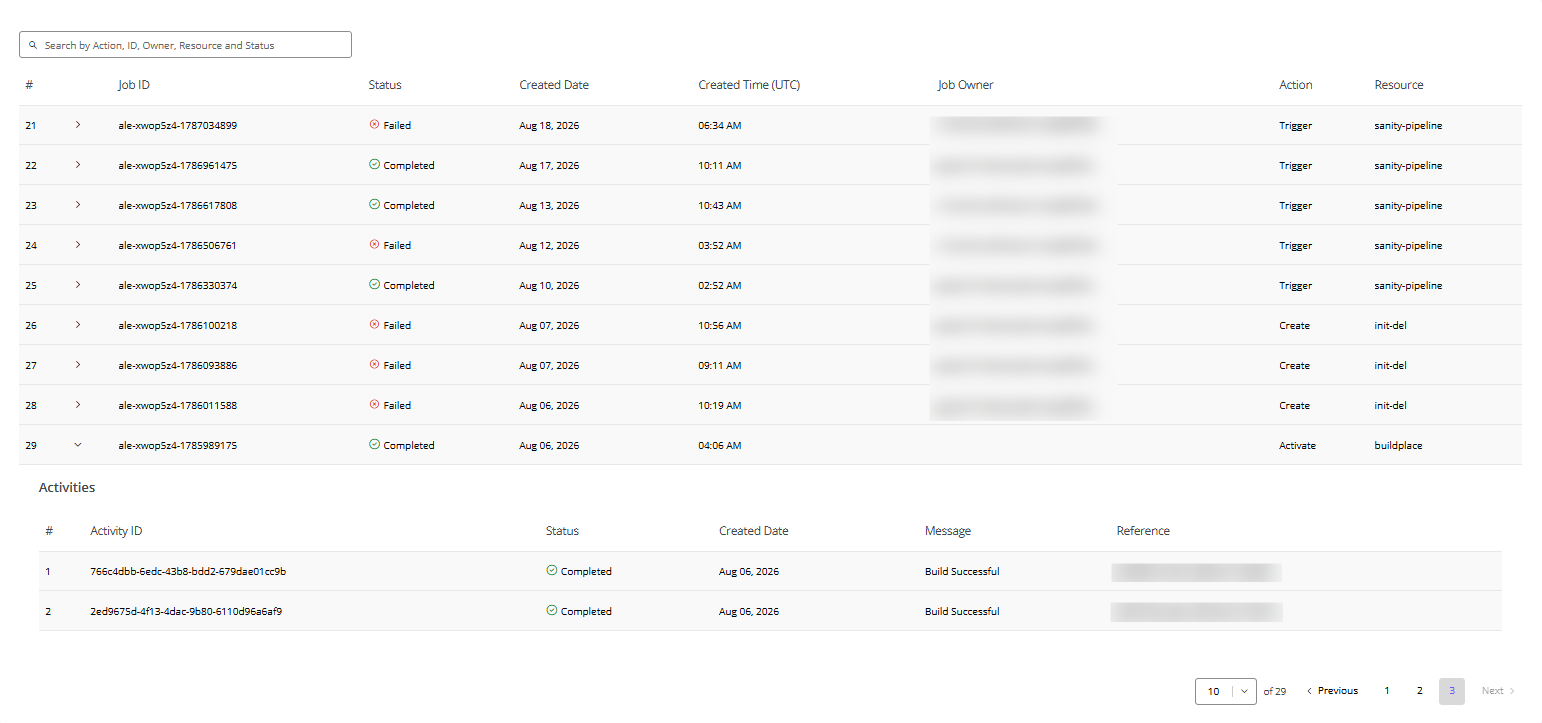
For FedRAMP customers, the Build Place Activation Workflow IDs are available within the Job details and can be viewed by expanding the corresponding row of the Job in the table as illustarted below.
 |
|---|
| Jobs Table with Workflow ID for FedRAMP Customers |
Next, the Build Studio Admin must grant access to the Development Team before they begin their work in the Build Place.
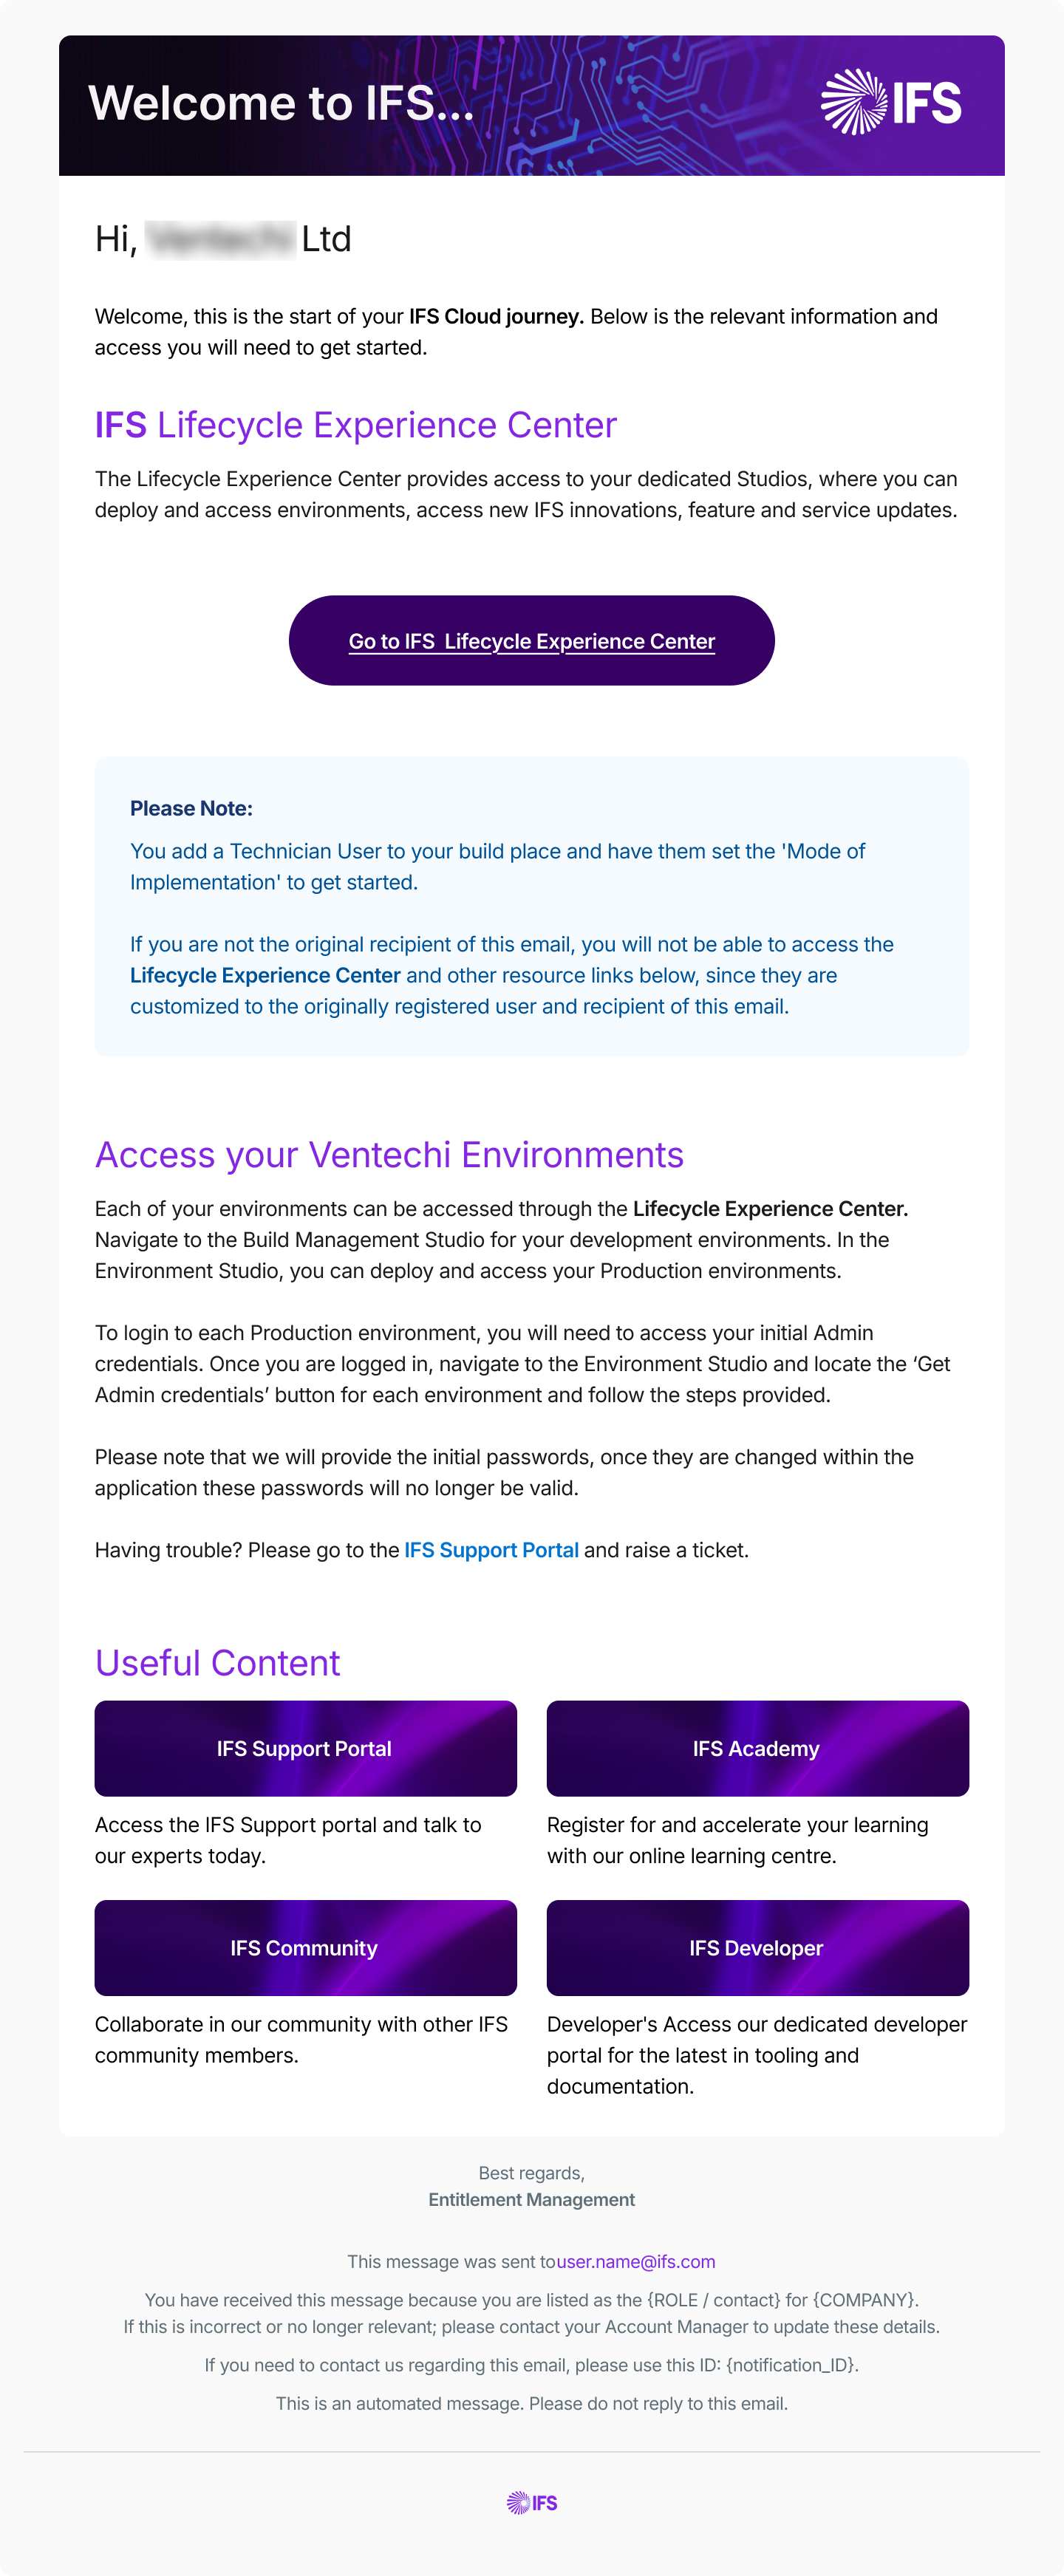
The users assigned as Build Studio Admin will be informed via E-mail on the availability of the Build Place (See image below).
 |
|---|
| The Welcome Email |
Backend Process of Initialization to Activation
When the Build Place is in the Initialized status, the next step for the user is to process Activation. As explained above, the user will navigate to Build Place by clicking the Activate button and updating the Solution Set. The diagram below illustrates the backend process during the Build Place Activation.
Build Place Activation for New IFS Cloud Customers
 |
|---|
| Steps for Build Place Activation - Cloud |
Build Place Activation for Customers Upgrading to IFS Cloud from Previous IFS Application Versions
For Upgrading customers, there is an additional step to create the Build Home. The initial delivery is also created during this process.
For additional information on creating Build Home for upgrading customers, refer to Build Home Creation
Grant or revoke access to Build Place
The development team and other stakeholders must assign a user role in a Build Place before they access it.
Granting and revoking of user permissions must be done by the Customer Admin user role. The Customer Admin is a studio-level user who has access to the Admin Studio of the Lifecycle Experience Center. The user email added as Primary and Secondary Contact during onboarding will be assigned as the Customer Admin in Admin Studio. The grant/revoke of user roles can only be done by a Customer Admin exclusively via the LEC Admin Studio.
For more information on the different user roles and their permissions, refer User Authorization of the System.
Build Place User License Policy
Any user who wishes to access a Build Place should have an account in IFS Azure Active Directory.
Build Place user license is applicable for Technician and Customer Solution Developer roles only and 15 such user licenses are bundled with a Build Place.
The user license type is named users. For an example, 15 user licenses would mean 15 named users can be allocated as Technician or Customer Solution Developer and all these 15 can work in Build Place simultaneously.
If there are more than 15 users who work as Customer Solution Developers or Technicians, the customer needs to purchase additional user licenses in 5 blocks.
Other roles such as Consultants do not need to have a user license to access a Build Place.
As per the latest capacity testing, we recommend a total of 75 simultaneous users per Build Place for optimum performance.
For more information on user role permissions, please refer User Role Permission in LEC.
Set up Build Place
Before the new Build Place can be used by the Development Team, a user who has been assigned the Technician role in the Build Place should set the Mode of Implementation and the Daily Environment Shutdown Time as a part of the Setup Build Place for use* activity. Once this setup is complete, users can order environments and begin their work.
*A Technician could be a Customer or Customer nominated user assigned by the Customer Admin via LEC Admin Studio.
Set Mode of Implementation
Note : It is recommend that the user read the Mode of Implementation documentation on setting the Mode of Implementation prior to completing the steps below.
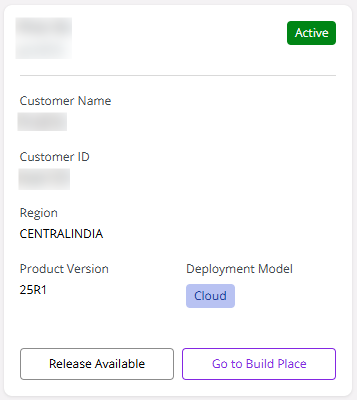
Once the Build Place has been Activated and the user roles have been created, the next step is to set up the Build Place for use. The first step in this process is to Set the Mode of Implementation. At this time, the Build Place card view will appear as shown below.
 |
|---|
| Build Place Card View After Activation |
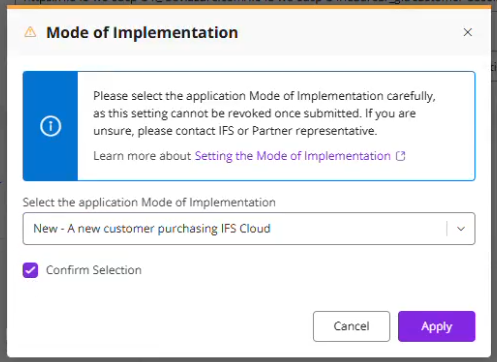
The user can now click Go to Build Place which would direct them to the Select Mode of Implementation.
 |
|---|
| Select Mode of Implementation Dialog |
Select the applicable Mode of Implementation from the three options given in the dropdown:
- New implementation
- Re-implementation of the current solution
- Upgrading of the current solution
Upon selecting each of the options, the explanation text will give a short description of what the selected Mode of Implementation means.
The information panel in the dialog educates the user on the importance of choosing the applicable Mode of Implementation carefully and whom to contact in case of doubt. Confirm the check box and Click Apply.
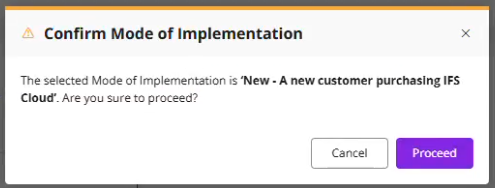
Clicking Apply prompts the user with the following confirmation dialog that states the Mode of Implementation selected and provides the user one more opportunity to review their choice.
 |
|---|
| Confirmation Dialog on Mode of Implementation |
Click Proceed to save the Mode of Implementation selected, and do one of the following
a. If the Mode of Implementation selected is either New implementation or Re-implementation of the current solution, initiate the Create Initial Delivery operation. The initial delivery will be based on the latest Sanity-Ok Tag which the system will automatically pick.
b. If the Mode of Implementation selected is Upgrading of the current solution, initiate the Recreate Build Home* operation
- This functionality is currently not available
The toast messages below are shown confirming the successful updating of the Mode of Implementation and triggering of either the Create Initial Delivery pipeline or the Recreate Build Home pipeline. The Mode of implementation selected will be visible next to the Build Place name in the detail view.
 |
|---|
| Success Toast - Mode of Implementation Updated |
 |
|---|
| Success Toast - Initial Delivery Pipeline Initialized |
 |
|---|
| A Build Place in 'New' Implementation Mode |
Behavior while the Initial Delivery Creation is in progress
While the Initial Delivery creation is in progress which can take up to 4 hours, the Build Place will be unavailable for other operations, and the following banner will be shown to the user in the Build Place detail view.
 |
|---|
| Banner Displaying the Build Place Unavailability |
Once the Initial Delivery creation has been completed, the Build Place will be accessible for the user to complete the next step of the user journey which is setting up the Sanity Build schedule and Environment Shutdown Time before the Build Place is ready for use.
Set Daily Environment Shutdown Schedule
The shutdown schedule will be applicable for the environments ordered in the Build Place. For more information, please refer to Daily Shutdown of Environments.
- To set the schedule, go to the Build Place and click Operational Settings from the left sidebar.
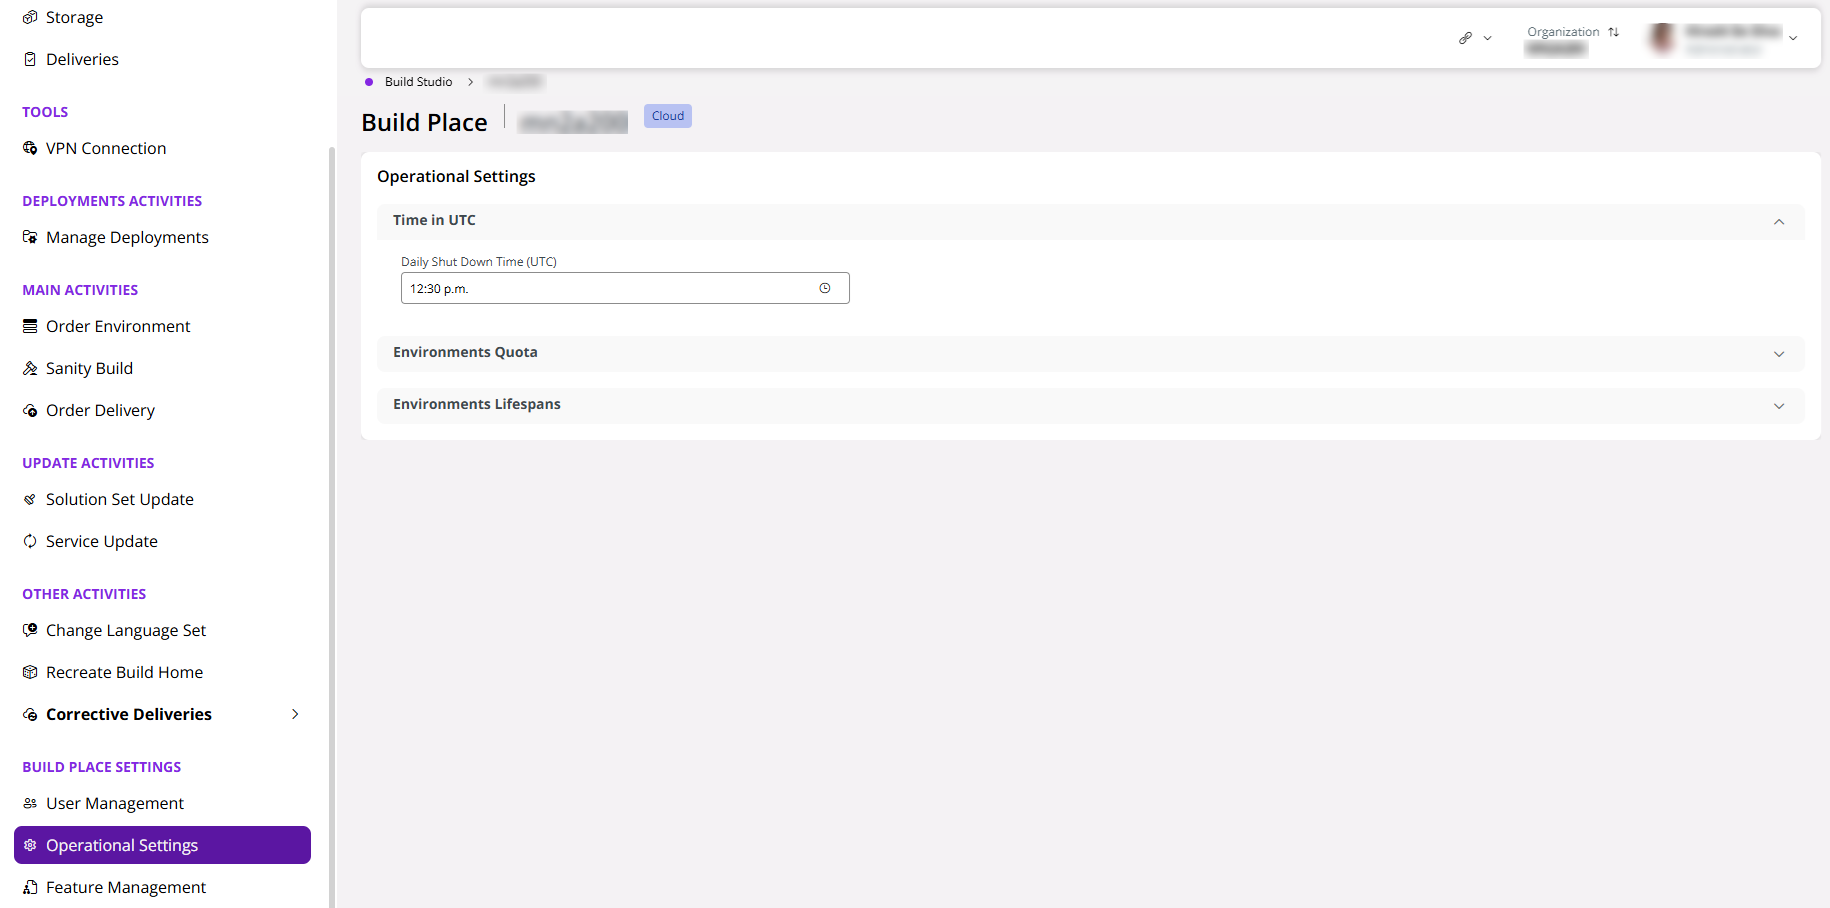 |
|---|
| Set Daily Environment Shutdown |
- Set the desired shutdown time in the Daily Environment Shutdown Time field and click OK. Please note that this time is the UTC time.
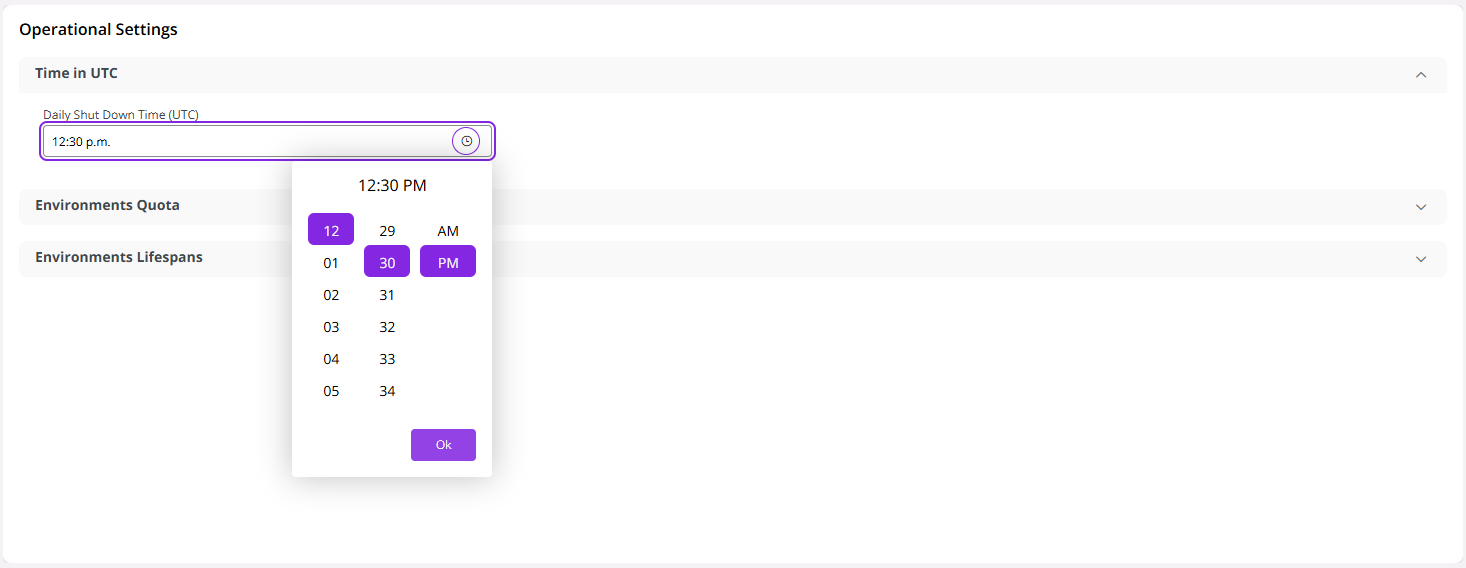 |
|---|
| Select Shutdown Time |
- The Build Place is now ready to be used.
Note
All users can view Build Places that are in Active status, while only the Build Studio Administrator can view those that are Initializing or Under-Maintenance.
When a Build Place status indicates Maintenance Mode, it signifies that the Build Place is undergoing scheduled maintenance operations. Access to the Build Place and the Release Studio is restricted until the maintenance is completed. The IFS Support Team ensures that you are informed of any maintenance procedures in advance.
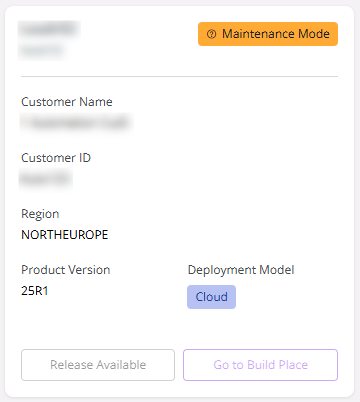 |
|---|
| Build Place in Maintenance Mode |