Create and Configure an Oracle Database19c for IFS Applications
IFS Applications includes predefined Oracle Database Configuration Assistant
(DBCA) templates for a multitenant (container database + pluggable database) IFS
Applications database. The DBCA templates contain most of the needed
configuration changes for an IFS Applications database, some properties still
need to be added and updated according to your systems characteristics. Examples
of properties you need to change are:
- File location variables
- Init.ora parameters
IFS recommends using the DBCA template XML file supplied with the IFS
Applications release when creating a new database instance. When using the
template, it's important that you are familiar with database management aspects
like tablespaces, segment space, undo handling, character sets and so on. Please
refer to other parts of our documentation and external Oracle documentation for
more details on these subjects.
Create and Configure Oracle Database 19c
Perform following steps to create a multitenant database instance (container
database + pluggable database) using IFS Applications DBCA templates.
- Copy the DBCA template from <build_home>/template/fndbas/IFSAPP10_Unix_Oracle19c_MULTITENANT.dbt to
<ORACLE_HOME>/assistants/dbca/templates.
- From a terminal session start Oracle Database Configuration Assistant
tool.
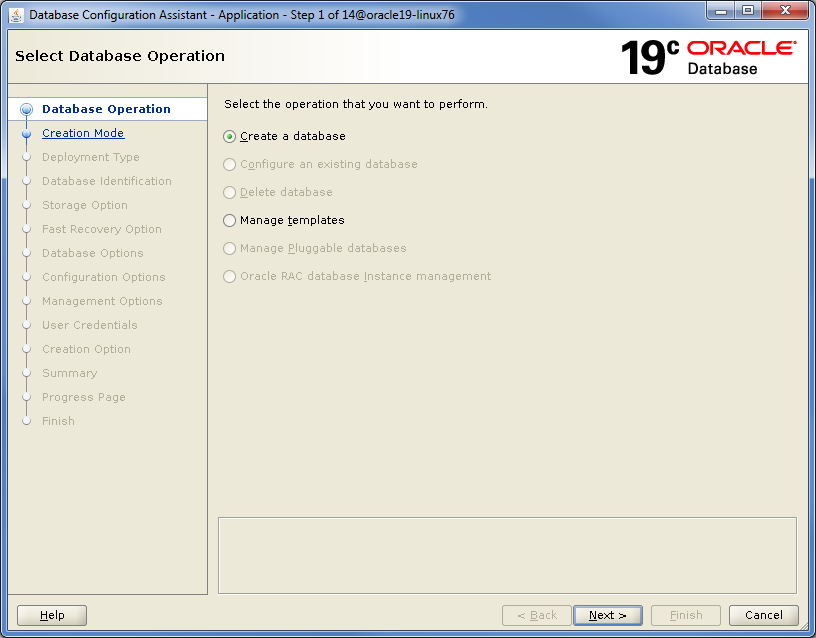
- Step 1 – Select Database Operation. Select Create a database, then press
Next.
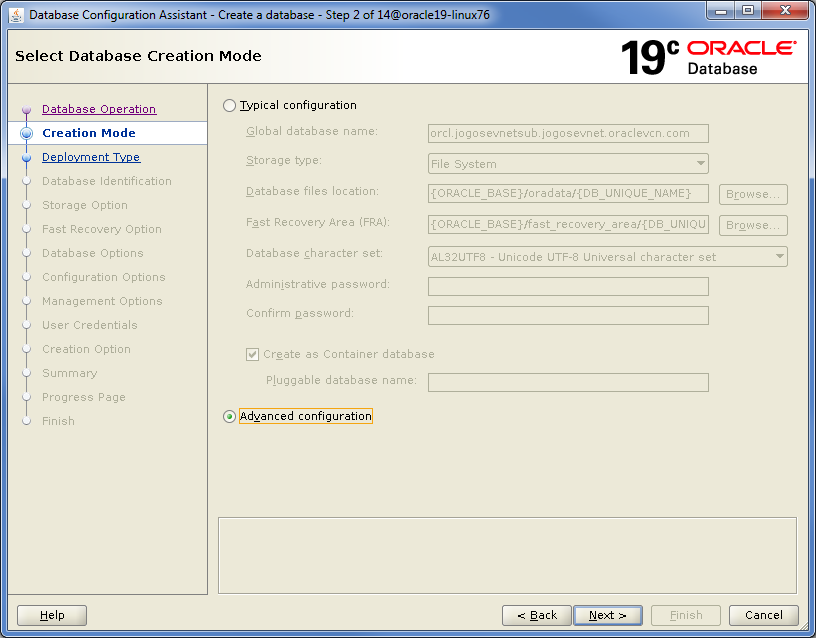
- Step 2 – Select Database Creation Mode. Select Advanced configuration,
the press Next.
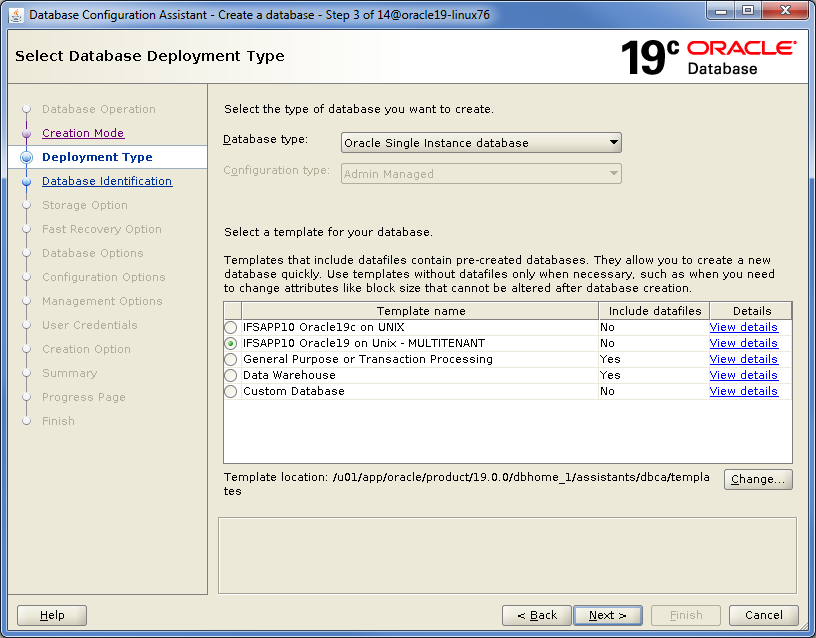
- Step 3 – Select Database Deployment Type. Select the template for
multitenant databases for IFS Applications 10 on Oracle 19c on
Unix, then press Next.
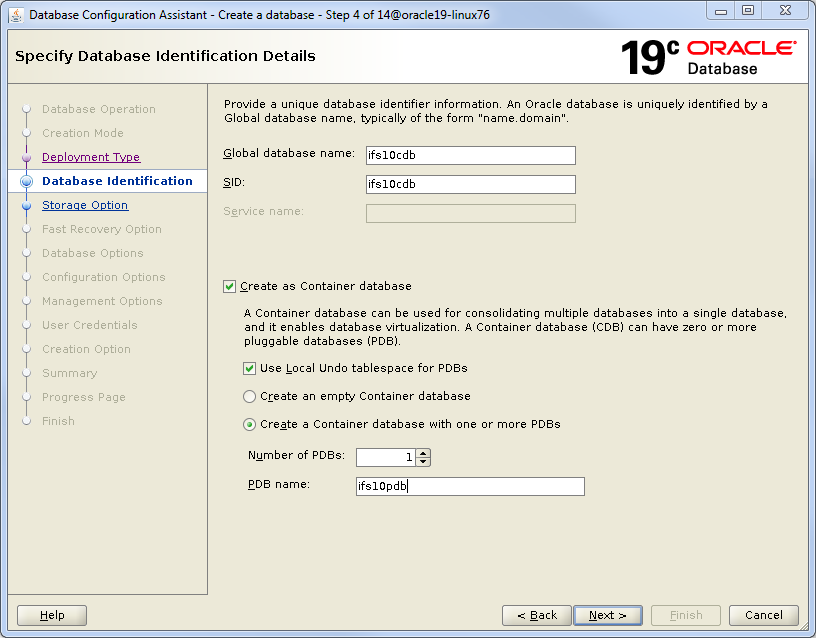
- Step 4 – Specify Database Identification Details. Update Global database
name and SID for the container database, update PDB name if you don’t want
to use the default name. Verify that a local UNDO table is created for each
PDB, then press Next.
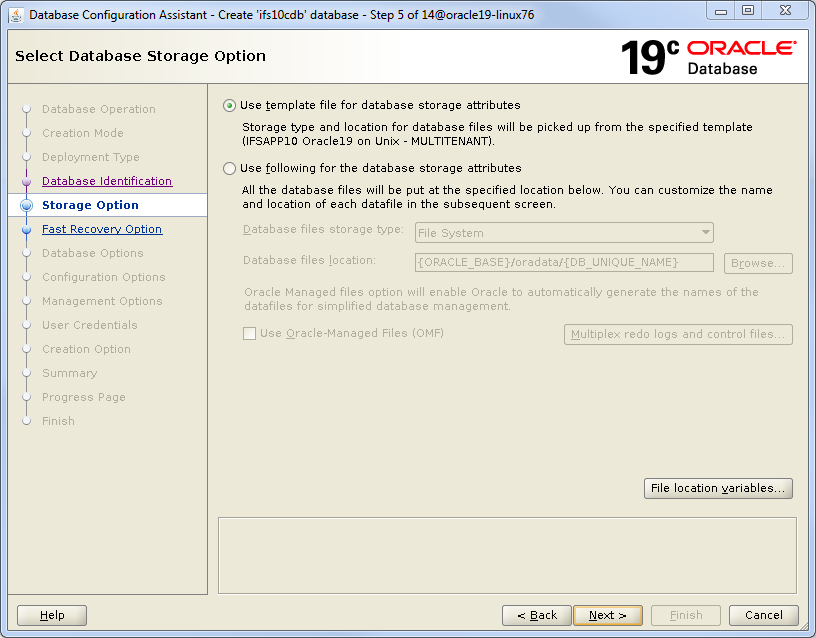
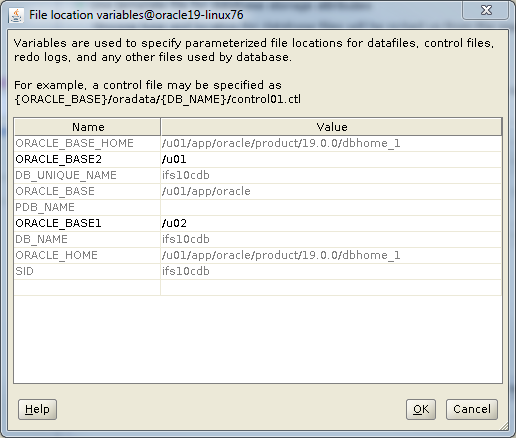
- Step 5 – Select Database Storage Option. Select template file for
storage attributes. If you want to change the default storage location press
File location variables and update ORACLE_BASE1 and ORACLE_BASE2 variables.
Data files for the CDB and PDB will be stored in the ORACLE_BASE1 directory,
Oracle REDO and CONTROL files will be stored and mirrored in both
ORACLE_BASE1 and ORACLE_BASE2 directories. Then press Next.
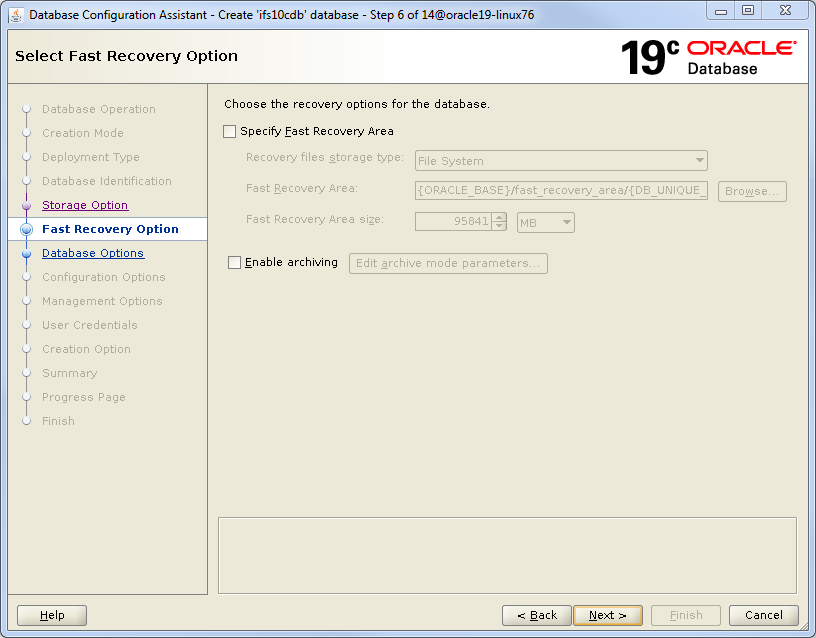
- Step 6 – Select Fast Recovery Option. Choose the recovery options for
the database. The template for IFS Applications 10 does not configure Fast
Recovery Area or Archiving, if this functionality shall be used it can be
configured here or after the installation (recommended) of IFS Applications
is finished. Then press Next.
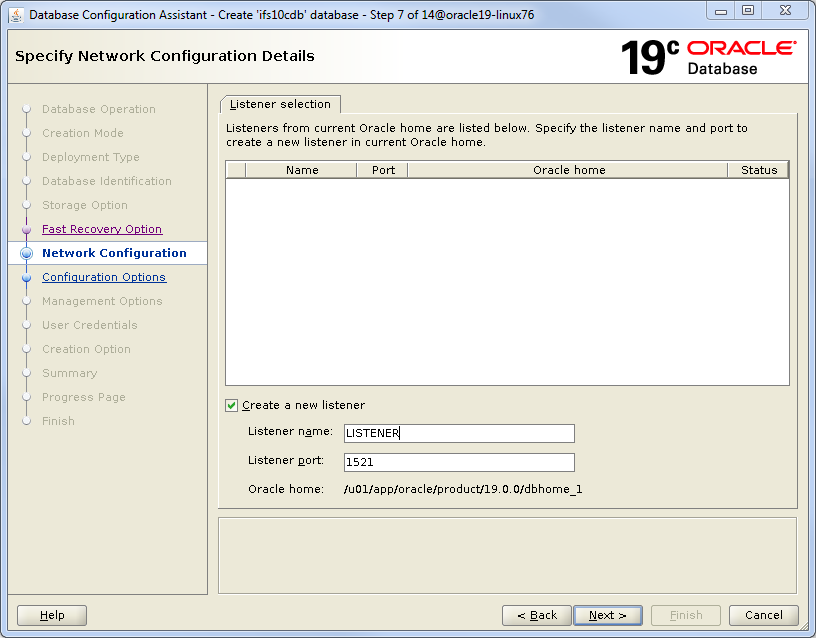
- Step 7 – Specify Network Configuration Details. Select the listener you
want to use. An Oracle listener is required on the server to be able to
connect to the database, if no listener exists on the server update the
Create a new listener check-box to create one, then press Next.
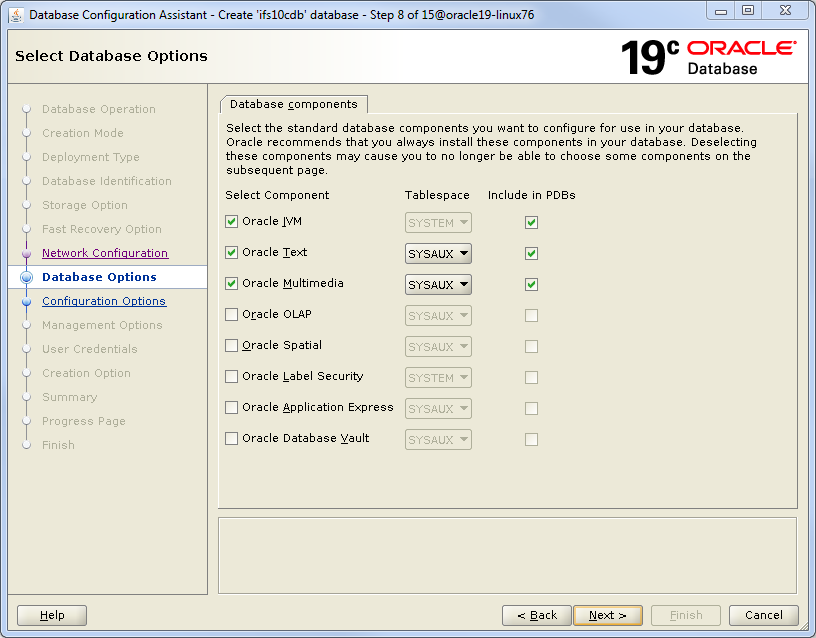
- Step – 8 Select Database Options. To be able to install and run IFS
Applications Oracle JVM, Oracle Text and Oracle Multimedia are required.
Note: database components are required both
in the CDB and the PDB and must be included. Update the Include in PDBs check-box for these
components and then press Next.
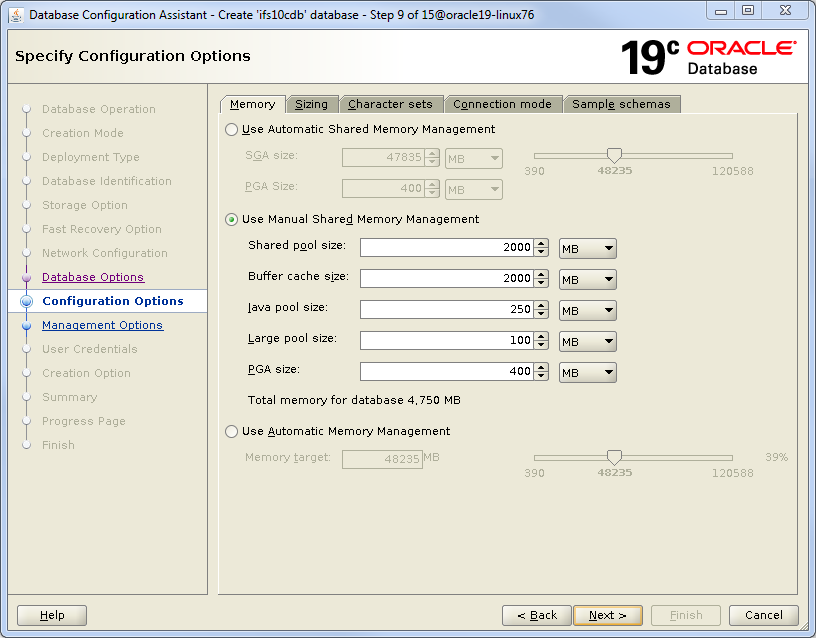
- Step – 9 Specify Configuration Options. IFS recommends using Manual
Shared Memory Management. Default values in the template are valid for a
small production database and can, if necessary, be updated. See Oracle
Initialization Parameter documentation for more information. Then press
Next.
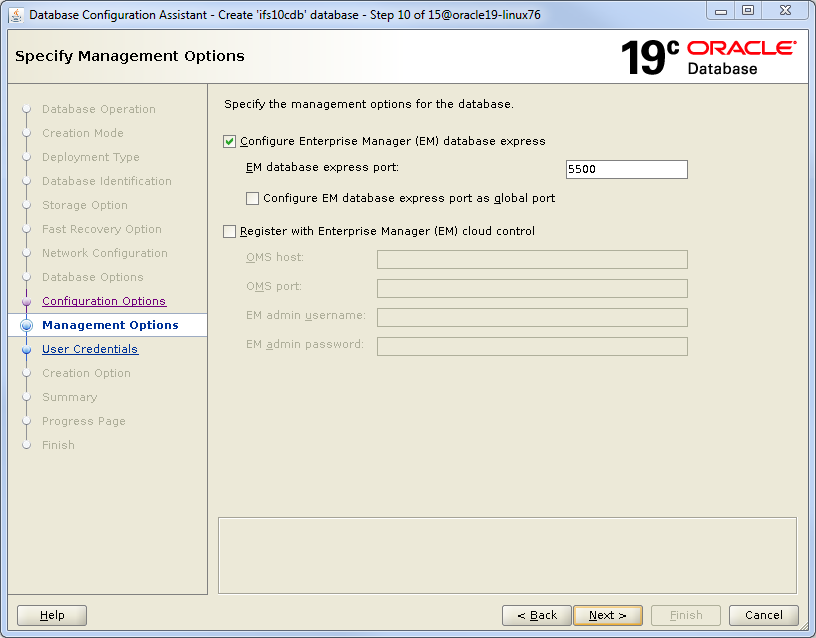
- Step 10 – Specify Management Options. Update the check-boxes if you want
to configure Enterprise Manager Express for the database or if you want to
register the database with an already installed Enterprise Manager Cloud
Control. Then press Next.
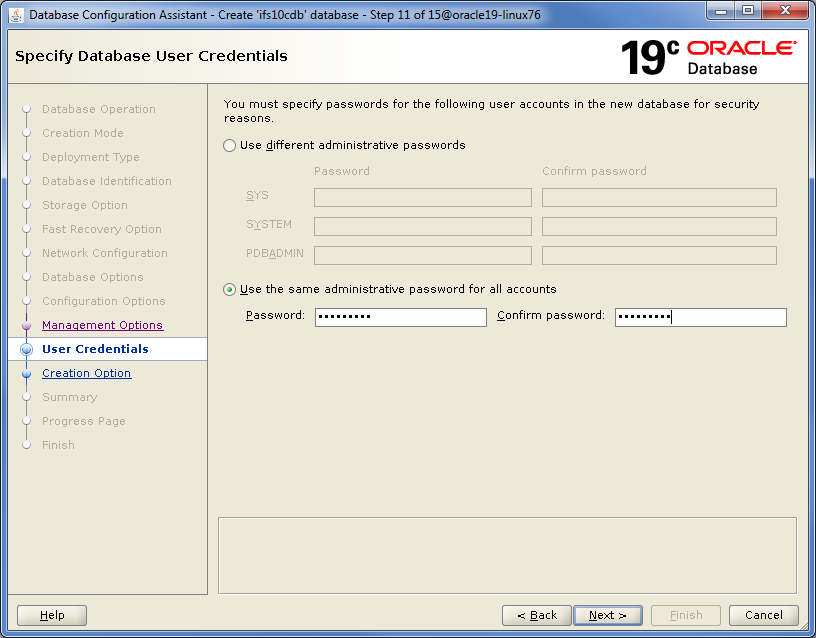
- Step 11 – Specify Database User Credentials. Set passwords for SYS,
SYSTEM and PDBADMIN accounts. Then press Next. Note: Passwords in Oracle 12c
are case sensitive and require both capital letters and digits.
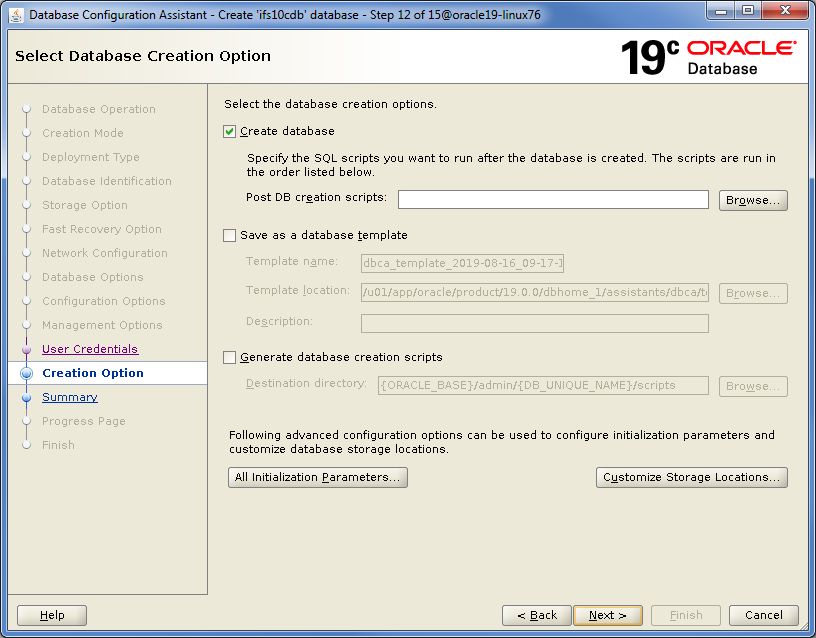
- Step 12 – Select Database Creation Option. Select to Create database and
press Next.
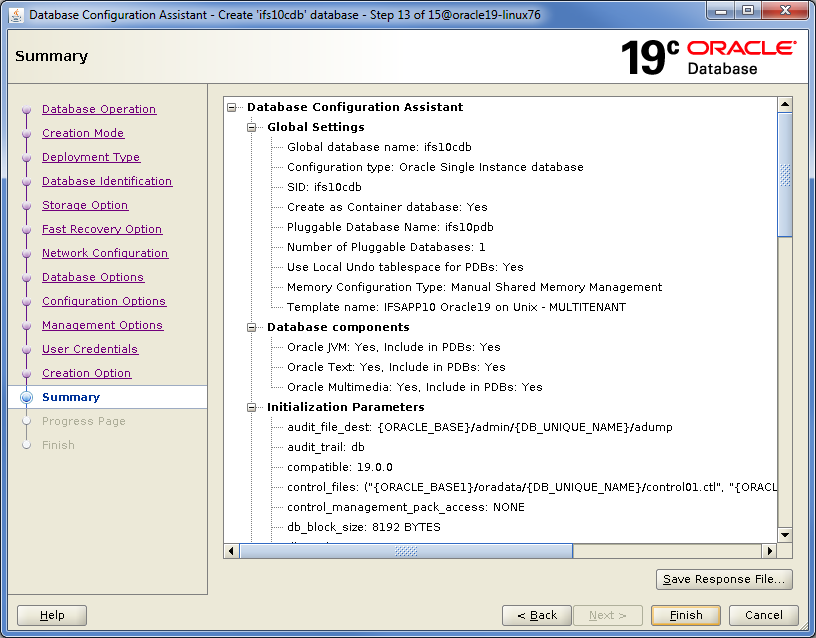
- Step 13 – Summary. Verify the summary and then press Finish to start the
creation of the database.
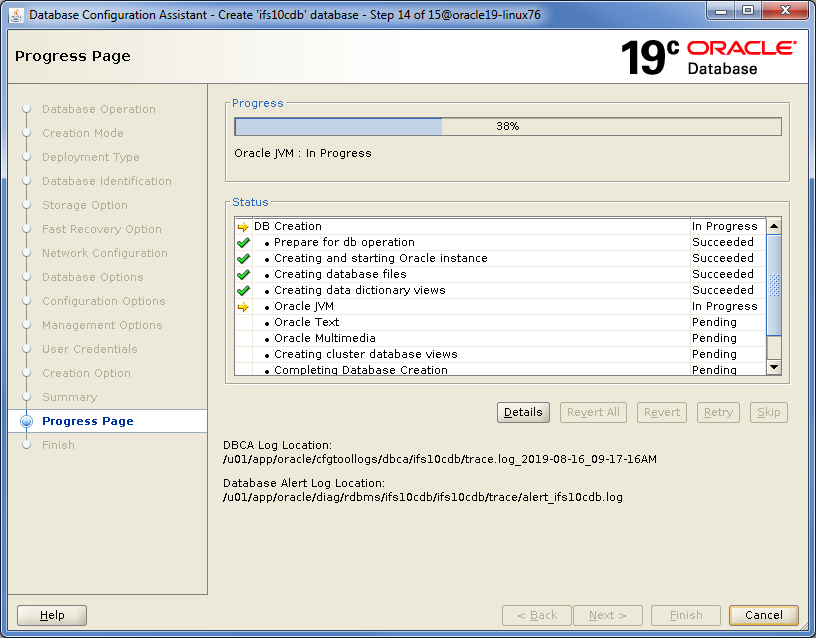
- Step 14 – Progress Page
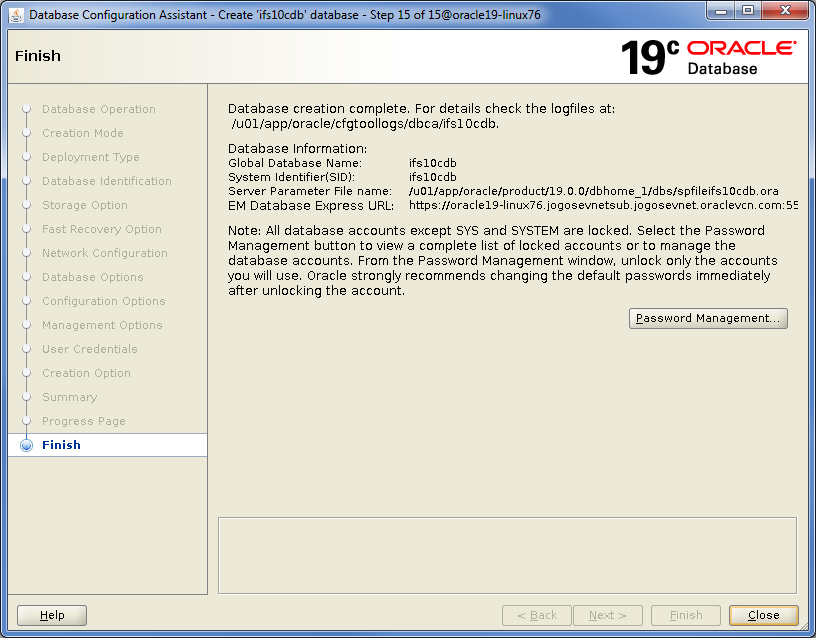
- Step 14 – Finish. Press Close when the installation is ready.
 |
No special verification is needed. |
 |
Contact Oracle support if you have problems. |