| Foundation1 / Administration Aurena / Br And A / Information Sources / Custom Objects / Custom Dim Connections / |
This page provides some examples on how the Custom Dimension Connections functionality can be used.
This example just shows the basic steps how to create a dimension connection to a Fact (Information Source).
Assume that we want to connect the customer dimension DIM_CUSTOMER to GL Balances, FACT_GL_BALANCE. The assumption is that code part H is by the customer used to represent customers in most of the used companies.
First the header is created a saved.
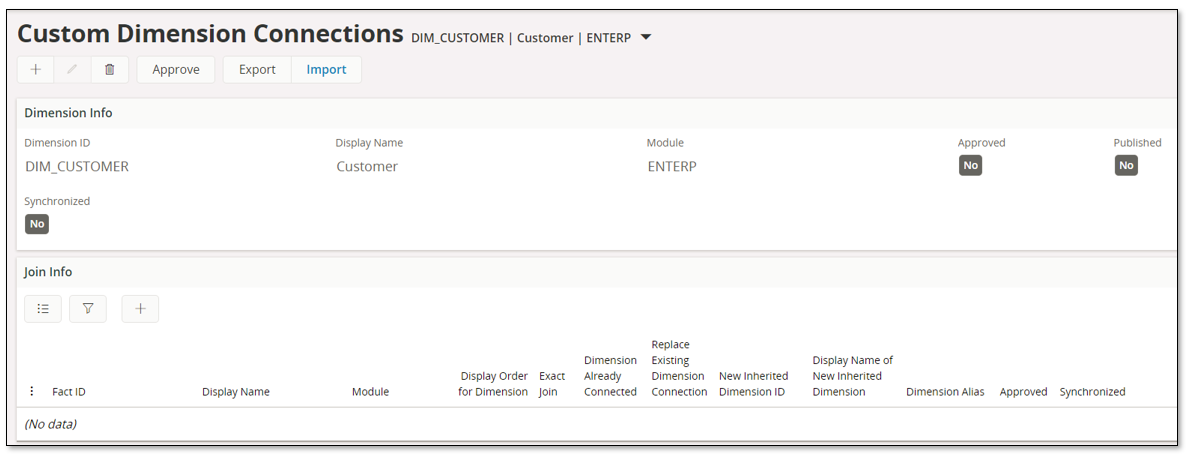
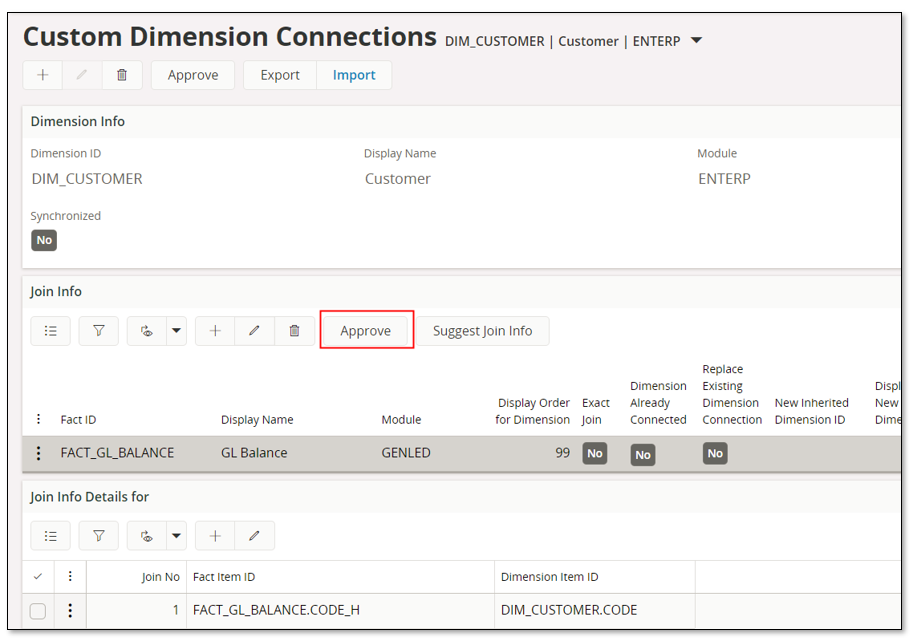
Next the Fact connection is defined in the join info/connections section.
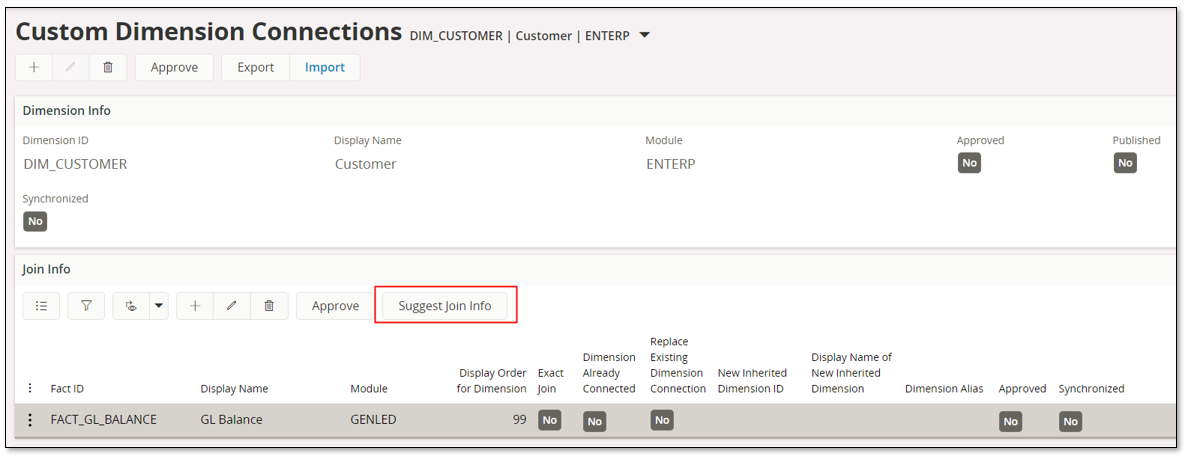
The Fact (Information Source) identity is defined and also the display order in the Information Source navigator. The Exact Join checkbox is not selected since the code part H might not have a value for all GL balances. Then the connection info is saved.
The command Suggest Join Info is used to get a suggested join in the join section. The command opens an assistant.
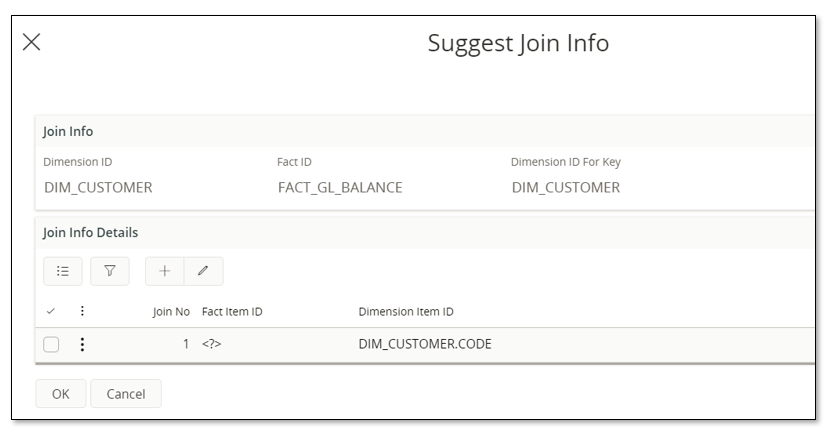
Use LoV to get the possible Fact Item IDs and select the item to be connected to the key of the dimension.
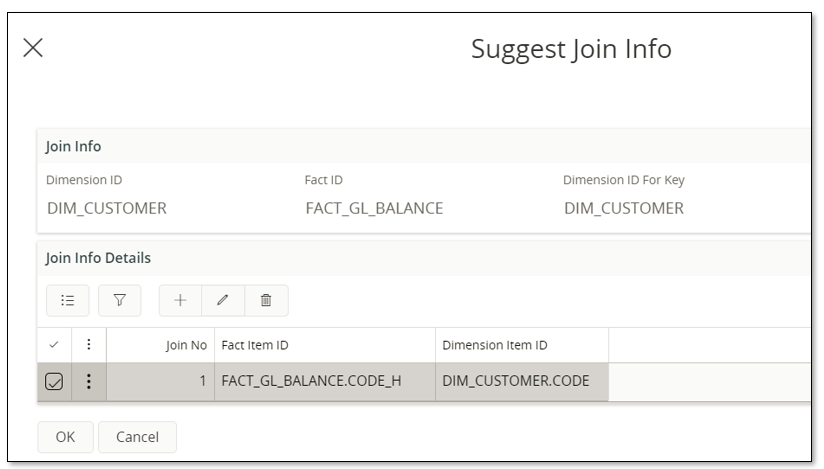
When pressing OK in the assistant, the defined joins are added in the Join Info Details section.
Next will be to approve the connection row.
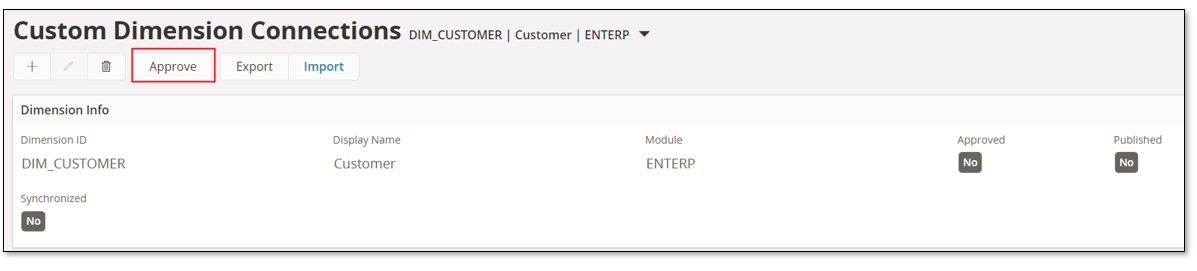
When connections have been approved, the last step to complete the definition for DIM_CUSTOMER is to Approve and Publish on the header level.
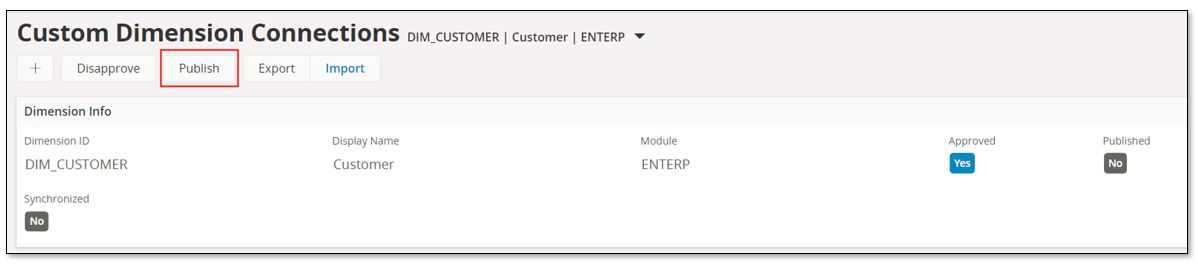
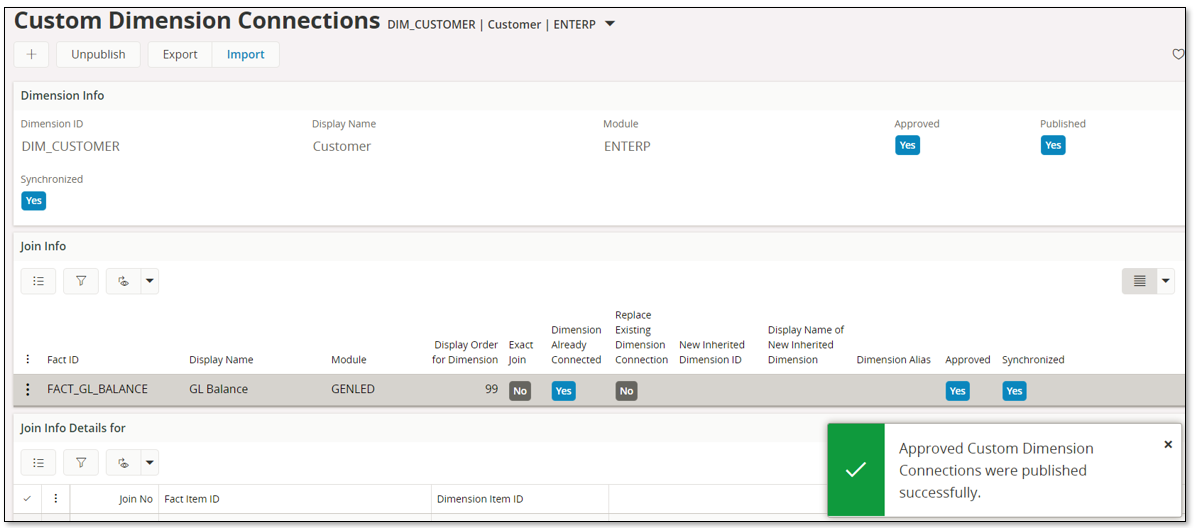
If the Publish action is successful, a message will be prompted to the user.
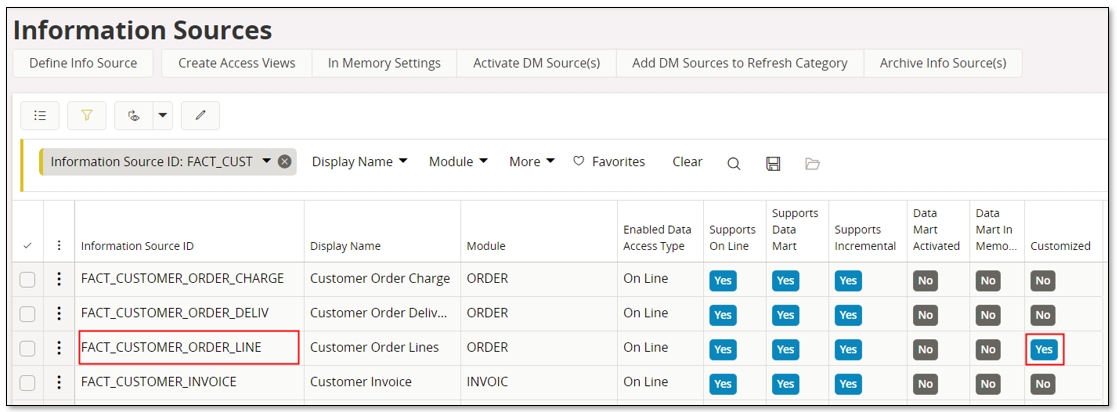
Looking in the Information Sources page it is now possible to see that FACT_GL_BALANCE has been customized. The dimension detail will also show that the connected DIM_CUSTOMER is a customized connection.

In the following example the idea is to do the following:
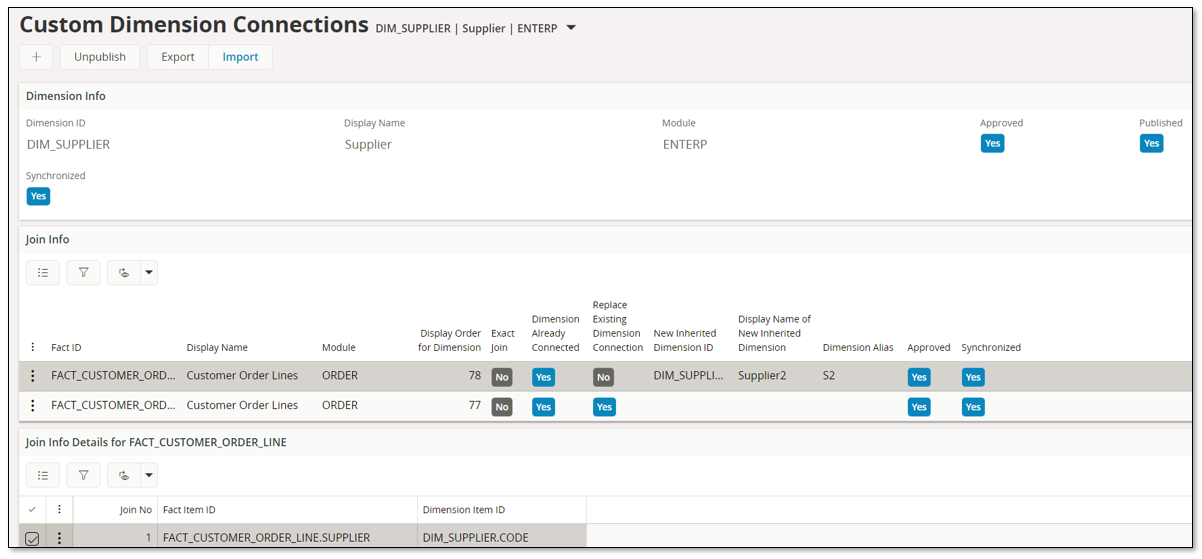
The dimension DIM_SUPPLIER is already connected to FACT_CUSTOMER_ORDER_LINE.
The connection part has two rows, both for FACT_CUSTOMER_ORDER_LINE:
The connection lines then have to be approved and then Approve and Publish is performed on the header level.
Publish will modify how DIM_SUPPLIER is connected to FACT_CUSTOMER_ORDER_LINE and there will also be a new inherited dimension with identity DIM_SUPPLIER2 created and connected to FACT_CUSTOMER_ORDER_LINE.
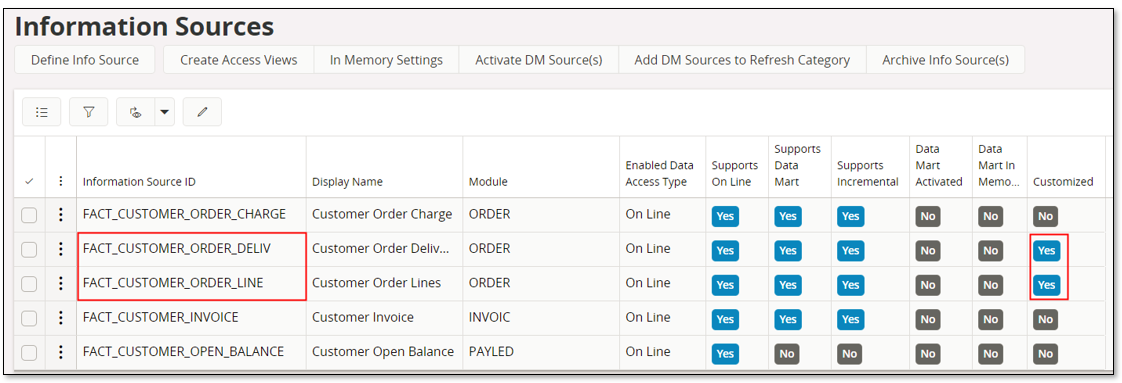
Looking in the Information Sources page it is now possible to see that FACT_CUSTOMER_ORDER_LINE has been customized. The connected dimensions section will also show that the dimensions DIM_SUPPLIER and SIM_SUPPLIER2 represent a customized connection.
In the following example the purpose is to use the general time dimension DIM_BI_TIME to create one new inherited time dimension and then to connect the inherited dimension to two different Facts (Information Sources).
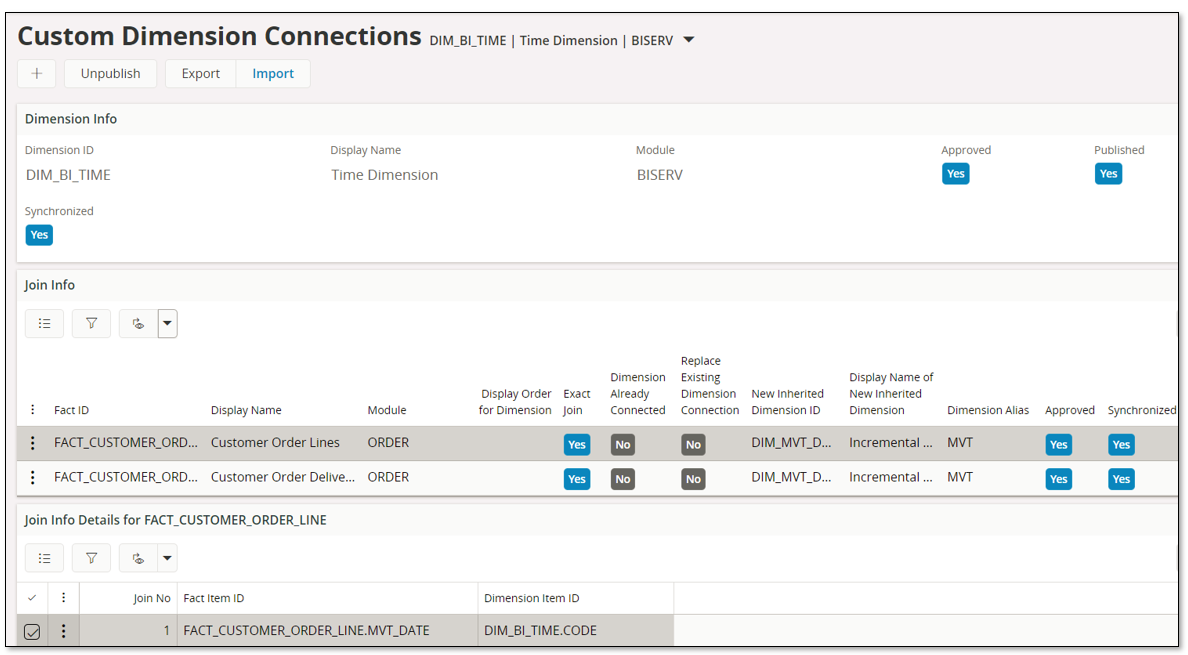
A new record is created and the general time dimension DIM_BI_TIME is specified and then save is performed.
We want to add a new time dimension named DIM_MVT_DATE to the Facts (Information Sources) FACT_CUSTOMER_ORDER_DELIV and FACT_CUSTOMER_ORDER_LINE. In the connections section two rows are created.
Join section
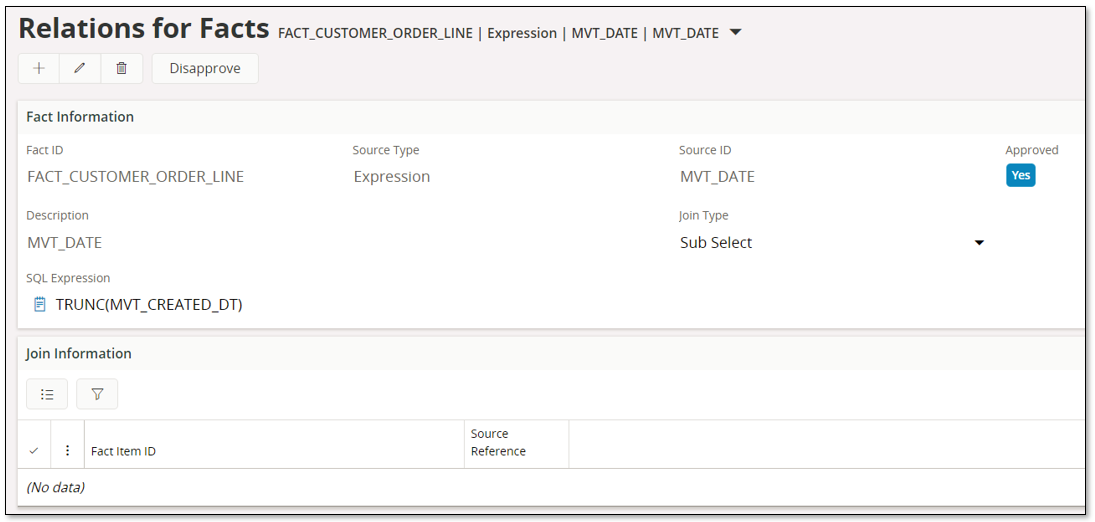
The connection lines then have to be approved and then Approve and Publish is performed on the header level.
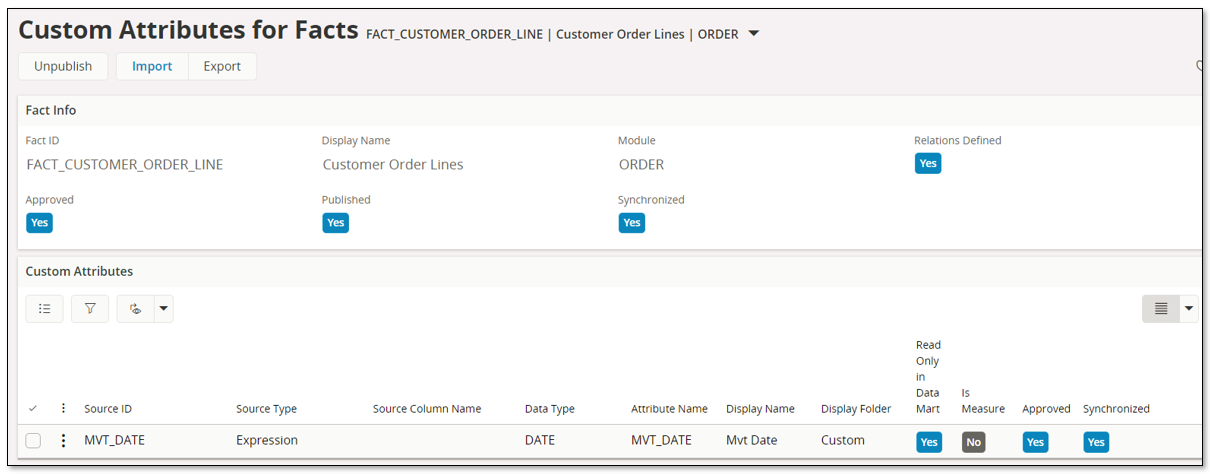
Publish will create a new inherited time dimension named DIM_MVT_DATE, based on the dimension DIM_BI_TIME, and then connect it to the Facts (Information Sources) FACT_CUSTOMER_ORDER_DELIV and FACT_CUSTOMER_ORDER_LINE.
In the Information Sources page, FACT_CUSTOMER_ORDER_DELIV and FACT_CUSTOMER_ORDER_LINE are now defined as being customized. In the Connected Dimensions section in Information Source details, the new dimension DIM_MVT_DATE will be connected and the connection is defined as customized.