Configure HTTP access to Analysis Services on Internet Information Services
(IIS) - Example
This page provides information on how to configure HTTP access to Analysis
Services with Internet Information Services (IIS) using the msmdpump.dll.
Disclaimer: This is only an example. The exact configuration depends on
the specific environment.
Configure HTTP Access to Analysis Services on Internet Information Services
Contents
The instructions on this page assume that IIS already is configured, and that
Analysis Services already is installed. Windows Server 2012 for instance ships
with IIS 8 as a server role that you can enable on the system. IIS 10 is shipped
with Windows Server 2016.
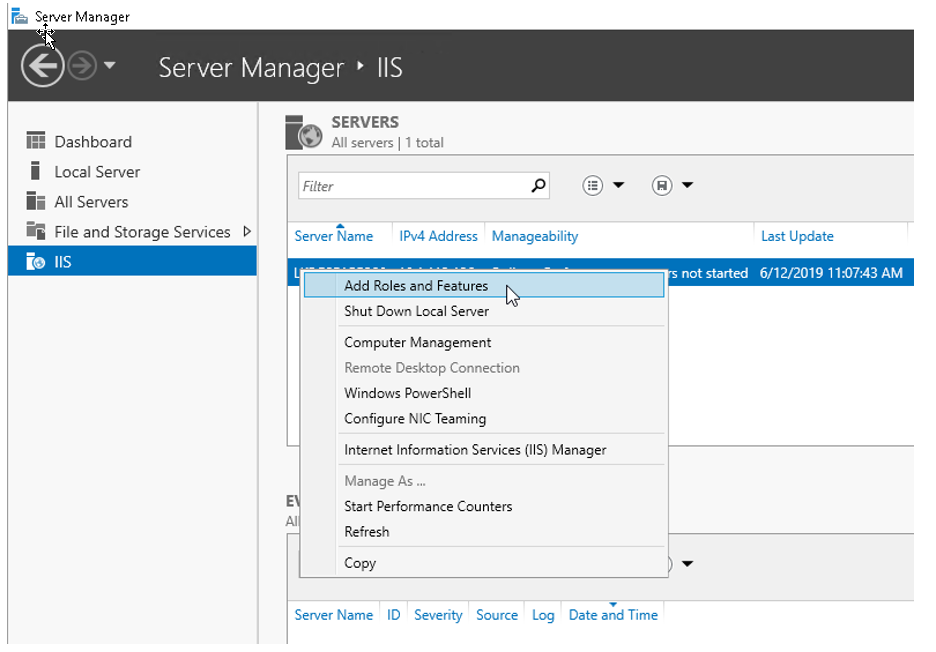
Verify and add the needed server roles through the Server Manager .
Open the Add Roles and Features wizard.
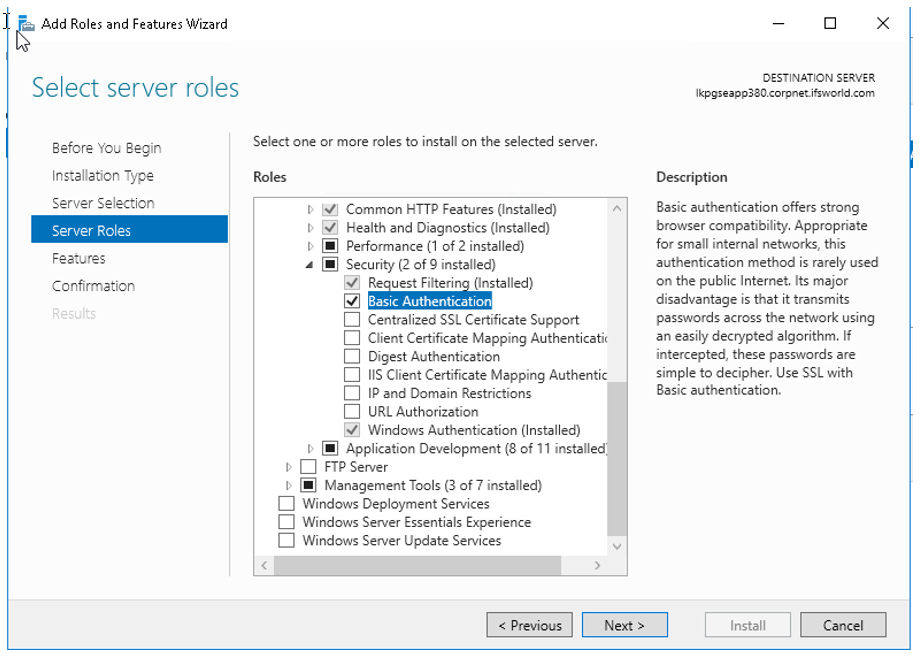
Proceed in the Add Roles and Features wizard to the Server Roles section.
Scroll down to Web Server and expand Security .
Choose these authentication methods:
Basic Authentication
Windows Authentication
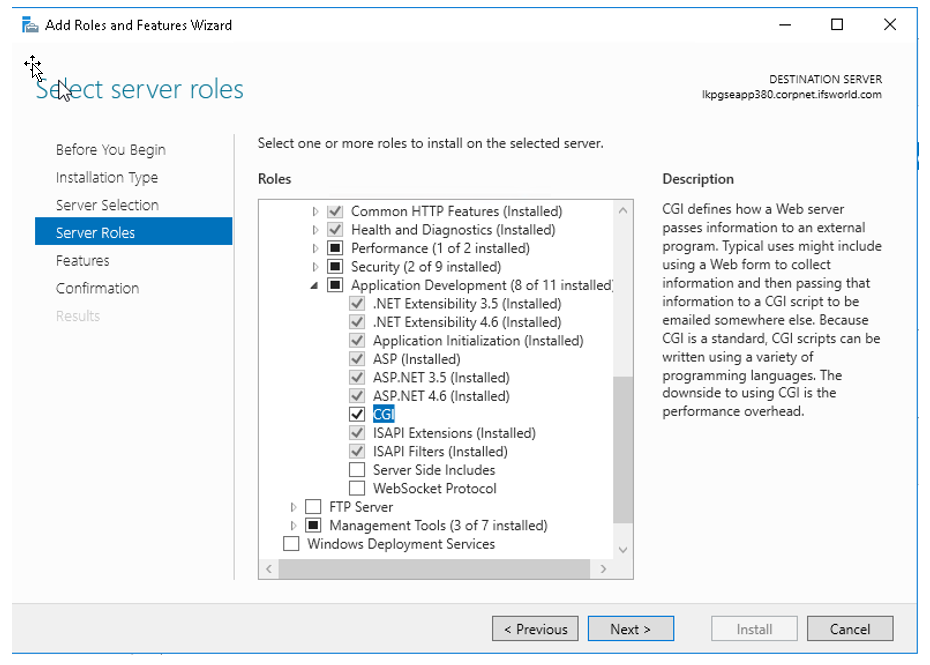
Expand the Application Development section.
Choose CGI and ISAPI Extensions .
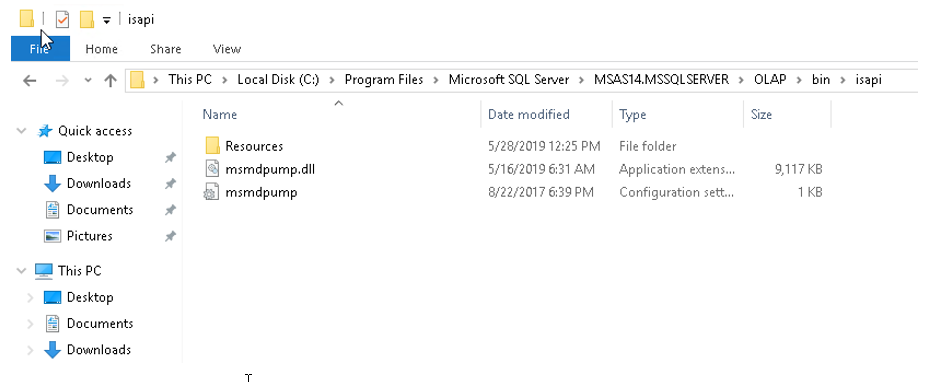
Create a new folder called OLAP in <drive>:\Inetpub\wwwroot
Copy the msmdpump.dll , msmdpump.ini and the Resources folder from
<drive>:\Program Files\Microsoft SQL Server\<instance>\OLAP\bin\isapi to the
newly created folder (<drive>:\Inetpub\wwwroot\OLAP ).
An Application Pool and Virtual Directory will be used
to create an endpoint for the
pump.
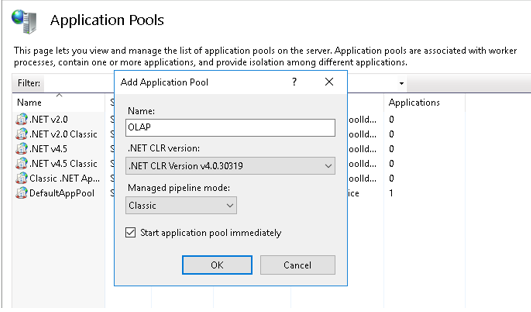
Create an application pool:
Right-click Application Pools
Click Add Application Pool...
Create an application pool called OLAP with the .NET CLR version set to
.NET CLR Version v.4.0.30319 and Managed pipeline mode set to Classic
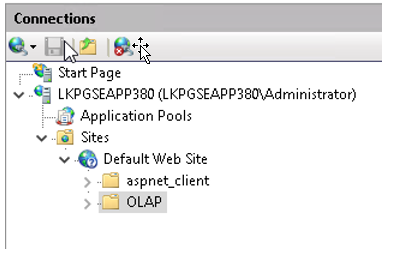
There should now be a folder named OLAP , under the web
site node.
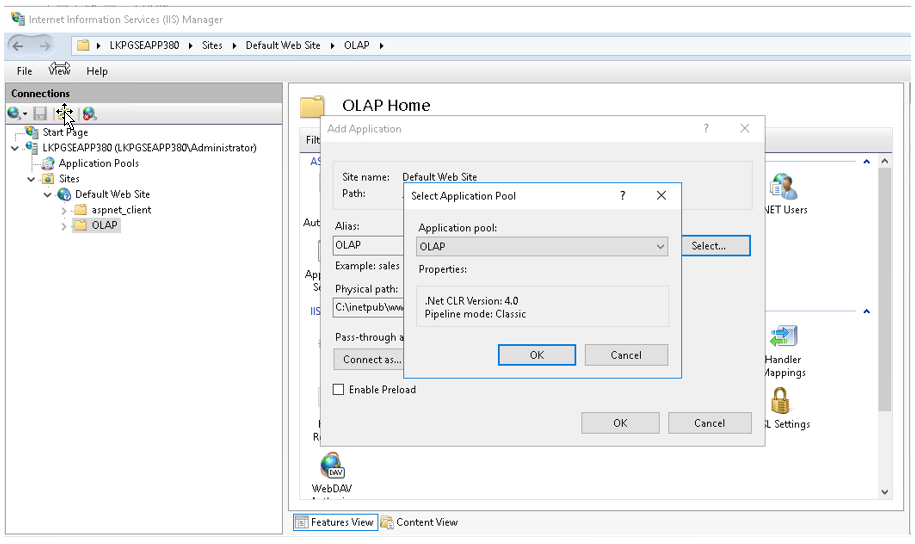
Right-click the folder and click Convert to Application
Choose the application pool named OLAP in the Add Application dialog.
Enter the physical path to the OLAP folder under wwwroot, e.g.
C:\inetpub\wwwroot\OLAP
Click OK
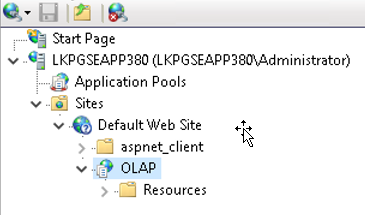
Refresh the web site and notice the changed icon in the navigator.
Select the virtual directory named OLAP in the web site navigator. The main window
will show the OLAP home .
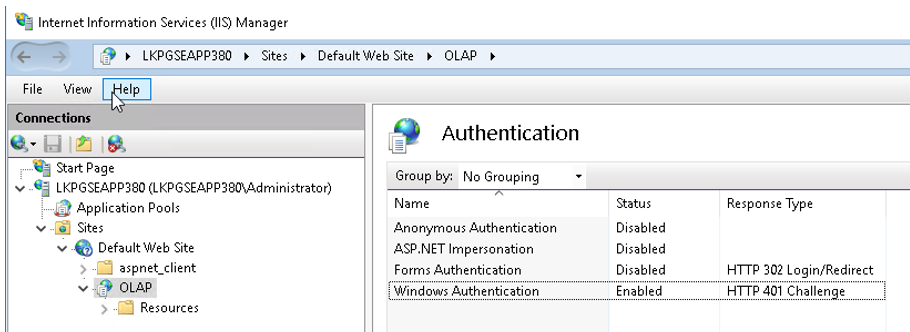
Double-click Authentication in the OLAP home.
Enable Windows Authentication using right-click on that authentication method.
Open the OLAP home again by clicking OLAP in the web site navigator.
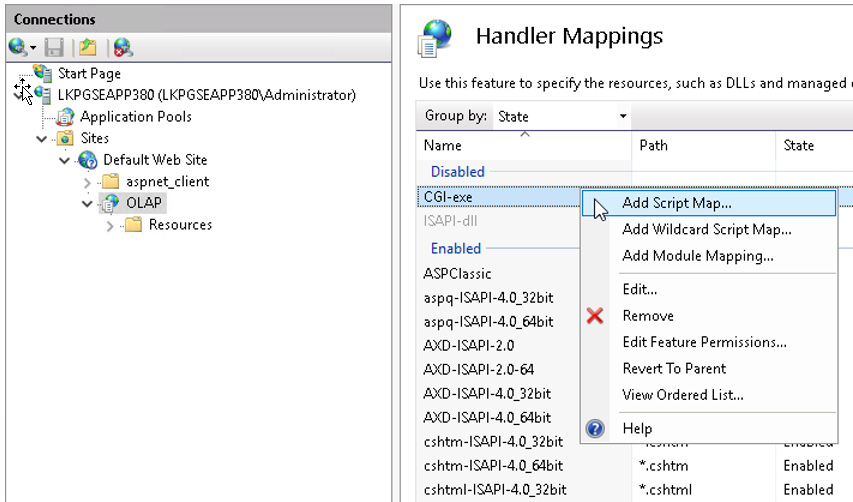
Double-click Handler Mappings on the OLAP home.
Right-click anywhere on that page and choose Add Script Map .
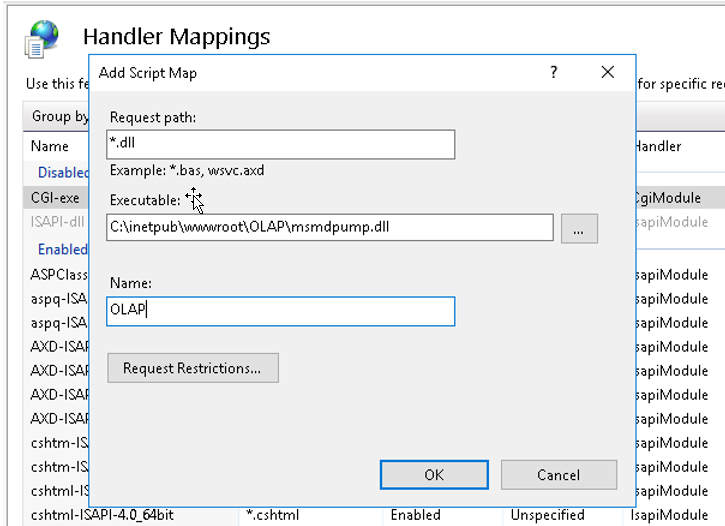
In the Add Script Map dialog:Enter *.dll as
the Request path .
Enter the msdmpump.dll location, e.g.
C:\inetpub\wwwroot\OLAP\msmdpump.dll , as
the Executable .
Enter OLAP as the Name .
Click Yes when prompted to allow ISAPI extension.
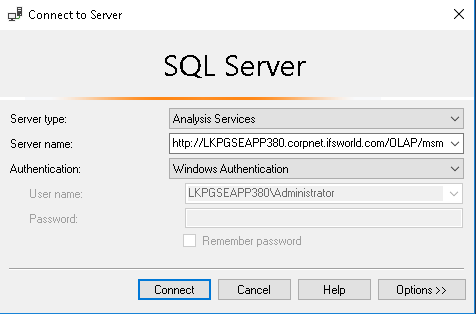
Test the endpoint by connecting to it from SQL Server Management Studio .
Use the endpoint URL as Server Name , e.g. http://<server>/OLAP/msmdpump.dll