Import Language Files
Import Settings
You can choose if you want to import all files in a local directory or manually select the exact files that should be imported. See Import Selected Files or Import Local Directory for more information. It is also possible to execute the import as a background job, this is done by selecting the Run in Background check box. This option is recommended if you are importing a large number of files.
The Refresh Cache option controls if the language dictionary cache automatically should be refreshed after the language or translations files are imported. The dictionary can be refreshed for corresponding language and component when importing a translation file. For language file, the English dictionary be refreshed for corresponding component if this option is selected.
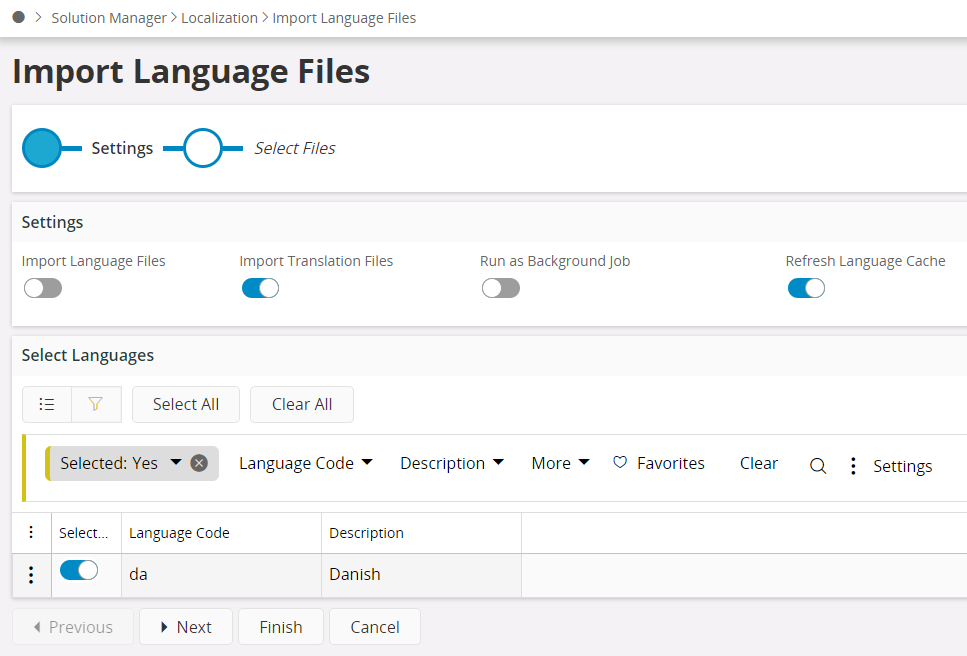
Figure 1 - Import of Danish translations and language files with cache refresh. Note that the English cache is refreshed when language files are imported.
Import Selected Files
Go for the Select Files step and then browse or drag and drop files that should be imported, thereafter click Import.... If the user goes for Browse option, then the Open dialog will be prompted, see figure below. Here you locate and select the file(s) to import. You can select both language and translations files.
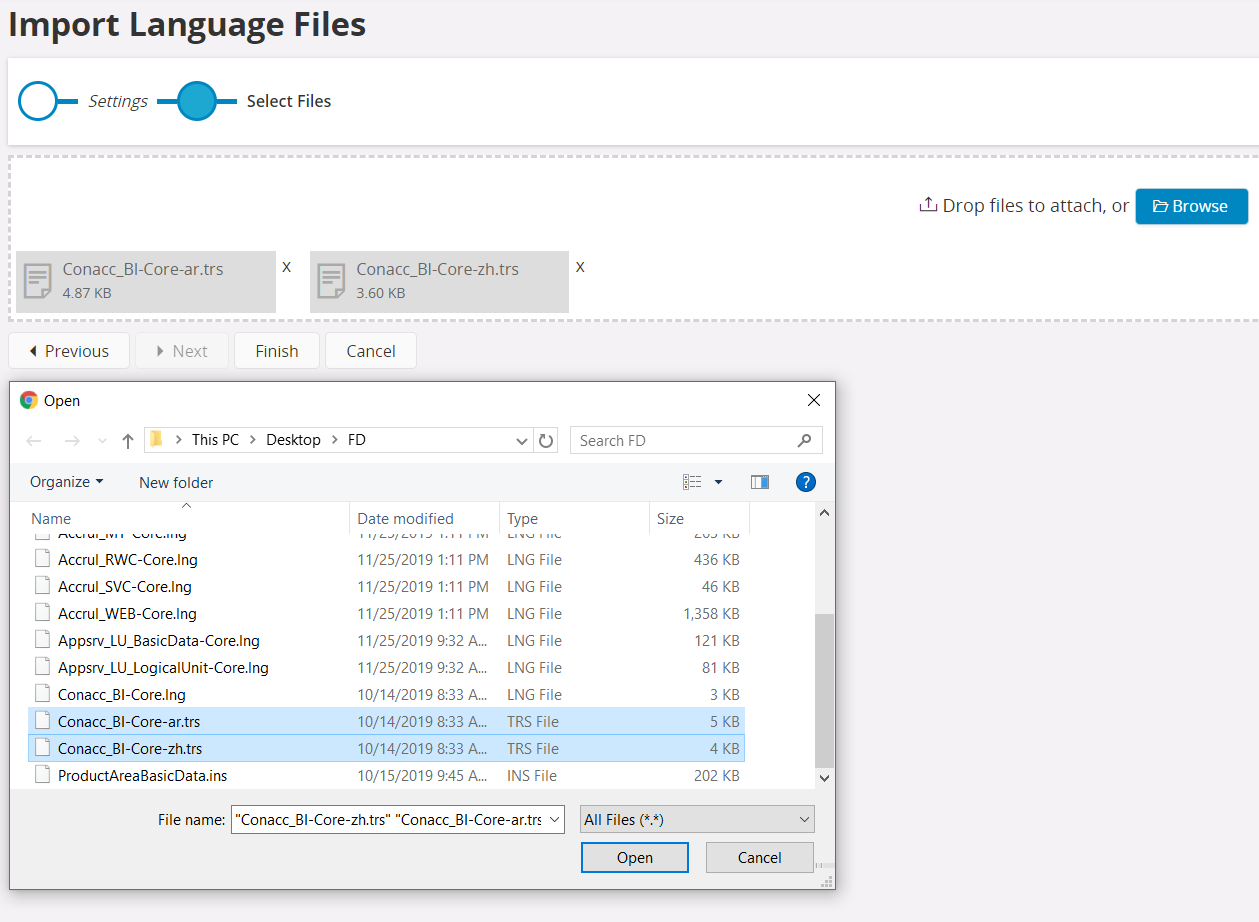
Figure 2 - The dialog for selecting which files that should be imported.
Note: The selected languages in the settings determines which translation files you will see in the dialog, i.e. if you have unchecked Japanese language, you not see any Japanese translation files in the dialog.
After selecting the files to import, press Open to start the import.