Emailing Reports
Content
Overview
Apart from sending an e-mail through the Print Dialog you can use the PDF_REPORT_CREATED event to send an e-mail. The event is triggered upon successful completion of a print job. When the event is triggered the active event action(s) are executed sending an e-mail with the required format you want. This feature is more flexible than sending an e-mail through the Print Dialog. You can have a custom mail body, subject and from user etc. Furthermore you can have a condition to the event action making it execute only when the condition is satisfied. This will prevent from sending e-mail for each and every report you print.
Print Dialog
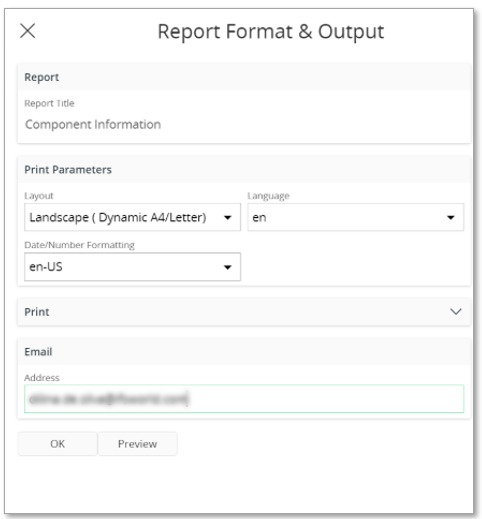
You can send the generated report as an attachment in an Email by selecting the Email section and specifying a valid Email address in the address field. The generated report will be Emailed if you print to a Logical Printer, direct print to a Physical Printer or if you preview it. If you only wish to send the Email and not print it, then you can print the report to the No Printout or IFS PDF Archiver Logical Printer. One thing to note is that the Email subject, body and the attachment name are predefined by the framework and can not be changed.
Report Rule Engine
You can use the Route To Connect or Send Email Action Type to send a generated PDF report as an Email. When using Route To Connect Action Type you will have to use the Connector as Mail. Here you have the flexibility of specifying your own Email subject, body and attachment name.
PDF_REPORT_CREATED event
Using the PDF_REPORT_CREATED event and selecting Email as the Action Type you can send a report to a customer or supplier via Email. Here also you have the flexibility of specifying your own Email subject, body and attachment name.
Create a New Event to Set -Up E-mail
The following is an example of how to setup the event. You can use any available event parameters (PDF_PARAMETER_1 - PDF_PARAMETER_10) you want when setting up the event provided that you have passed the necessary values for the parameters from your application code. Values for the other event parameters such as REPORT_ID, REPORT_TITLE, LANGUAGE_CODE etc. are passed through the framework.
- Open IFS Solution Manager.
- Select Configurations > Events > New Event Action
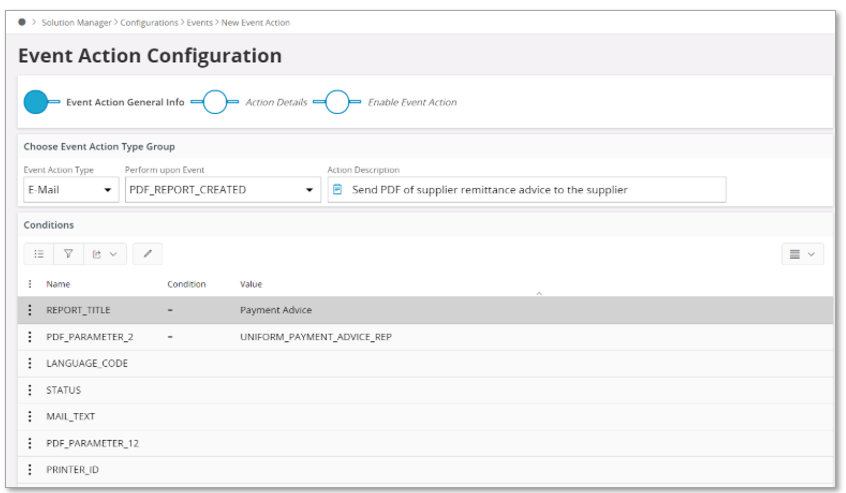
- In the New Event Action page, select E-mail from the Event Action Type field.
- Select the Event ID as PDF_REPORT_CREATED from the Perform upon Event field and enter the title of the report in the Action Description field.
- Select Conditions section and enter the Report ID as the value for PDF_PARAMETER_2
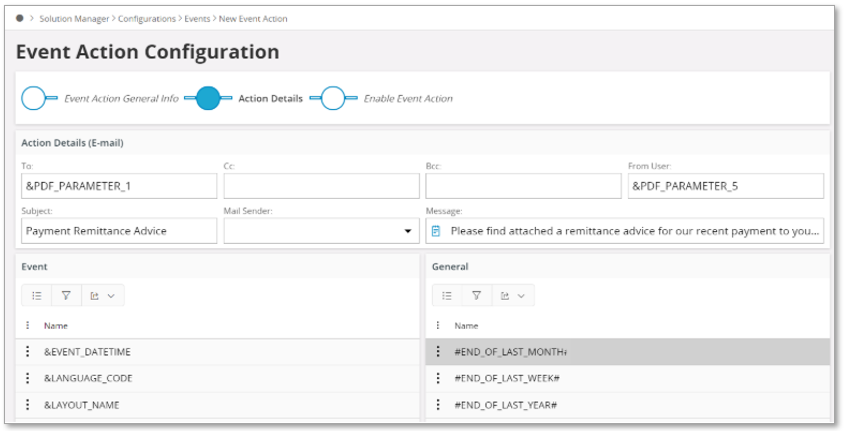
- Enter &PDF_PARAMETER_1 in to the To field from the list and enter it as shown in the screen shot below.
- In the Subject Field, enter the subject of the email. For example, the name of the report can be entered as subject.
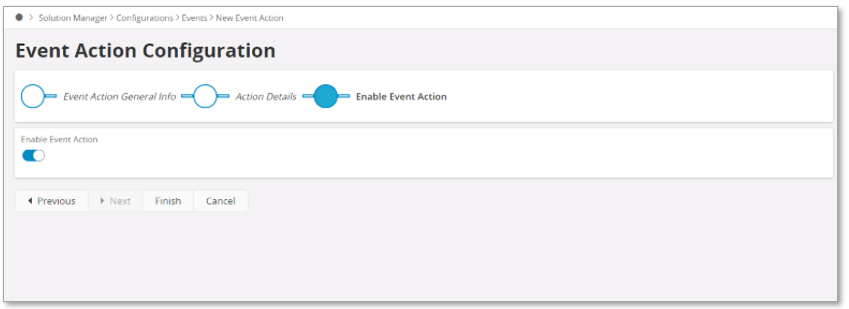
- Select the Enable Event Action toggle button in the New Event Action page and save the event.
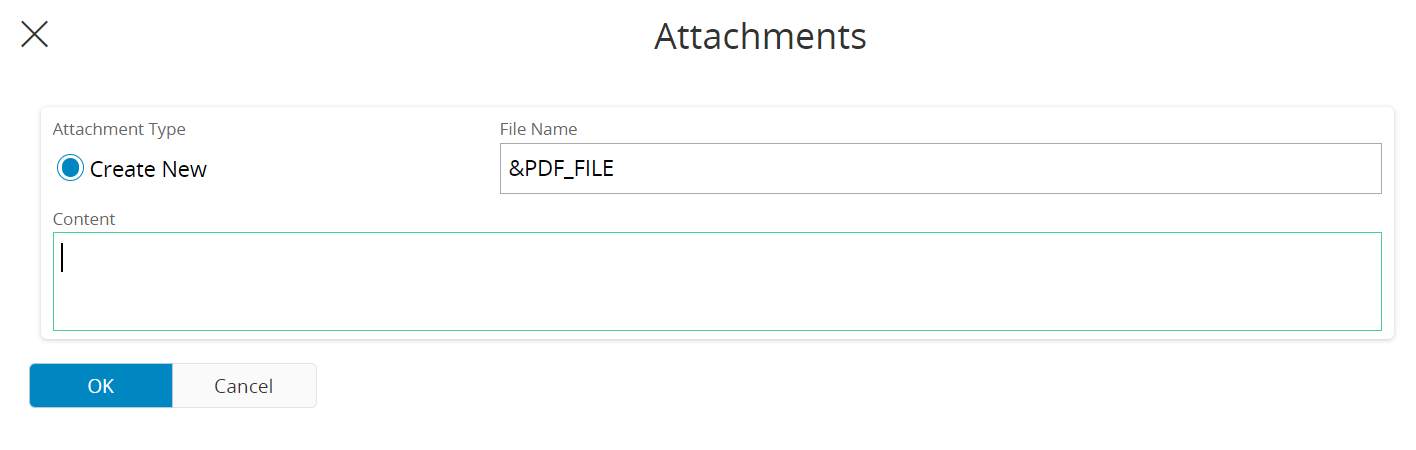
Steps to add Attachments to the email using event action
- Select the relevant event action and click on Add Attachment command.
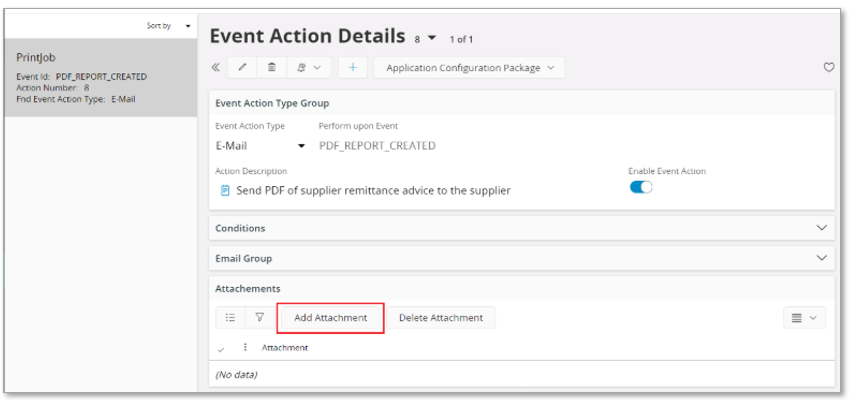
- Enter &PDF_FILE in the File Path field.
Add Default Values for Event Parameters
Defining default values for event parameters of the above PDF_REPORT_CREATED event can be done in Report Definition file (.rdf) of each report. Default values for PDF_PARAMETER_1 to PDF_PARAMETER_10 can be defined this way using interface in PdfReportEventParam logical unit.
Example:
Pdf_Report_Event_Param_API.New_Parameter ('MODULE_REP', 'PDF_EVENT_PARAM_1', 'STRING', 'someone@test.com');
Pdf_Report_Event_Param_API.New_Parameter ('MODULE_REP', 'PDF_EVENT_PARAM_2', 'STRING', 'MODULE_REP');
When Print Jobs are directly created from an application functionality (such as Releasing a Customer Order), in most cases these parameter values are set from the business logic of the relevant product area & stored in Settings column of the Print Job. The default values added from the above method are overridden by the values of the Print Job Settings.
Default values are used in scenarios such as print via Print Dialog where the Print Job Settings are absent.