Working with Images
The process of adding an image to a layout consists of two main steps.
- In the Report Designer layout tool, you must add a reference to the image by adding an image object to the layout and specifying the required image settings.
- Include runtime support for the image. This page describes different scenarios related to working with images as follows:
i. Standard images or logos - When adding runtime support for the image in IFS Cloud, one can have the image stored on a database.
ii. Custom images from database - When adding runtime support for the image, one can have the image stored in a database and have it fetched (in runtime) by using an SQL query referring to a view that has the image data.
These images could be logos, images, or images used for signatures. Please follow the instructions on Report images page to learn how to manage, import & export images that are used on reports.
Standard images or Logos
In this approach, the image to be fetched in runtime is stored on a database. This could be either on the application server or on a different machine. Following are some common scenarios of working with images where the image is stored and fetched from the database in runtime.
How to add an IFS company logo
The steps below describe adding an IFS logo (IFSlogbw.gif) to your report. This includes adding an image reference to the layout in design time and storing the image on the database for runtime support.
- Set the default graphics path in the Report Designer tool - Go to IFS Report Designer Options dialog (Edit menu Options ) and specify the Graphics path as shown below:
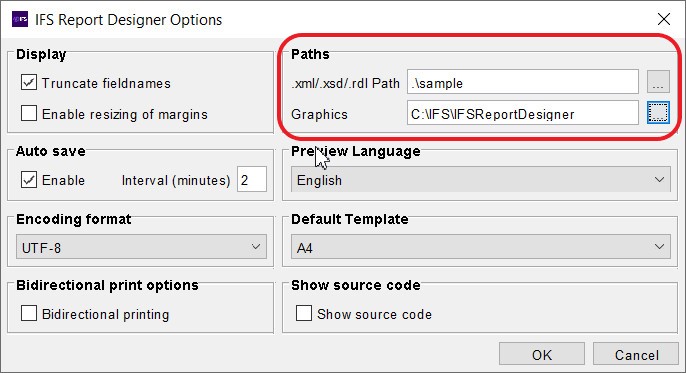
This is generally a file location in your client machine and needs to be done only once since it is a tool setting.
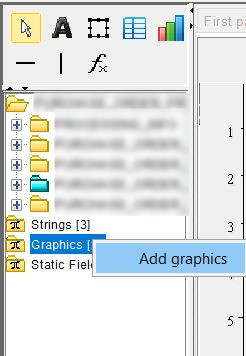
- Add the image to the schema tree - Go to the Graphics folder listed under the schema tree and select Add graphics from the RMB menu options.
- Browse to the image you want to use.
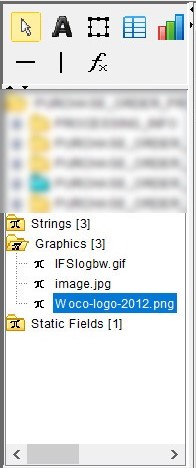
Press Ok to continue. The selected image file will now be listed under the schema tree as depicted below. Once the image is added a folder structure containing this image will be created under the graphics path specified in step (1).
This structure comprises of the following elements. report_designer_graphics\<module_name>\<package_name>\Woco-logo-2012.png.
-
Now place the image on the layout by simply dragging and dropping the image from the schema tree to the layout. It's important to remember in this step that it is only a reference to the image that is added to the layout and the actual image does not get embedded to the layout. The reference to the image is usually a file path or a http path which will be used in runtime to fetch the image from its stored location.
-
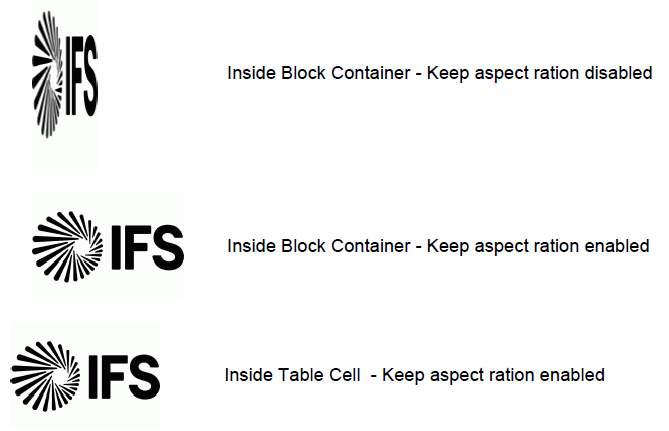
When you drag and drop the image on the layout, the image property "Keep aspect ratio" will be selected.
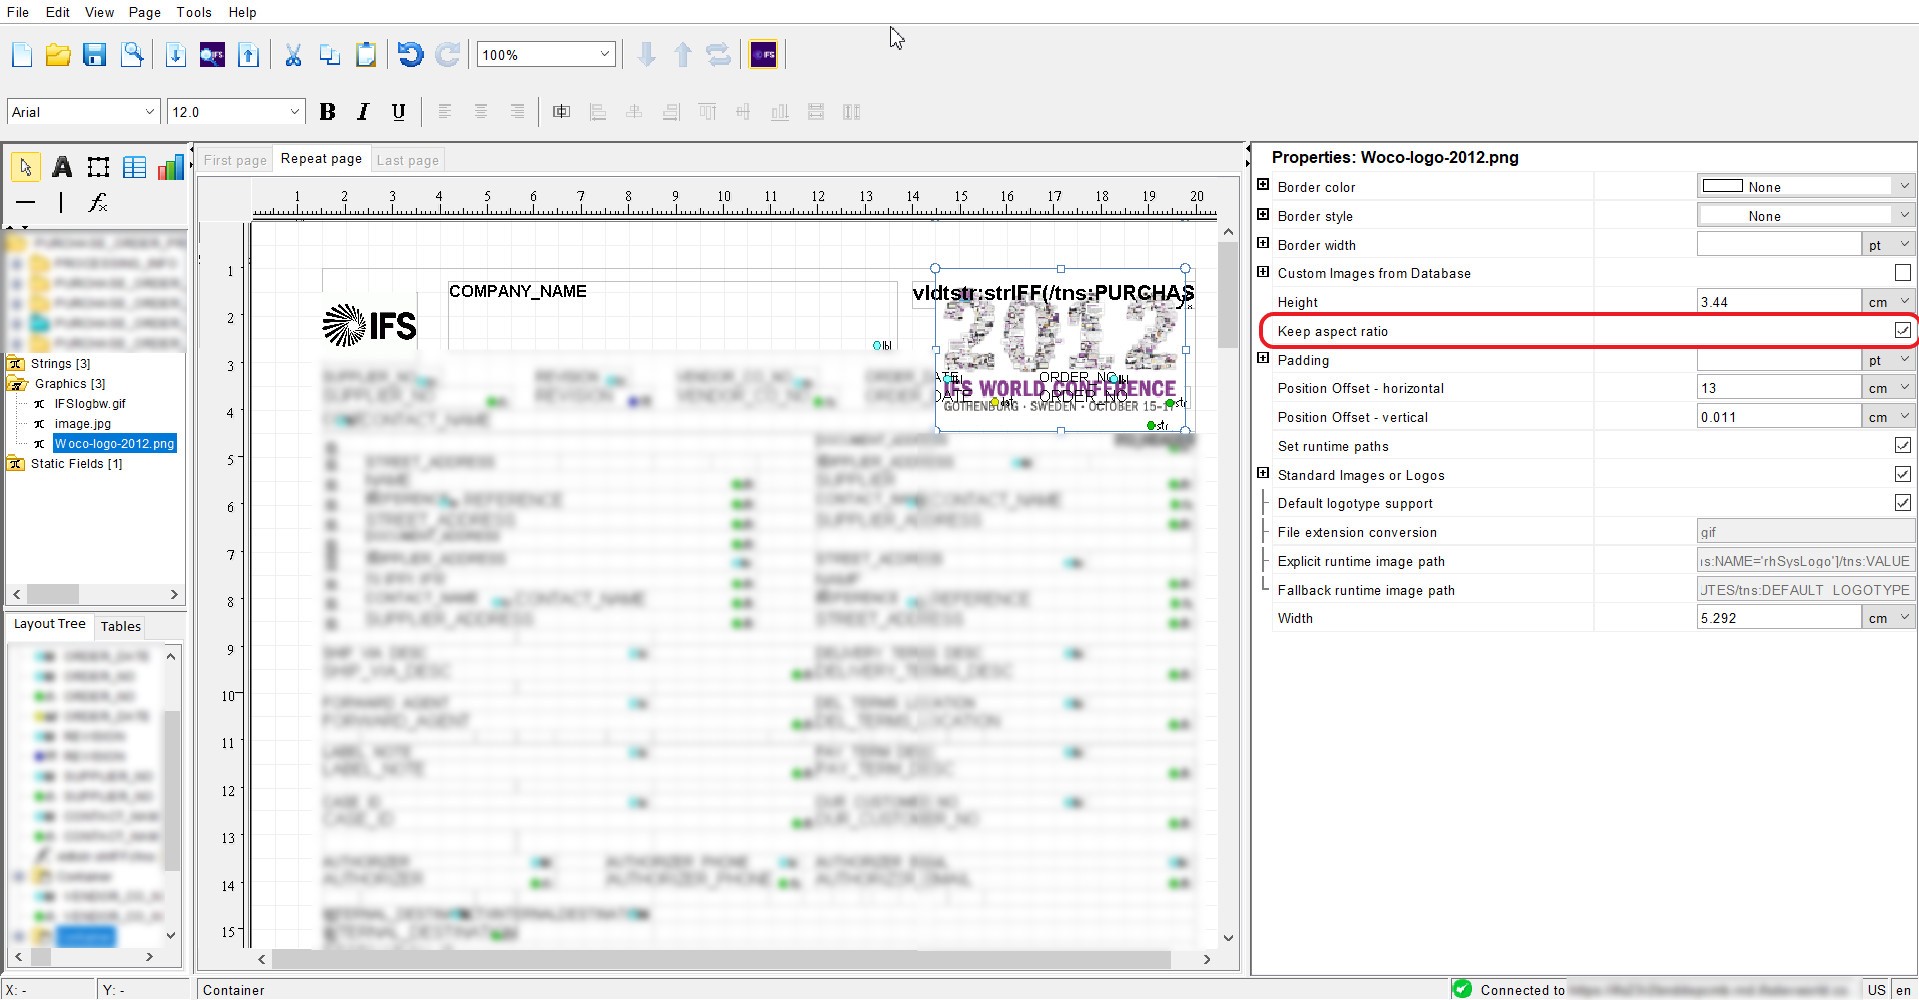
If the property is checked the image will shrink until it completely fits inside the container box/table cell width. The aspect ratio (proportions) of the image will stay as the original. The alignment inside the box will be upper left corner. If the checkbox is unchecked, the image will align to the upper left corner, but the image will be resized according to the parent (Container) dimensions. Following image shows the sample preview of different instances, when the property enabled and disabled. For table cell this option is always on.
-
A) To get the default logotype behavior simply select the Standard Images or Logos option and check the default logotype support check box. The default behavior will work as follows.
i. If an archive variable with the name
rhSysLogoexists for this particular archive item that logotype will be used.ii. If no
rhSysLogoarchive variable exists the logotype specified in the default logotype XML element will be used. This logotype is either the complogo.gif if such file exists or the ifslogbw.gif if no complogo.gif exists. Both these files should be located in the stdlogo sub folder in the specified Report Designer graphics root folder.iii. Any logotype path specified in rhSysLogo archive variable will be overridden by changing the file extension from.bmp to.gif. This is necessary since IFS Report Designer doesn't work with bitmap images. Any bitmap logotype used needs to be converted to gif, jpeg, or png images to be able to be used with Report Designer.
B) To add a non-IFS company Logo
i. Set the default graphics path in the report Designer tool if it’s not done already.
ii. In order to view this company logo from the tool’s preview you must have the corresponding image file in your client machine. Name this image file as complogo.gif
iii. Add a reference to the image file in your layout by following the steps mentioned from 2 to 4.
iv. Select Standard images or logos option & make sure the default logo support check box is checked.
v. Execute the report and verify that the company logo can be previewed in runtime.
NOTE: If complogo.gif file does not exist, IFS logo will be shown as the default company logo.
- Save and preview the layout from the tool and verify if the image is correctly shown in design time.
How to add a standard image
Sometimes you may need to add a static image that does not necessarily serve as a company logo rather servers a different purpose in the report functionality. If your requirement is such then follow the instructions below to get the images working for your report.
-
Perform the steps from (1) to (4) listed in How to add a standard logo mentioned above. This will create the following folder structure inside the tool's default graphics path. See step (1).
report_designer_graphics\<module_name>\<package_name>\image_name.gif.
-
Select the option Standard Images or Logos and clear the following items:
i. Checkbox for default logotype support (Uncheck)
ii. Value set for Explicit runtime image path
iii. Value set for Fallback runtime image path
-
Set the File extension conversion value to that of your image file (gif, png, or jpeg)
These images could be logos, images, or images used for signatures. Please follow the instructions on Report images page to learn how to manage, import & export images that are used on reports.
Custom Images from Database
In this approach, the images to be referenced in the report must be stored in the database. When a request is made to print or preview the report the image/images are directly fetched from the database table. The relevant image is returned using an SQL statement that is specified in the layout. This approach could be used in cases where you want to fetch images from views other than the standard views used for logs and images. This query is set using the Report Designer Tool as shown below.
Please follow the below instructions to add an image to a report using the ‘Custom images from database’ function:
- Add the image to the schema tree. Go to the GRAPHICS folder listed under the schema tree and select ADD GRAPHICS from RMB menu options

- Drag the image into the required position in the layout.
- Select the PROPERTIES window and select the Custom Images from Database section.
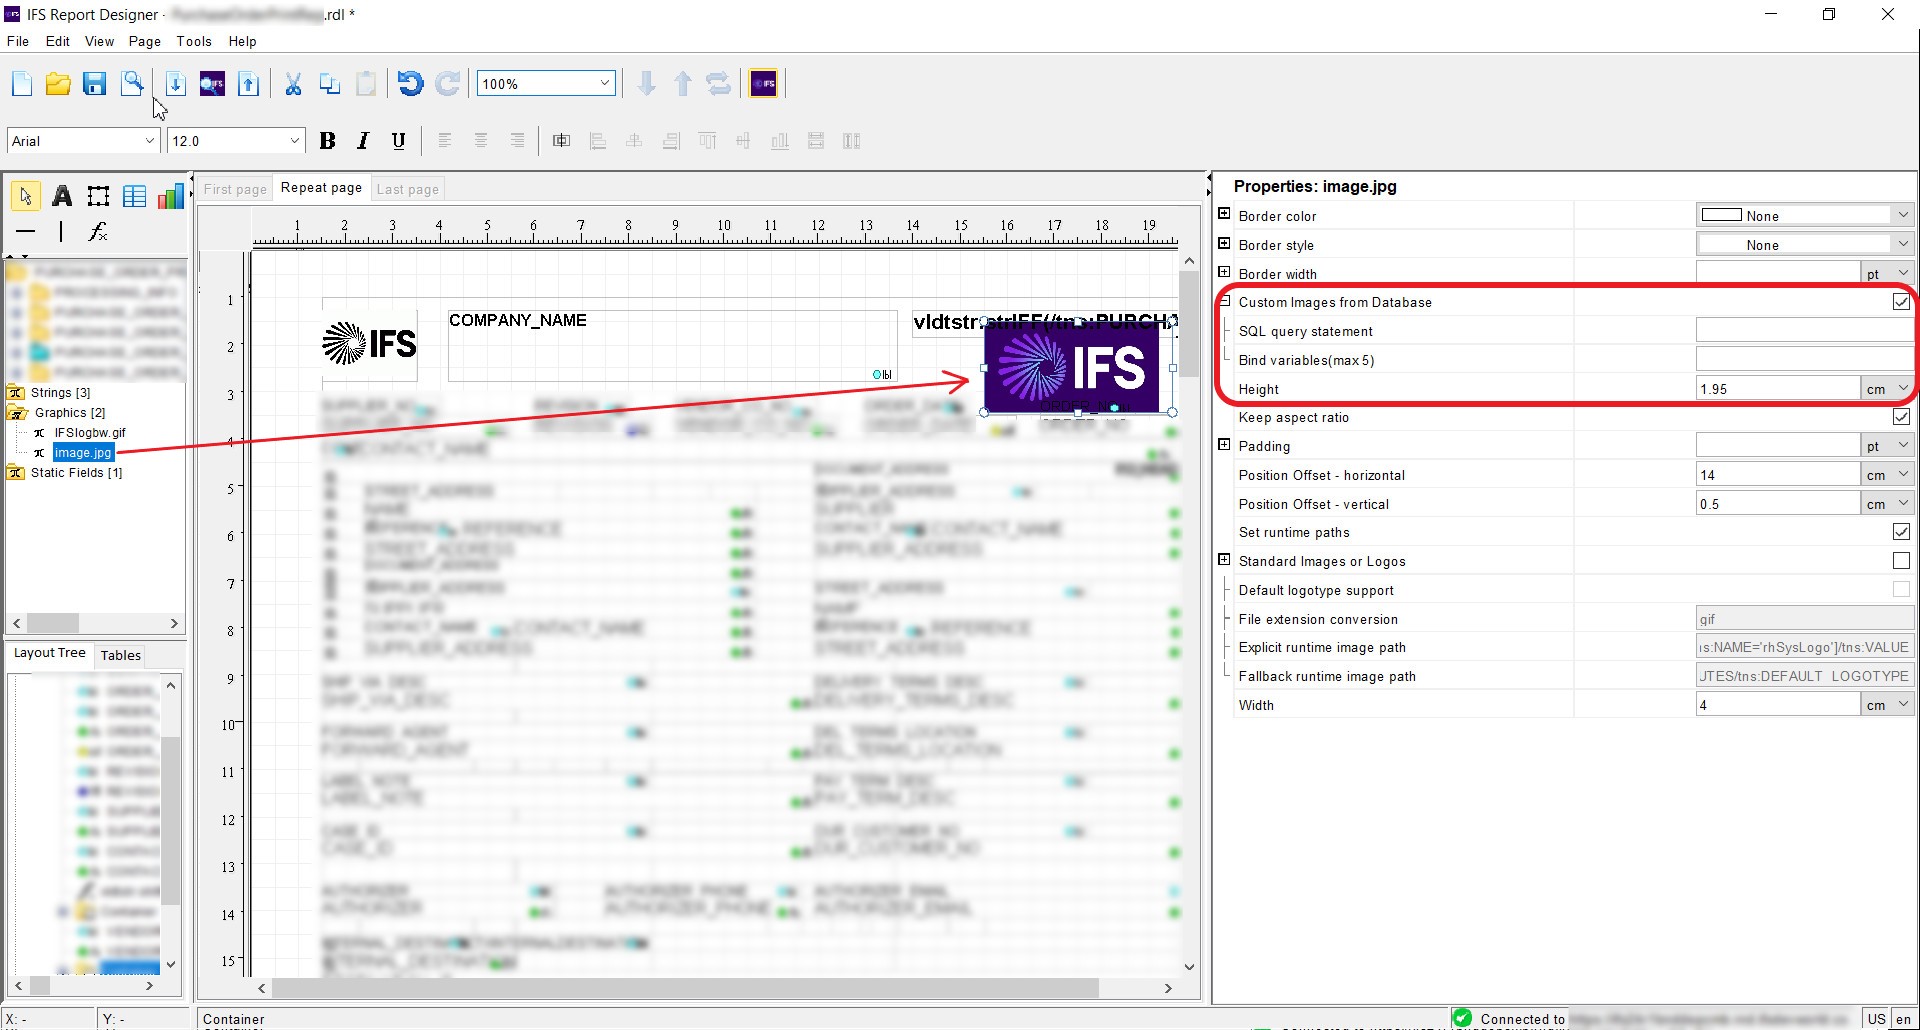
Note: You need to uncheck the “Standard Images or Logos” & “Default Logo type support” which might be checked by default.
-
Feed the SQL Query statement according to the image type using the following syntax.
(SELECT data FROM binary_data_block WHERE blob_id=:1 AND seq=:2)
The values given for the WHERE clause can be passed on as Binding variables. For instance, in the above example, the value for blob_id is mapped to the first bind variable (tns:PICTURE_ID) which is denoted by "=:1" and the value for seq will be mapped to the second bind variable(1) which is denoted by "=:2".
Up to five bind variables can be specified in the field Bind variable values each separated by semicolons. The value given for a Bind variable can be an Xpath such as tns:PICTURE_ID returning a valid id or even a hardcoded value such as the second bind variable in the example above. When the report is executed in runtime the above SQL query information you provide is used to retrieve the correct image from the database table.
-
Once the layout is completed, upload the layout files into the report definition.
However, when the report is previewed from the Report Designer Tool, the images are fetched from the client machine where the tool is running and not from the database. Similar to how it works in the all of the previous scenarios listed above.
To complete the runtime setup make sure the images have been saved onto the database. Use BLOB or LONG RAW formats for storing.
Use of rhSysLogo
The rhSysLogo variable specified in the RDF can also be used specify different image paths depending on different report conditions. For instance one can set different image paths to the rhSysLogo variable depending on different company id's. This way you can display the different company logo's on the same report when the company id changes.
- Add an image object to the layout.
- Make sure the Default logo support checkbox has been selected.
- Execute the report and verify if the image can be seen in runtime.