Tips and Tricks - Migration Utility Jobs
There are a couple of jobs which belongs to MIG_UTIL group. These jobs are created when the FndmigUtil.ins is deployed (fndmig\database\fndmig).
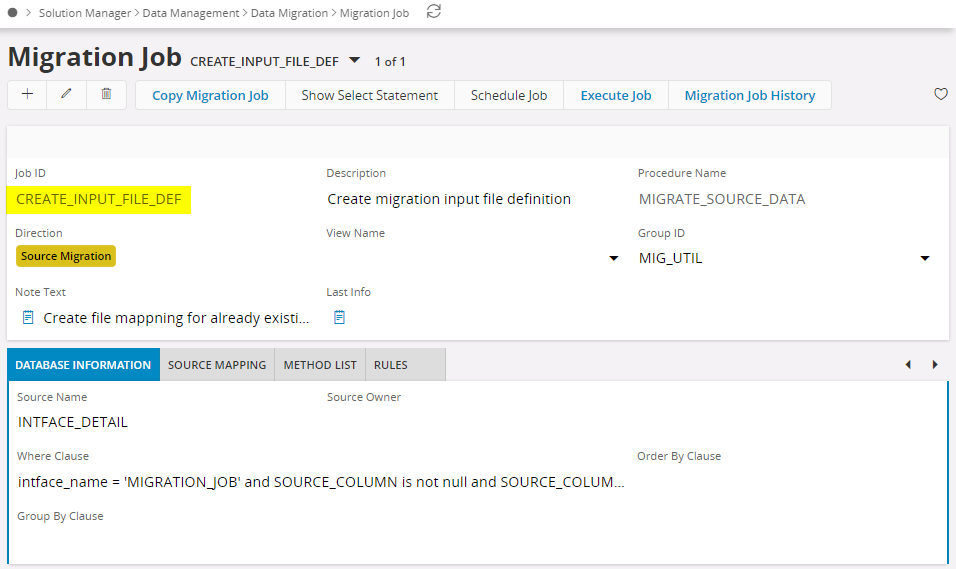
CREATE_INPUT_FILE_DEF
Use this job to create file mapping for a already existing LU Migrations by using source mapping.
Steps
- Create the new job for the load file job with procedure CREATE_TABLE_FROM_FILE
- Change WHERE clause on CREATE_INPUT_FILE_DEF job to the job id from which you want to create migration load file job.
- Change default for intface_name in this job to the job id you created under item 1)
- Run this job.
- Remove duplicate column names that has been created in "File Mapping" for the job and check that the result is the wanted.
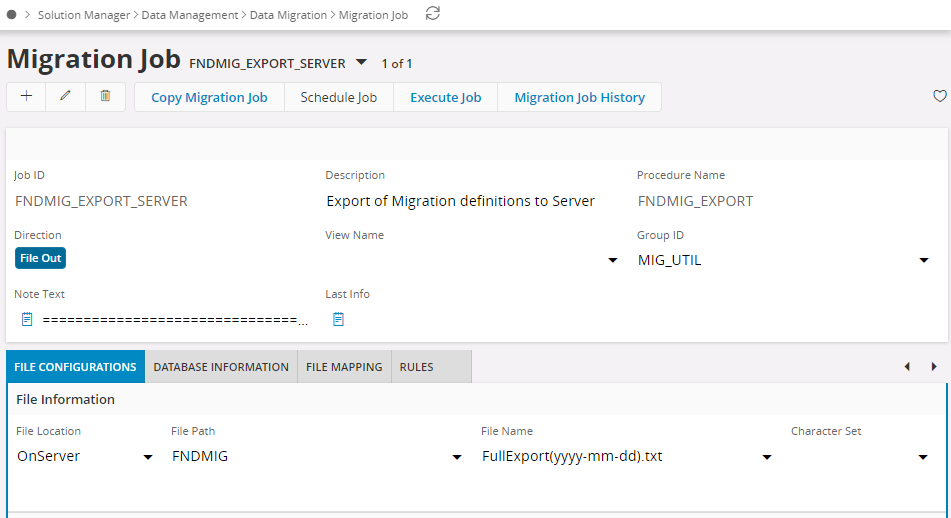
FNDMIG_EXPORT_SERVER
Used this job to export definitions of one or more Migration Jobs to file. Connected groups and conversion lists are also exported.
You can use this job when you want to move Data Migration jobs between for instance test and production databases.
Before exporting make sure that File Path specified in Migration Job is correct and change the File Name as required.
You can choose if conversion lists used by the job should be exported or not with the EXP_LIST_FLAG. Default value is Y, export conversion lists.
When EXPORTING data, you may specify which jobs to include in window 'Execute Job', column 'DEFAULT WHERE'. Remember that the statement must be a valid SQL statement.
Here are a few usage examples:
- Export one job: = '<Job ID>'
- Export multiple jobs: in ('<Job1>','<Job2>')
- Export all jobs in a group: in (select intface_name from intface_header where group_id = '<group_id>')
For export to server-file, you may use wildcards in File Name, like *.ins. In this case one file per job will be created, all with same suffix, ins.
E.g. If Job_ID = CUSTOMER_ORDER data will be exported to file CustomerOrder.ins