Setting Up Initial Test Data
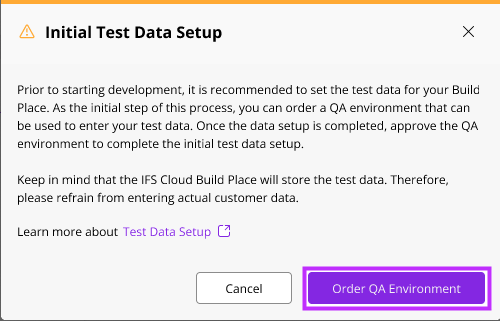
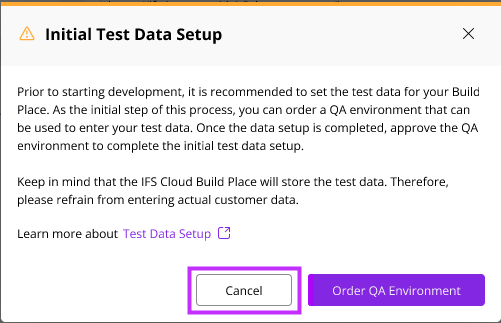
In the context of enabling Test Data Management for a specific Build Place, when you navigate to that Build Place, an information box will appear, indicating the importance of setting up test data before starting development work.
 |
|---|
| Figure 1.1 - Initial Test Data Setup Popup |
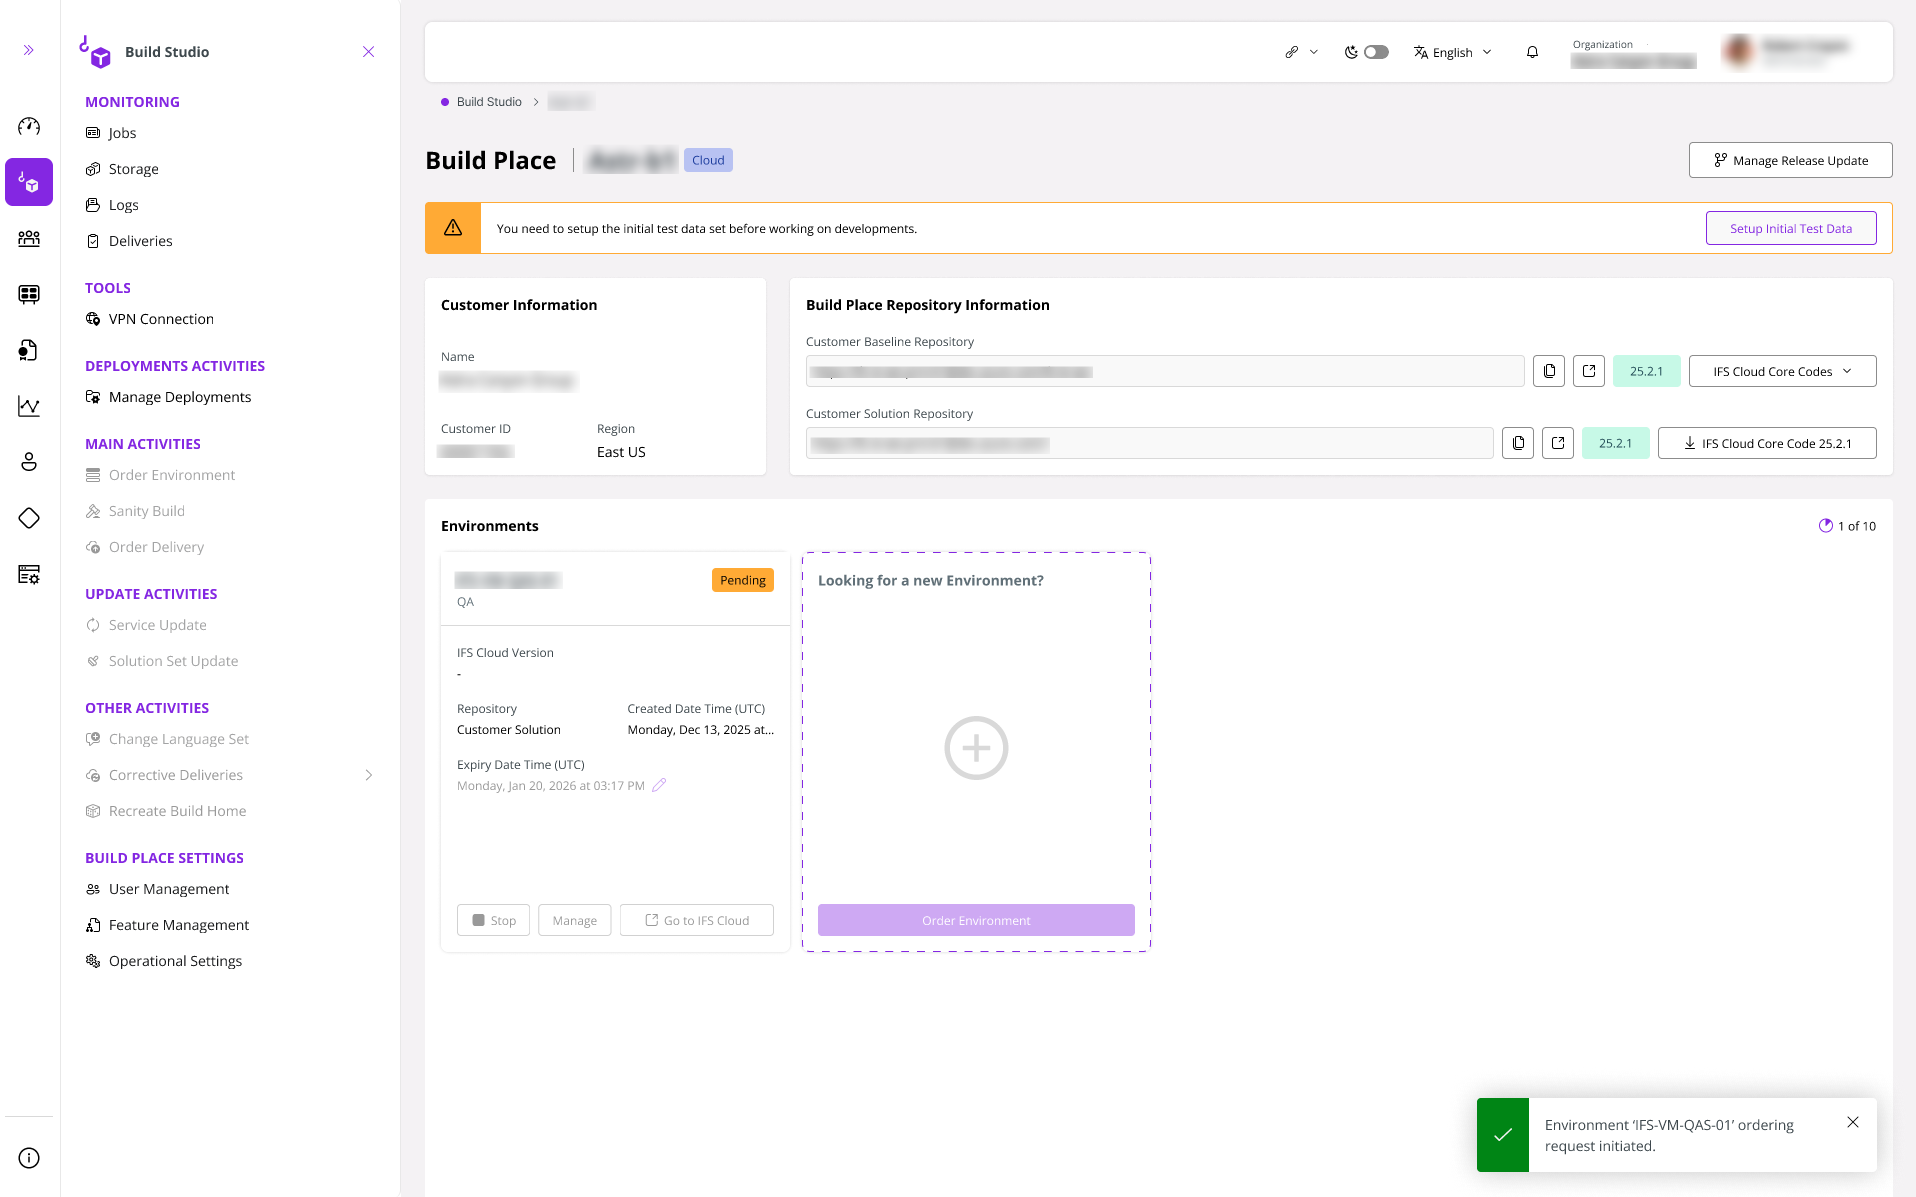
When you click the Order QA Environment button, the initial QA environment will be provisioned for you.
Initially, the environment will transition to the Pending status.
 |
|---|
| Figure 1.2 - Initial Quality Assurance (QA) environment in "Pending" Status |
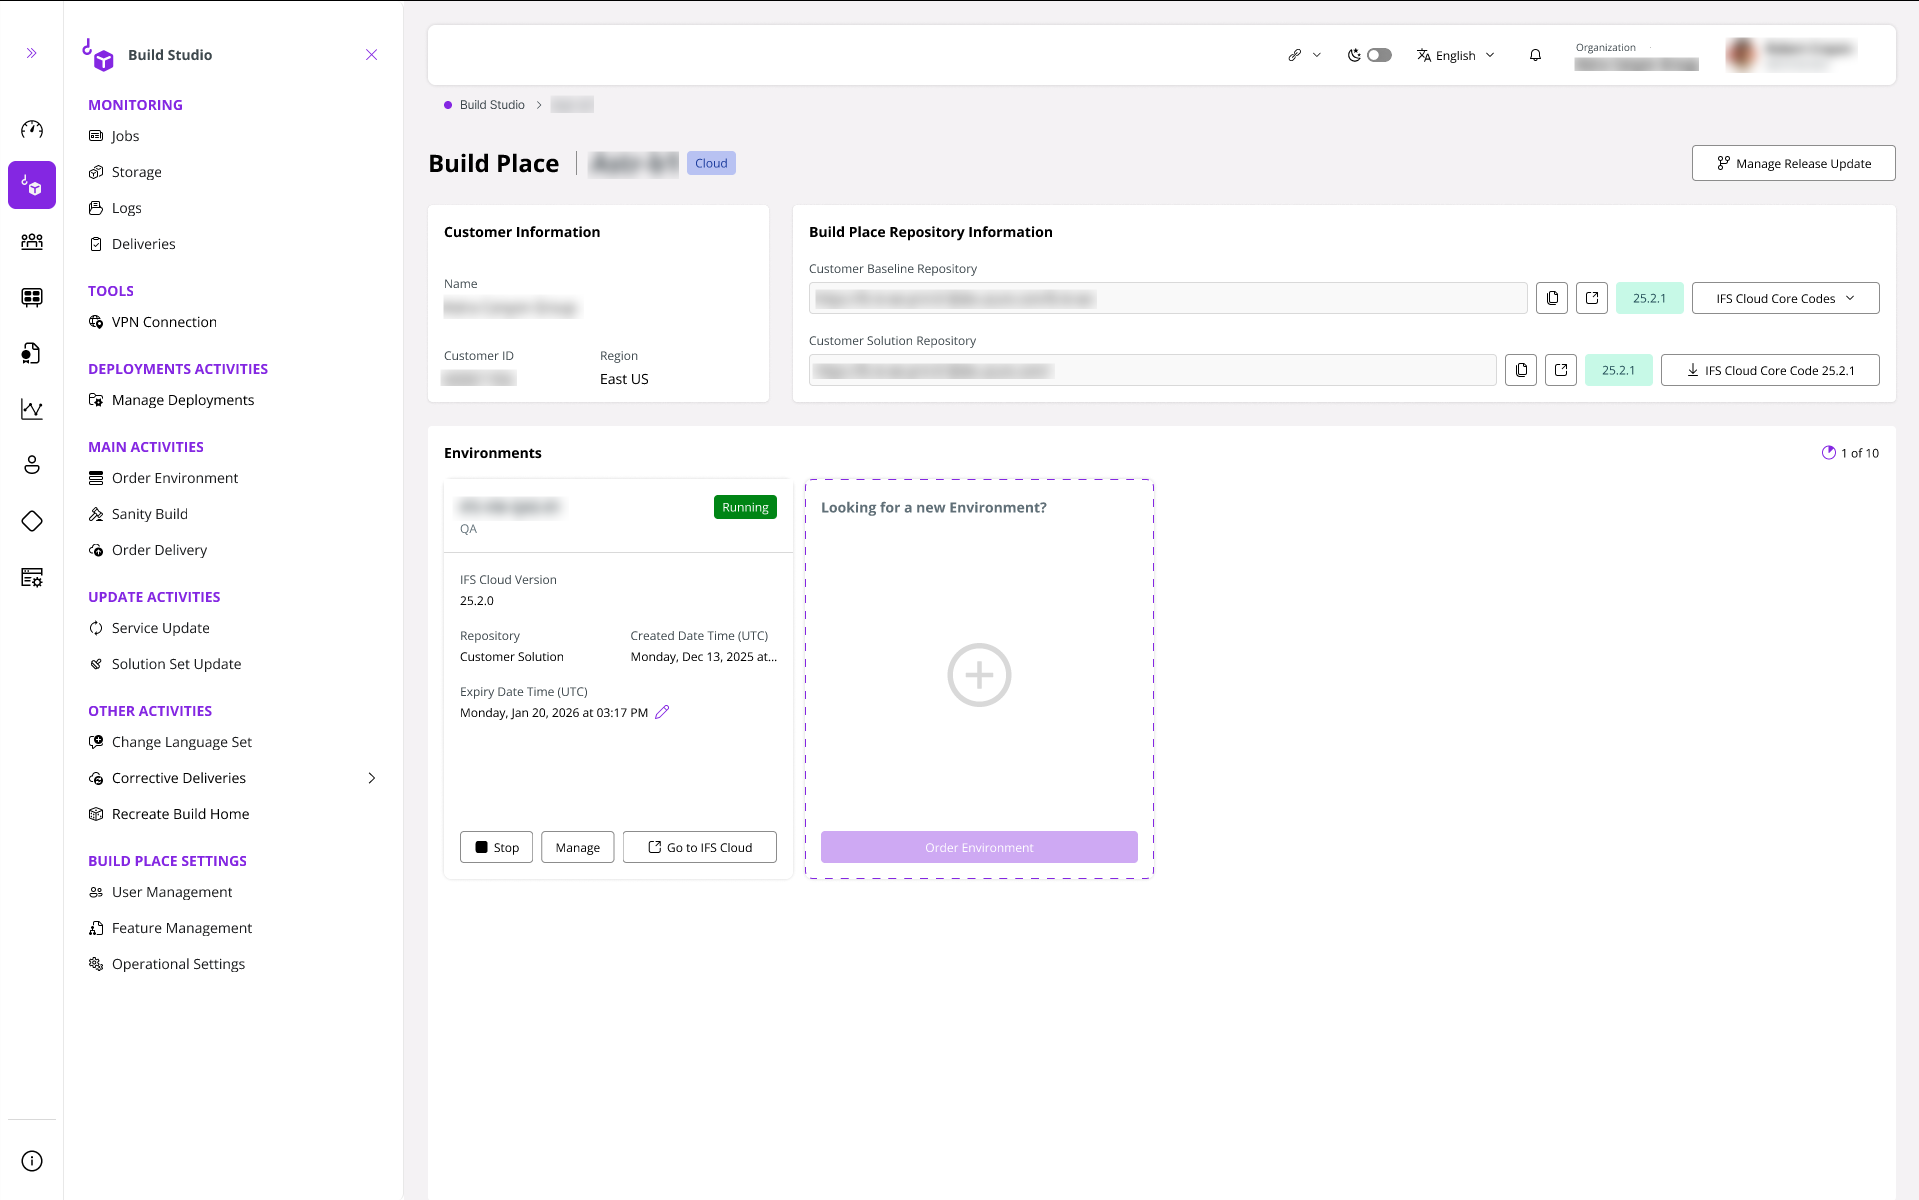
Approximately 1 hour later, the status of the environment will change to Running.
Note
In any situation where an error arises during the middle-tier installation, the pipeline will make multiple attempts. If the issue is successfully resolved in the final attempt, the provisioning of the environment may take approximately 3 to 4 hours.
 |
|---|
| Figure 1.3 - Initial Quality Assurance (QA) environment in "Running" Status |
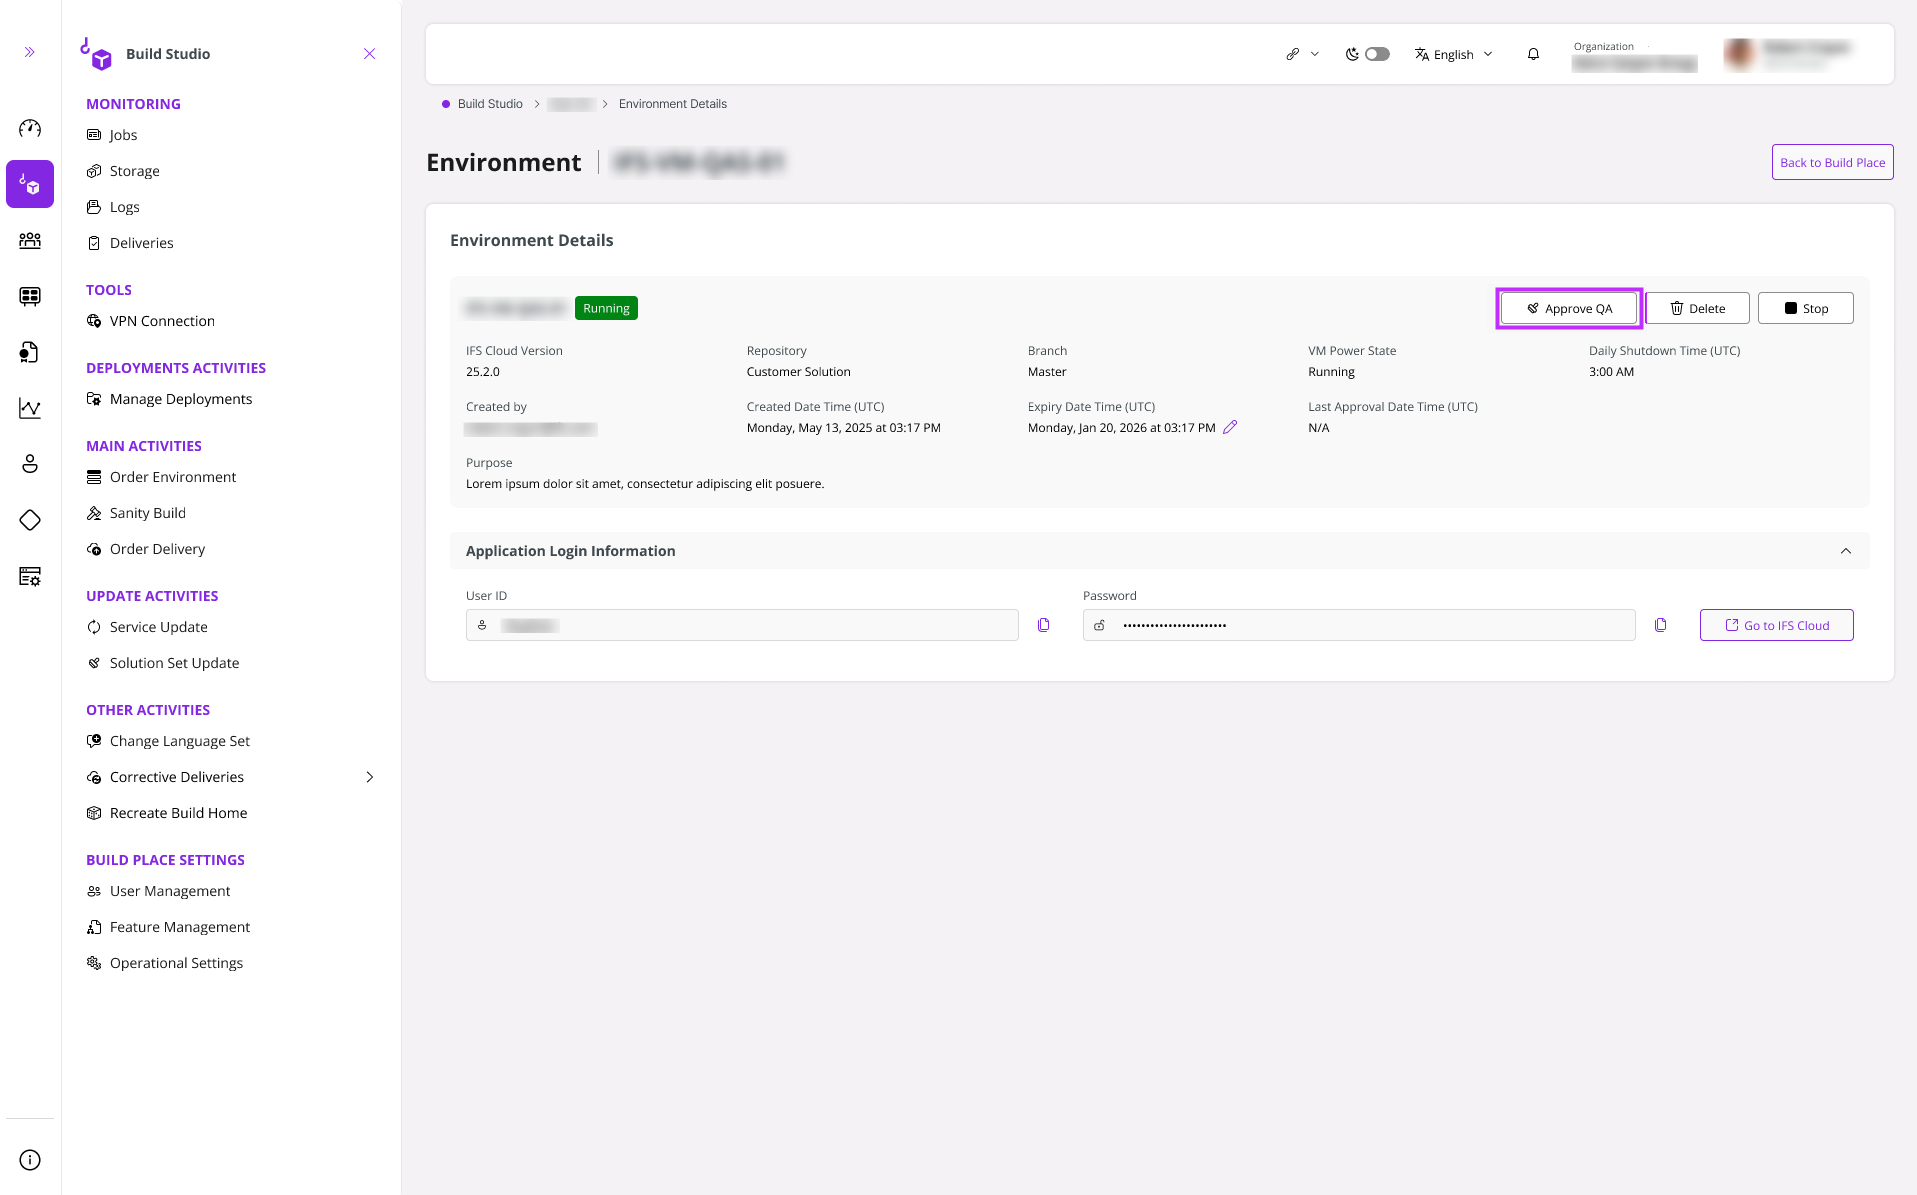
After entering the correct data into the environment, return to the Build Place and click on the Approve QA button to save the data.
 |
|---|
| Figure 1.4 - "Approve QA" button |
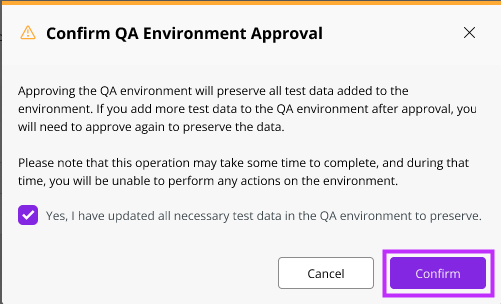
After you click on Approve QA button in the Build Place, a confirmation message pops up as shown below.
To confirm the QA approval of the test data added, check the checkbox and click the Confirm button.
 |
|---|
| Figure 1.5 - QA Approve Confirmation Pop Up |
Approximately within 30 minutes, the approval process gets completed and the ‘qa-OK’ tag is added to the subsequent commit.
 |
|---|
| Figure 1.7 - "qa-OK" tag |
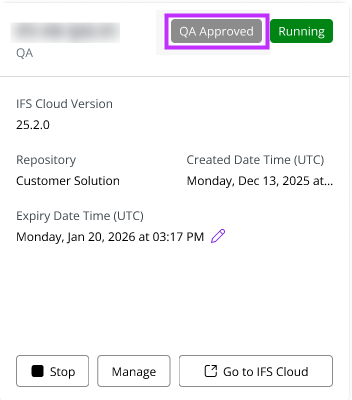
Further, the QA Approved label and Last Approval Date Time label are added to the initial QA environment.
 |
|---|
| Figure 1.6 - "QA Approved" label and "Last Approval Date Time" label |
Note
- You have the flexibility to enter data and approve the QA environment as many times as necessary.
- Despite the removal of the initial Quality Assurance (QA) environment, any data that has been entered and subsequently approved will remain persistent for the entire duration of the Build Place’s lifecycle.
- If you did not approve a QA environment with test data, then the data that you have entered to the IFS cloud will not be persisted.
- You won't be able to proceed with other Build Place operations until you approve the initial Quality Assurance (QA) Environment at least one time. If you lack the initial test data, then provision the initial QA environment and approve it without entering test data. When you have the required test data, you are able to enter test data by ordering a QA environment through QA environment ordering flow or sanity flow.
If you decide not to enter data initially, you can simply click on Not Now button in the pop-up that appears when you navigate to the Build Place once Test Data Management is enabled.
 |
|---|
| Figure 1.7 - Initial Test Data Setup Pop-Up |
If you click on the Not Now button, the pop-up will disappear. If you decide to set up the data, simply click on the information box as shown below, then the Setup Initial Test Data Pop-Up will appear.
 |
|---|
| Figure 1.8 - Initial Test Data Setup Information Box |
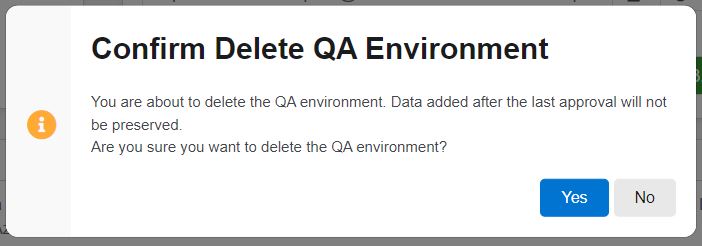
Deleting a Quality Assurance Environment without approving the data
When attempting to delete a Quality Assurance (QA) Environment, the following warning message will be displayed. If you have already approved the data added to the QA environment, then click on Yes. If not, click No and approve the data.
 |
|---|
| Figure 1.9 - Confirm Delete QA Environment |
24R1 and Above
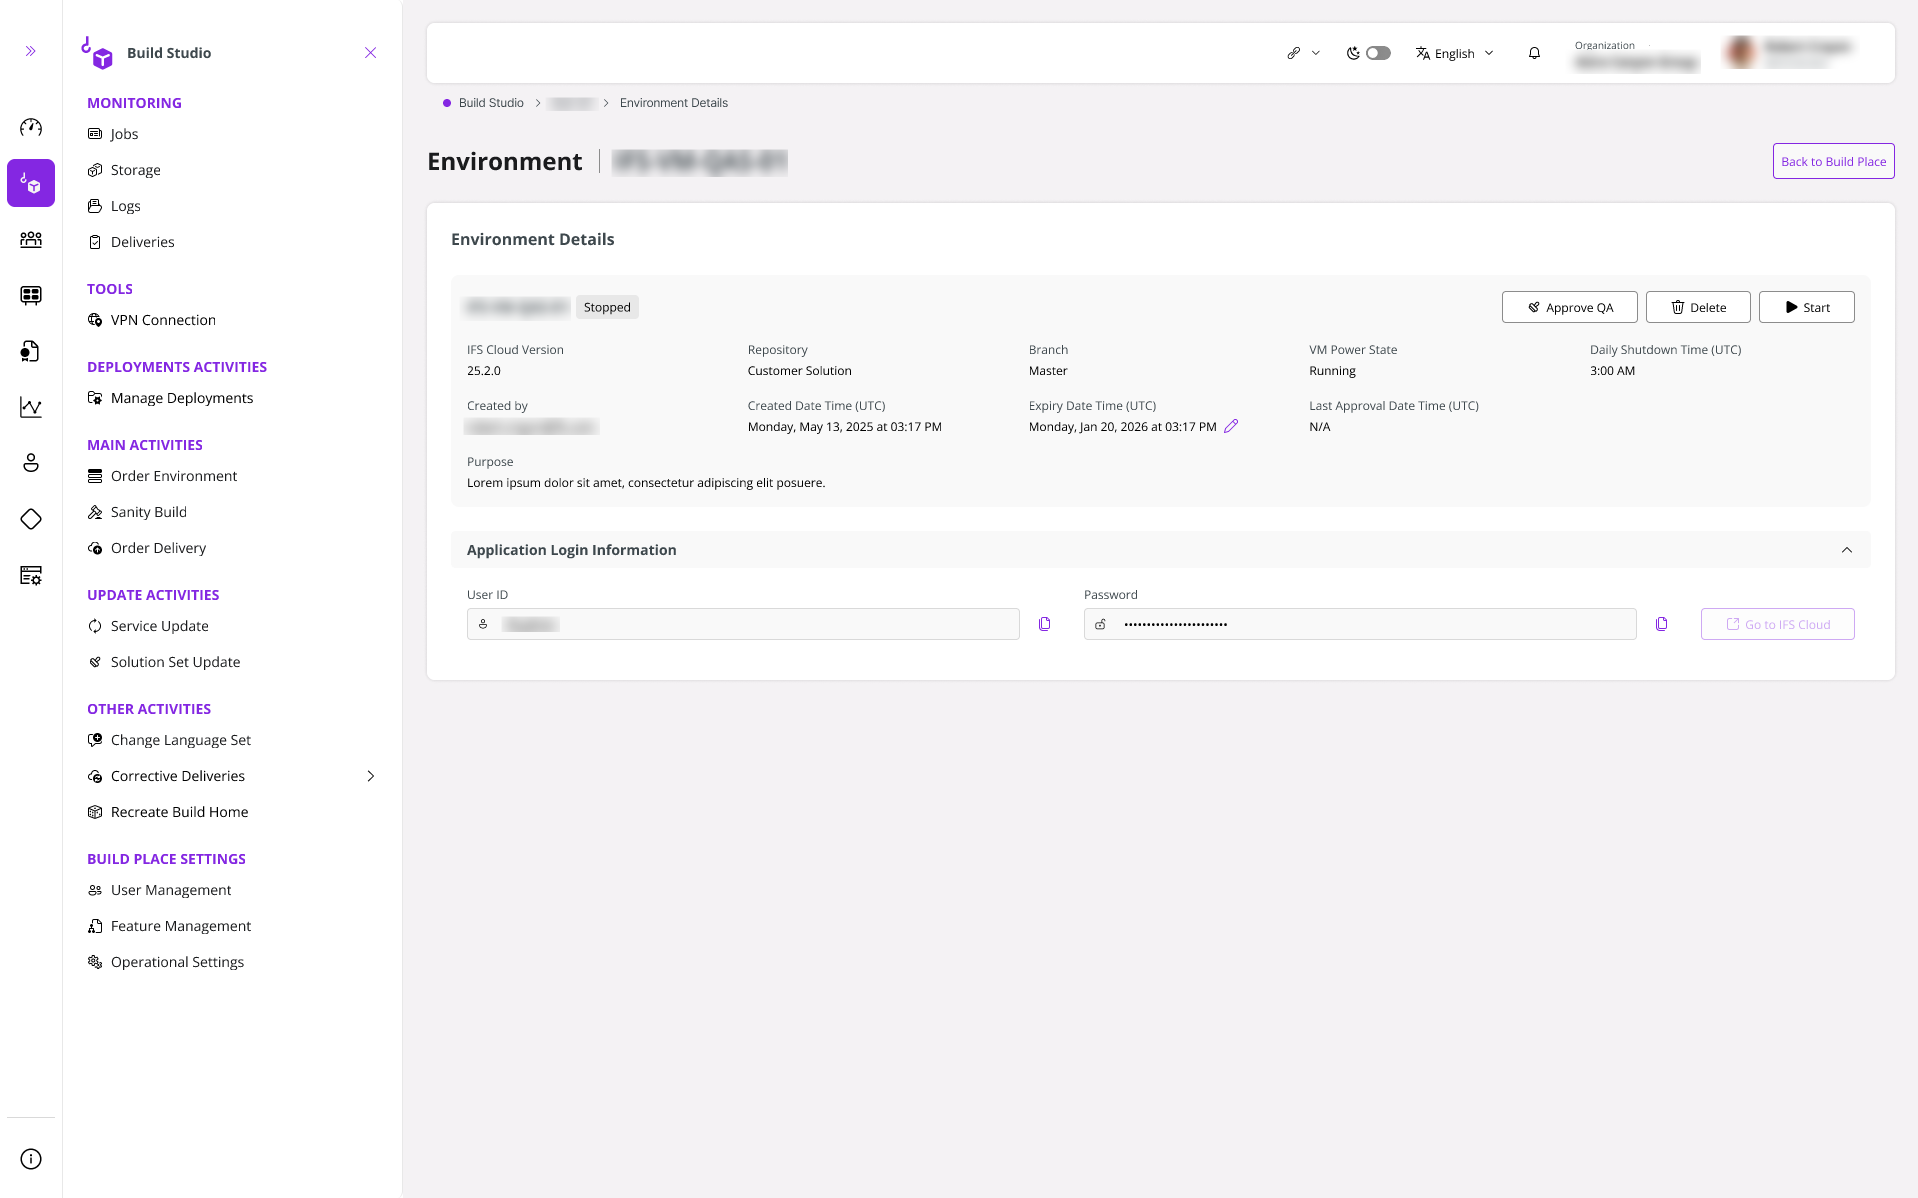
Application Information on the Quality Assurance Environment Card
When the Quality Assurance Environment (QA) card is expanded, the Application Information section will be displayed. The Application Information section contains the credentials to the IFS Cloud Application. Note that, these credentials can only be used to log into the IFS Cloud Application.
 |
|---|
| Figure 1.10 - Application Information |