Installation
How and from where do I install the Aurena Agent?
Note: The Aurena Agent consists of two parts: a Chrome browser extension (also works on the latest, Chromium-based version of Microsoft Edge) and a Windows program (an exe file). Both parts are needed for the agent to work.
The Aurena Agent is installed from the Add-Ons page, accessible from IFS's landing page. On the Add-ons page, you will find information about the agent.
Download and install the MSI file linked from the Add-ons page. If successful, it will also install the Chrome extension (also linked above). The installation is simple if you follow the instructions in the installer. After installation, Chrome will ask you to enable the extension. This must be done in order to use the Aurena Agent.
Important: The installer does not require elevated/admin privileges. The installation is done per user and not for all users on the machine. If multiple users use the same PC, each user must run the installer separately.
During installation, you will be prompted to enter the URL/link/address of the environment, like this:
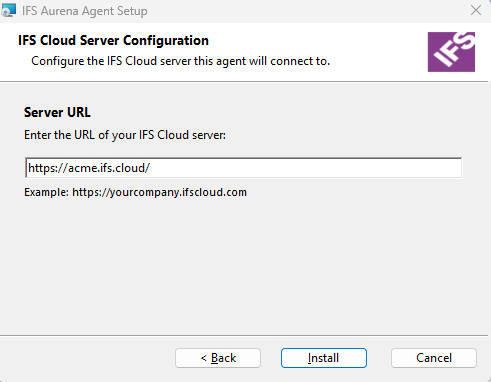
The URL may or may not contain a port number. Only HTTPS is supported.
At the time of installation, the server that the URL points to must be up and running. The installation program gets information from it that is used when the agent is used from IFS Cloud Web.
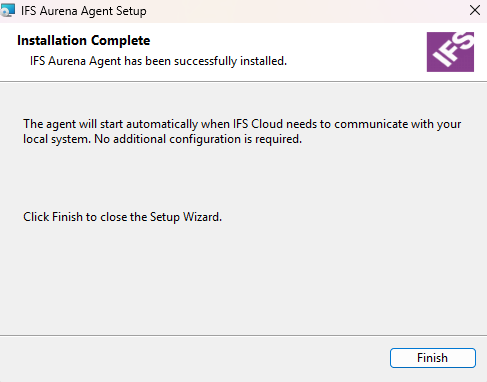
After clicking Next, the installer is hidden for a few seconds, sometimes longer; wait until it reappears, and it should say something like this:
It is critical that the correct URL has been used. Without it, Aurena Agent will refuse to execute any commands on behalf of the IFS Cloud Web from a particular environment.
The installation must be done for each client/PC and for each user account. The agent must also be installed/reinstalled for each environment where it should be used (since the environment URL is added to a list of trusted environment URLs for that user).
Silent installation using the MSI
The MSI can also be pushed out to clients since it supports silent installation:
SetupAurenaAgent.msi /quiet HOST=https://SERVER
Note: The silent installation option can be used to "push" the Aurena Agent to users' PCs, but it will be a per user installation and not for all users on the machine. If it needs to be installed for multiple users on a PC, it must be run for each user account. A new version of the installation program will be developed to allow silent installation per machine, which will require administrative privileges.
See the troubleshooting page for installation details.
How can I verify if IFS Aurena Agent has been successfully installed and is working?
The Aurena Agent tries to stay out of the way and is not very visible. It can be hard to know when something that should use Aurena Agent is not working, it may be because of a bug in the IFS Cloud Web page or because the agent is not installed or set up properly.
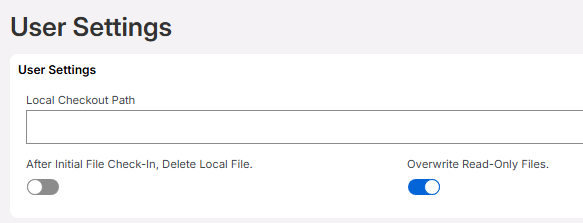
The simplest way to check if it is working is to open the page Document Management / Basic Data / User Settings.
If it looks something like this, Aurena Agent is installed and set up correctly:
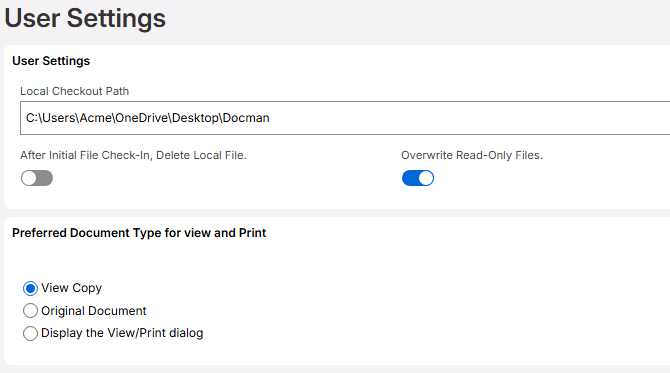
IFS Cloud Web can only get information about the user's local check out path when Aurena Agent is installed.
If the User Settings looks like below, Aurena Agent is not working (read below for how to solve it):
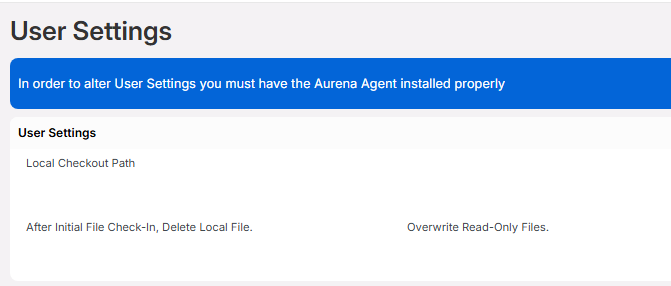
In rare cases User Settings might also look like this:
Above, the local checkout path is not seen. The reason for that could be that the agent has not been installed properly. Read on for more information.
Windows Tray Bar Icon
Another way to see that IFS Cloud Web has initiated communication with the agent is to look in Windows' tray bar, where a small IFS icon should appear:
![]()
Please note that the icon will not be visible until IFS Cloud Web has been loaded in the browser and has started to send messages to the agent.
By hovering with the mouse over the icon you can also see what version it has:
![]()
The version has the build date and time in it. Above, we can see that the agent was built on September 2nd, at 15:04.
When IFS Cloud Web sends a command to the agent and the agent is processing the command, a small circle can be seen spinning over the icon:
![]()
You can also see a security error appear with a small yellow triangle:
![]()
This tells us that the agent was not successfully installed for the server/environment on which it is being run. The same error can also be seen in the IFS Cloud Web log or Chrome developer console explained under Advanced Troubleshooting.
Sometimes the error also pops up in a normal IFS Cloud Web error message in the lower right corner of the screen:

To avoid that problem, make sure to enter the correct URL when installing the agent, as explained in the Advanced troubleshooting section of the Troubleshooting page.