Getting Started with Workflow
Let's get started with Workflow in the IFS Cloud,
Create a Workflow
There are three ways of creating a workflow,
- Create an Empty Workflow
- Import a Workflow from the Local File System
- Clone an existing Workflow Version
Create an Empty Workflow
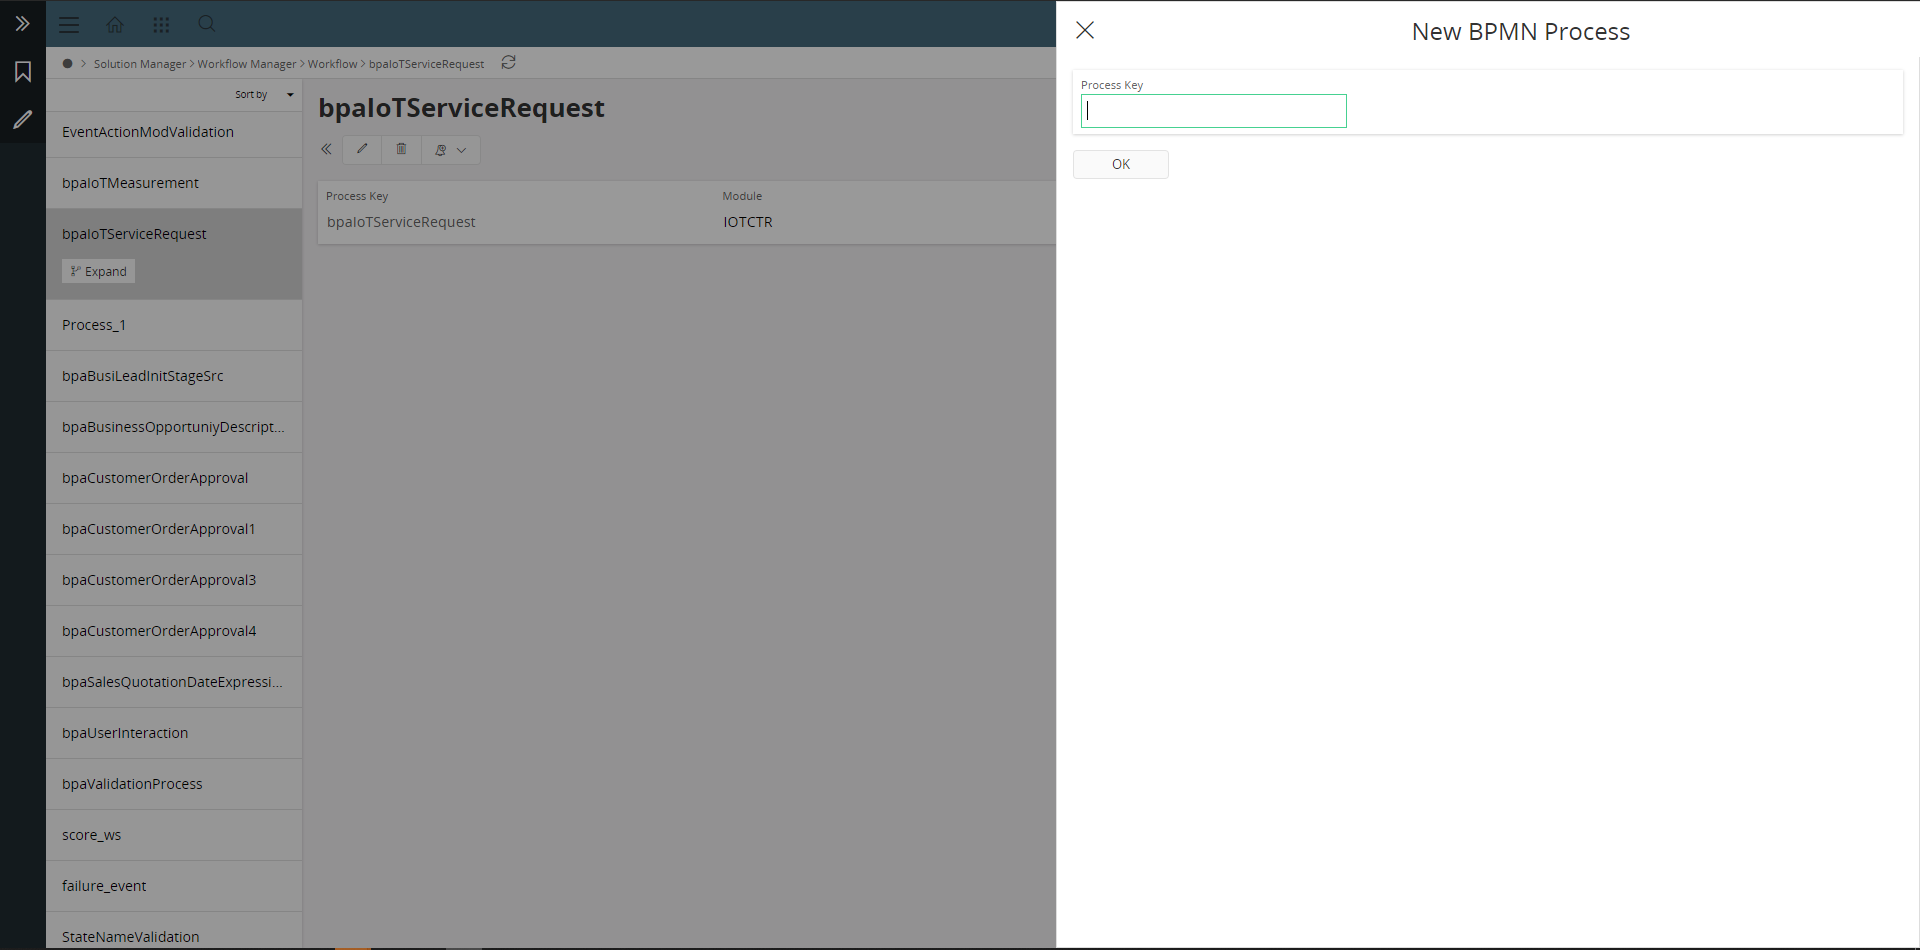
The User could navigate to Workflow in the IFS Cloud (Solution Manager -> Workflow Manager -> Workflow). And through the below control, the User could create an empty Workflow with a unique Process Key and a Version.
| Control | Name |
|---|---|
 |
New |
Once the user clicks on the New button, it prompts the user to specify a Process Key for the Workflow. Upon a successful entry, the User could browse to the Process Key and Version through the navigation on the left.
Import a Workflow from the Local File System
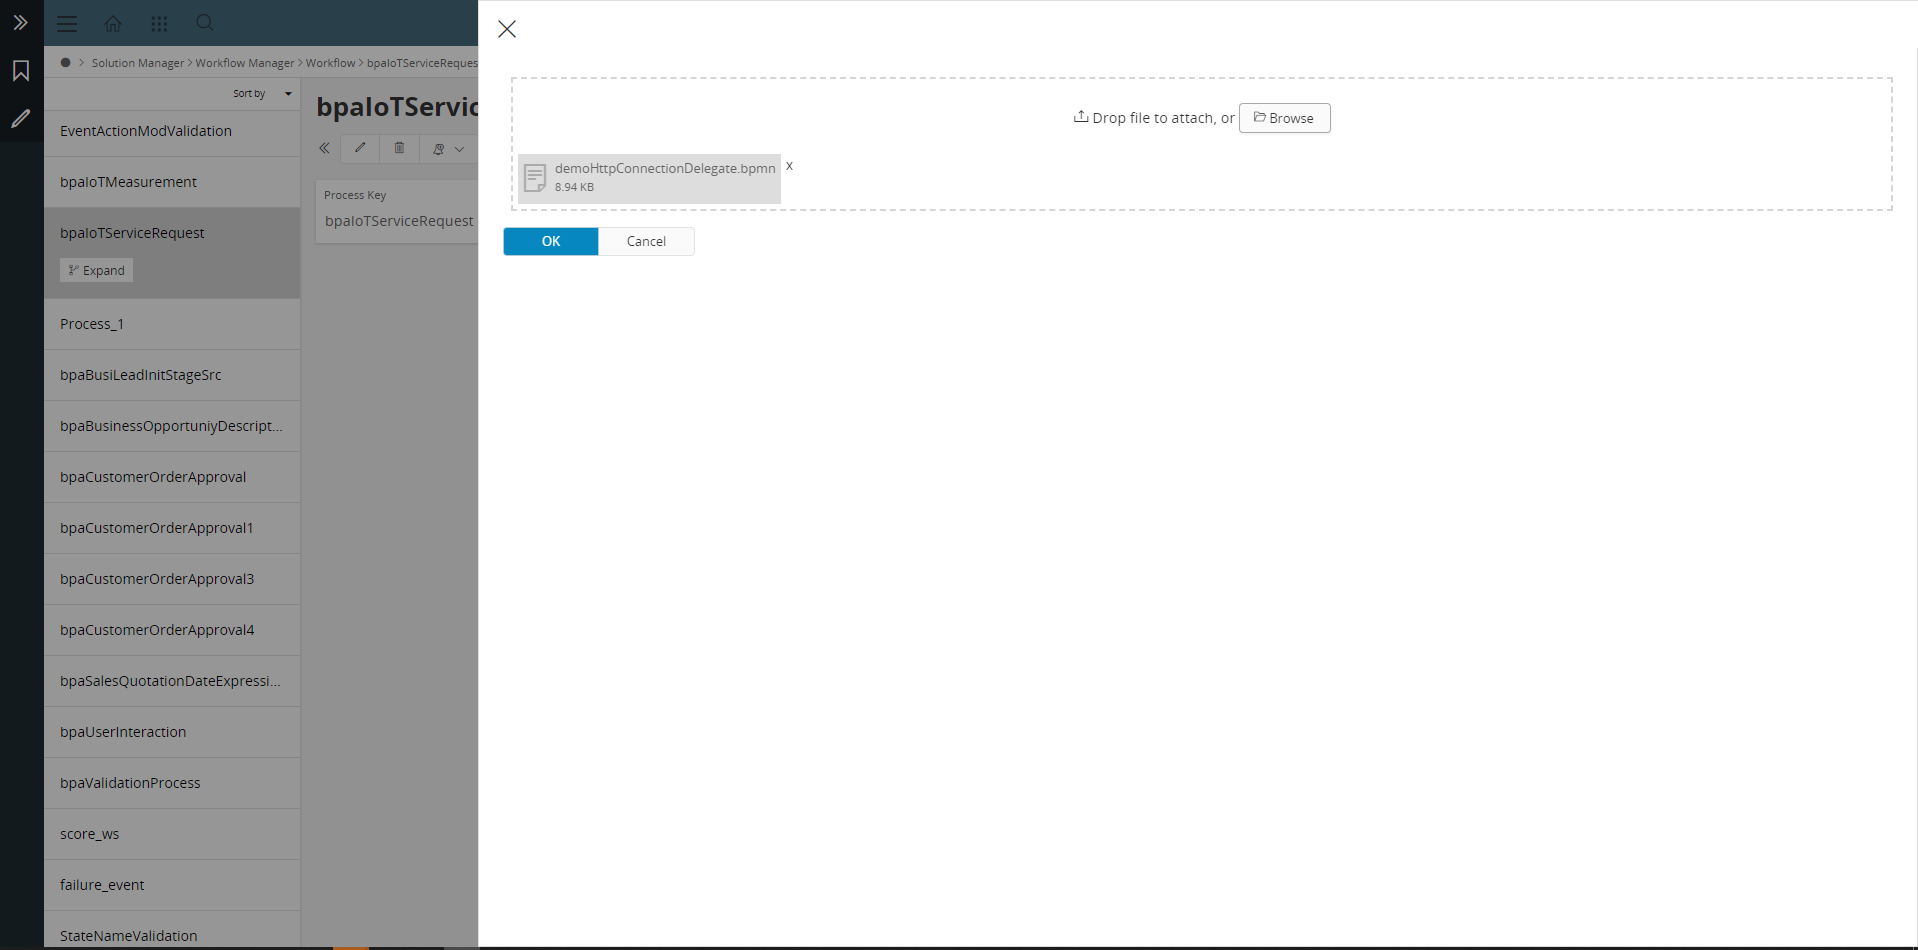
The upload button on the Workflow page enables the user to upload a Workflow into the IFS Cloud from the local file system. The user could upload a file with an extension of *.BPMN. Refer to the BPMN section for more information.
| Control | Name |
|---|---|
 |
Upload |
Once clicked, the user will need to browse the Workflow diagram from the local file system. Upon a successful upload, the User could browse to the uploaded Workflow through the navigation on the left.
Note: The Process Key for an uploaded workflow will be taken from the process id attribute in the BPMN file. In case the uploaded Workflow process key does not exist in the IFS Cloud, then a workflow version will be automatically created. If the upload Workflow process key exists, a new version will be created for the same Process Key by incrementing the Workflow version.
Clone an Existing Workflow Version
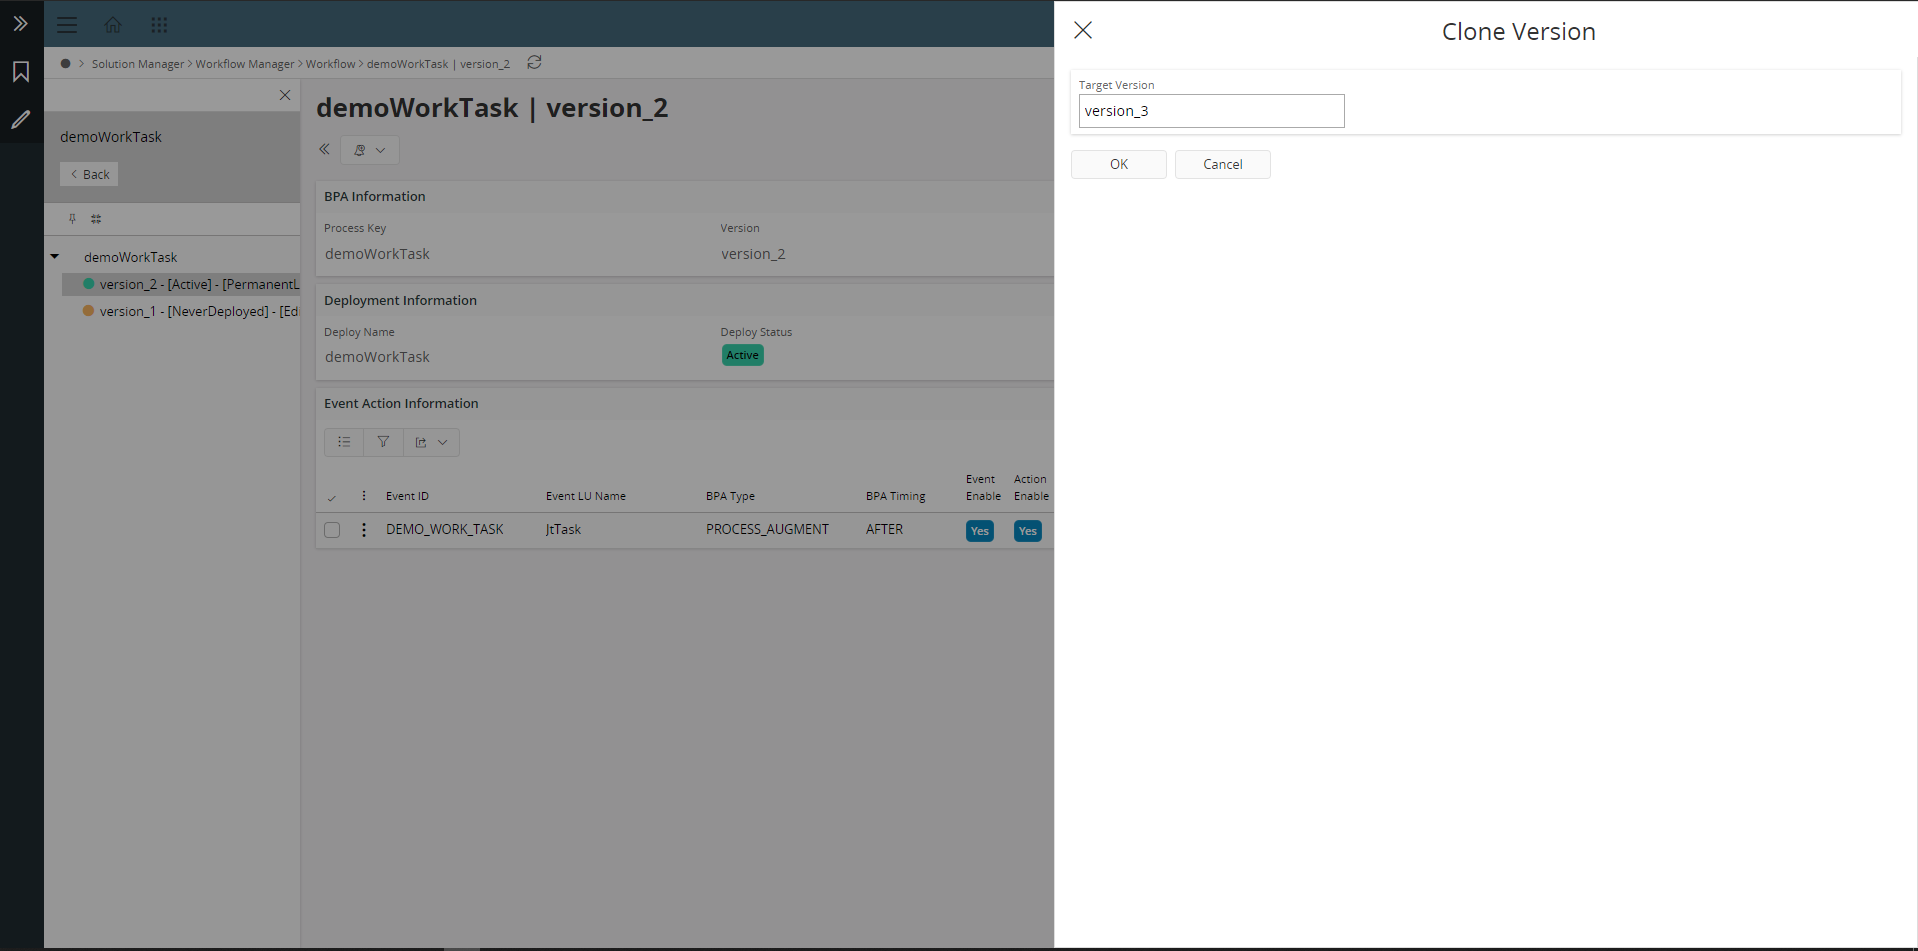
Clone functionality will enable the User to make a copy of an existing Workflow version, by specifying a different version name.
| Control | Name |
|---|---|
 |
Clone |
Once the user navigates to the Process Key from the left navigation, the versions for the selected Workflow will be displayed in the navigation. The user could click on the version that needs to be cloned and press the clone button. Then it'll prompt the user to specify a new unique version name. Upon a successful clone, the new version will be displayed under the Process Key.
Design a Workflow
Upon creating a workflow,uploading a workflow or by cloning a workflow version successfully, the user could navigate to the Workflow from the navigation on the left. And click on the below control to navigate to the Workflow Designer to make changes to the Workflow.
| Control | Name |
|---|---|
 |
Design |
Refer to Workflow Designer section for information on designing a Workflow.
Save a Workflow
On the Control Panel of the Workflow Designer, the below control enables the user to save a specific Workflow to the server.
| Control | Name |
|---|---|
| Save Workflow |
The user could make changes to the Workflow or save to the same Workflow version if the deploy status of the Workflow version is never deployed (Lock Status: Open/Editing) only. Refer Workflow Details section for more information on lock status and deploy status.
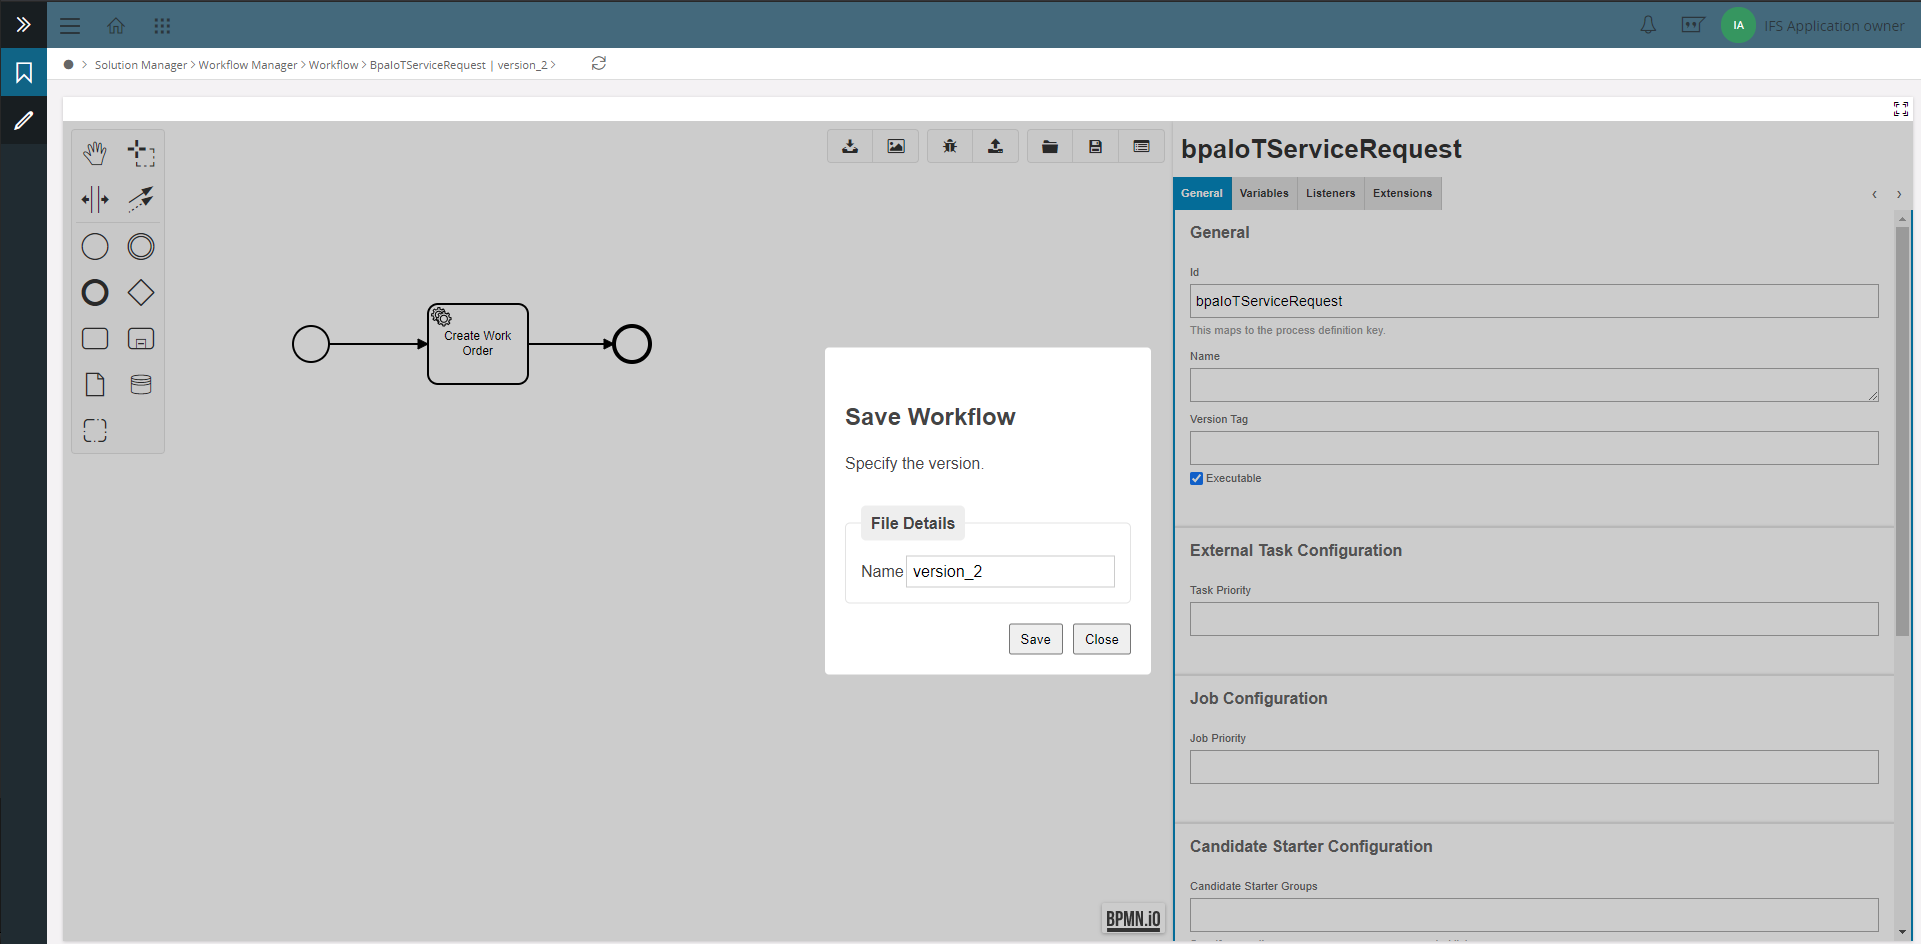
In case, the Workflow version is deployed (deploy status: Active | lock status: Permanent Lock) the user could save the Workflow to different a version by specifying a unique version name.
Once the user clicks on the Save Control, it prompts the user to specify a unique version name to save the Workflow.
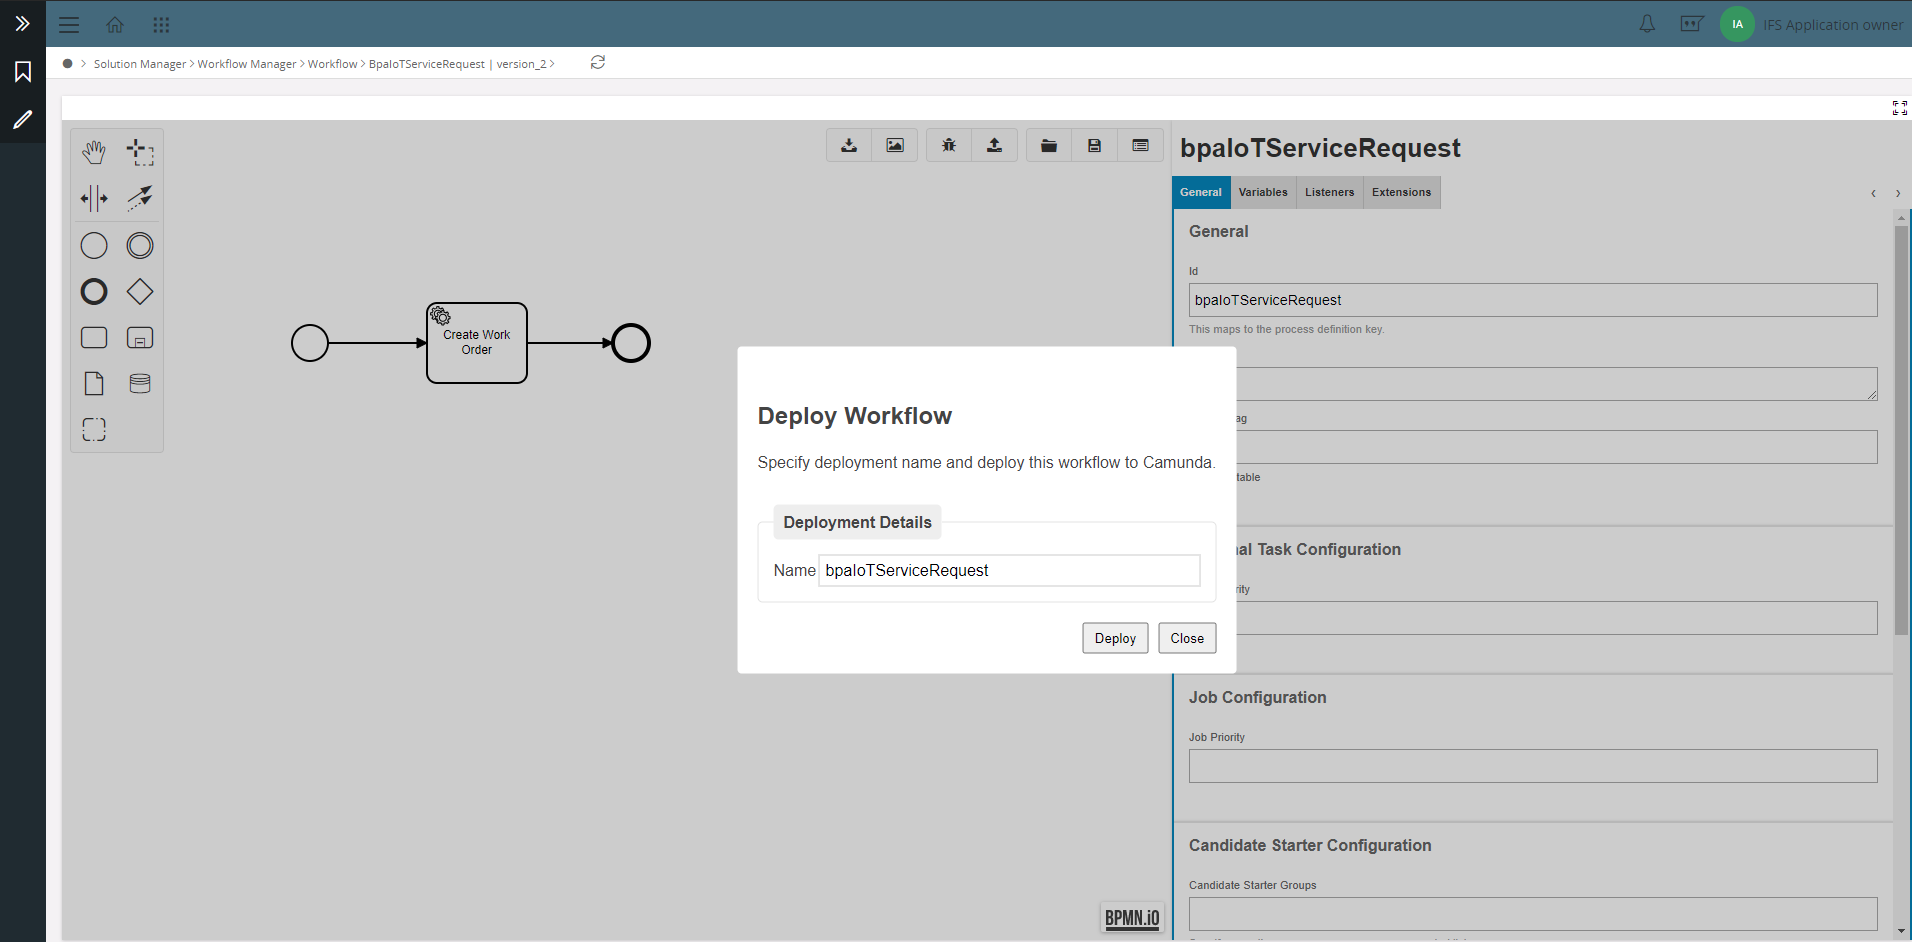
Deploy a Workflow
On the Control Panel of the Workflow Designer, the below control enables the user to deploy the Workflow to the Camunda Engine.
| Control | Name |
|---|---|
 |
Deploy Workflow |
Once the user clicks on the Deploy Control, it prompts the user for the deployment name, which is the Process Key for the specific Workflow.
Upon successful deployment, the deploy status of the Workflow version will change to active disabling any changes to the Workflow version. Further, the lock status of the Workflow version will change to a permanent lock. Refer Workflow Details section for more information on lock status and deployment status.
A Workflow must be both deployed and assigned to a Custom Event and Event Action before the expected automation occurs. Refer to invoking a workflow section for information.