Define Migration Project
This the starting point of any migration project. In order to start the migration, project basic data should be in place. User can create a project with or without using the templates provided and can create a template project too if he wishes to use it in other projects. Or else user has the freedom to manipulate the project created from the template. In order to move forward in the migration process Sources, Connected Environments, Default Definitions, Main Processes, Sprints, Migration Object Scope and Target Table Scope should be in place.
Create Migration Project Header
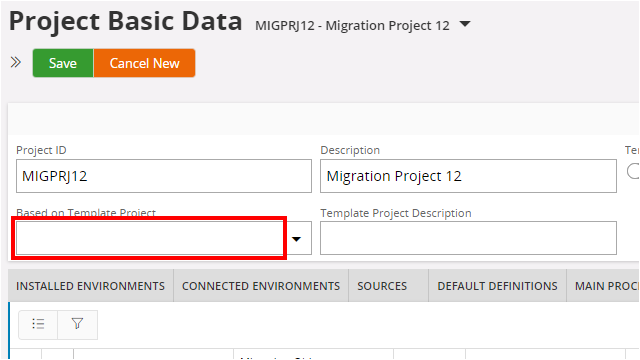
A project can be a template project or can be defined without using it or can be defined based on a template project. If a project is tied up with a template project, default definitions, alternative fields, alternative references, user defined fields, object references, additional deployment related information, migration objects, target table scopes and target file definitions associated with that template will be automatically imported to the migration object scope and target table scope. Exporting a template project and creating a project using a template project exported is facilitated as well.
Load Template Migration Project
When a template is loaded, first its data is inserted to the template load area and later data is transferred to the respective locations by reading this location. Exporting and importing template is allowed to perform from the client and server side.
Select and Connect to Template Migration Project
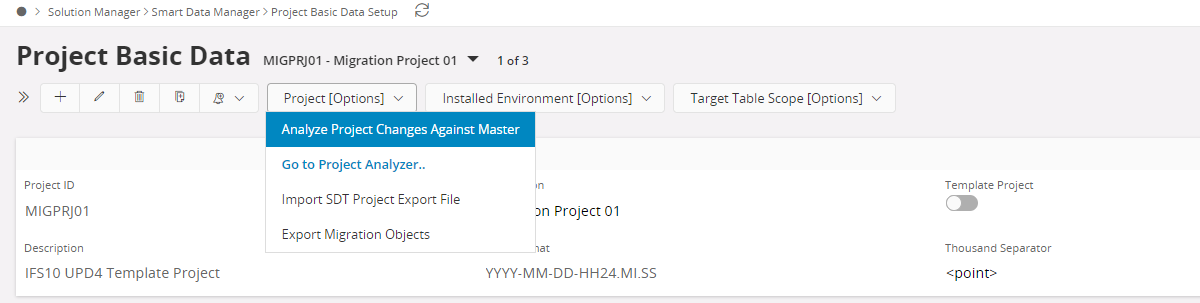
Connect a Template Project that should be used for the Migration Project by selecting it from the Drop Down List as seen below:
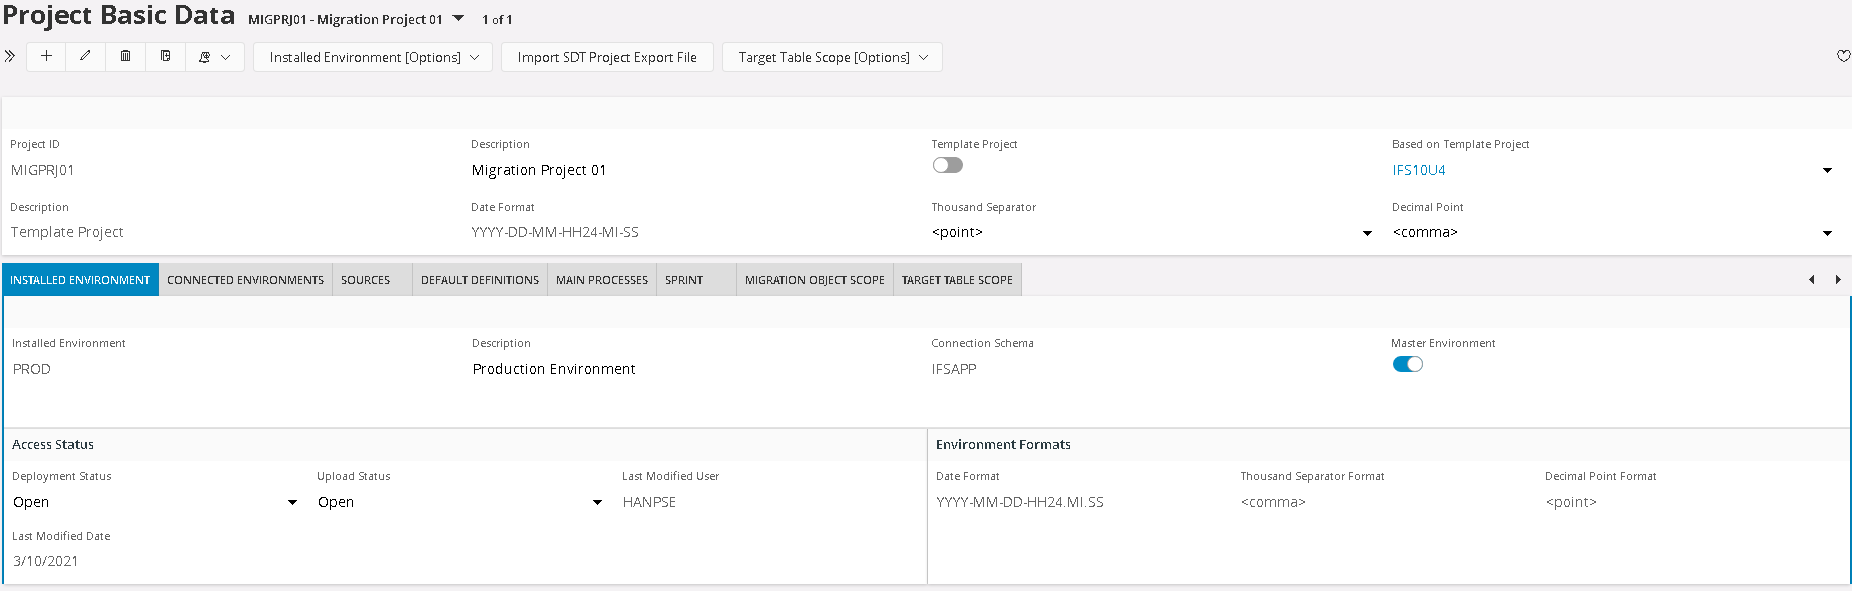
Installed Environment
As the name itself describes this section will allow a super user to specify information regarding the installed environment of the Smart Data Manager. This will be most of the time the PROD environment. The user has the opportunity to control data deployment to the installed environment and data extraction from the installed environment via the Drop downs ' Deployment Status ' and ' Upload Status'.

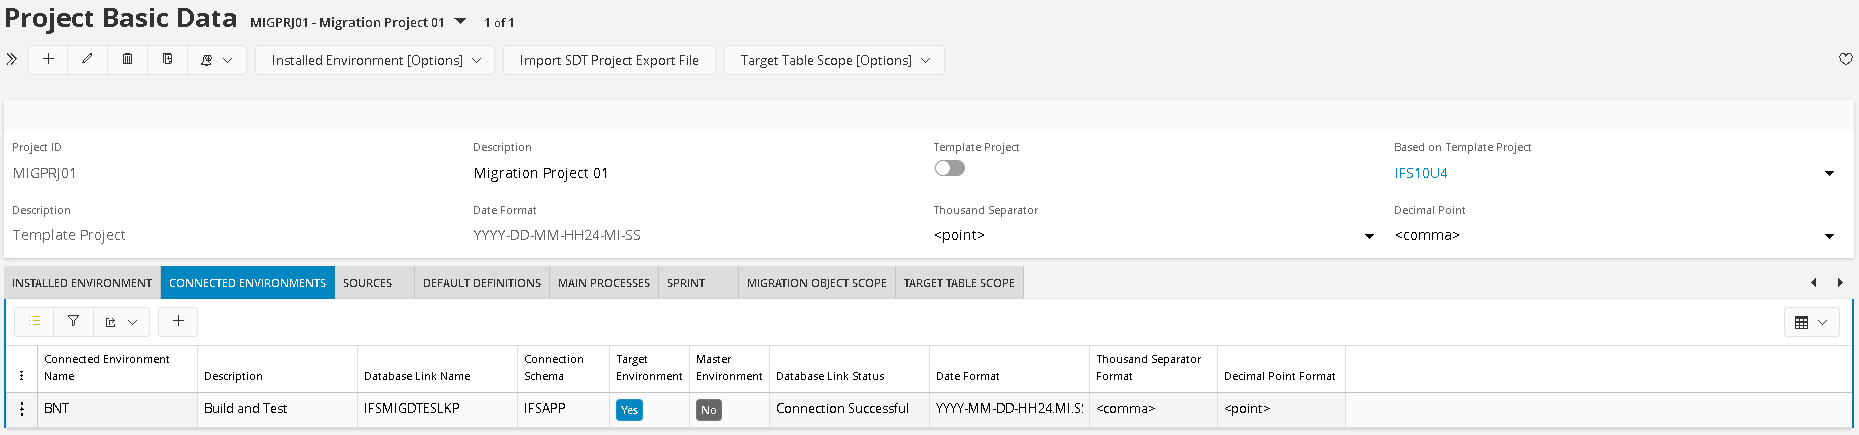
Connected Environments
Target Environments required to deploy data in to or extract data from must be specified under this tab. Database Links to target environments will be predefined by the application and the user can select them from the Drop Down ' Database Link Name '. The Database Links will be created to environments sitting under PROD. There will be no Database Links created to PROD.
Sources
Sources from which legacy data or target environment data extracted from should be specified under here. Other than the source name and source description, the source priority order must be specified here which is required in the duplication elimination process. Priority order 1 to 9 is reserved for the sources created from the connected environments (with the exact name as the target environment name in connected environment) specified under project. In addition to that specifying the date format and number formats (thousand separator and decimal point) should be defined.

Default Definitions
Values used in the application enclosed in hash signs (Eg - #SYSDATE#) will be resolved and relevant value will be picked during runtime by referring the value function associated with that notation. The validity of the functions specified should be verified.

Main Processes
Main processes help to organize the migration process in Smart Data Manager by specifying the timelines and the personnel responsible to the given process.

Sprints
Sprints associated with each process are specified here.

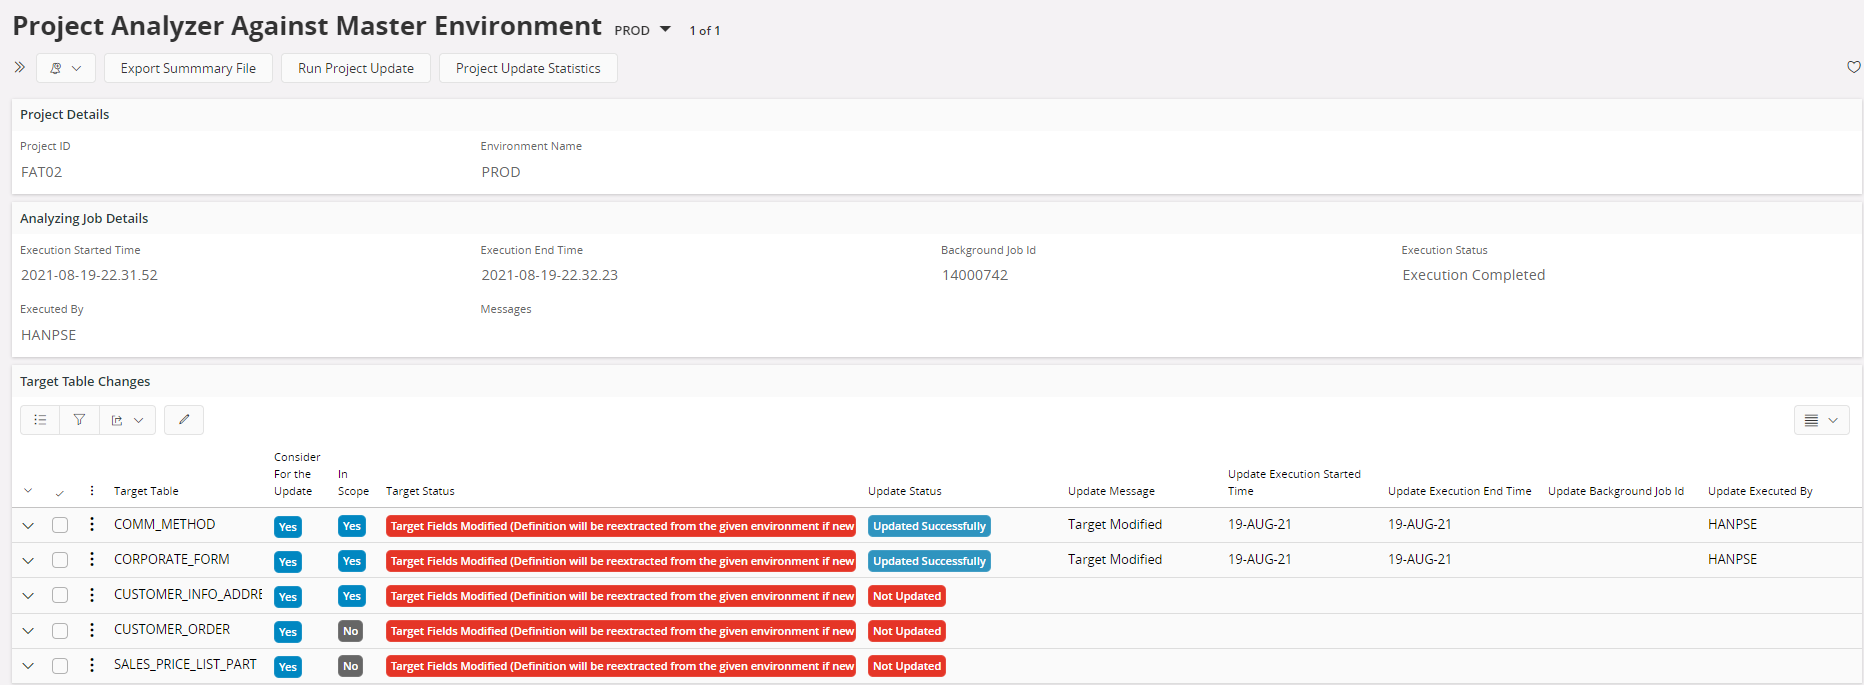
Project Analyzer
First step to Analyze the environment is to start the scan, which creates a report of differences in the Project Analyzer.
The Project Analyzer lists all Target Tables and their status regarding the Master Environment. From here the updates can be Executed. To get a good overview it is possible to export a summary file or enter the Update Summary Screen.