Download and Install Translations Manually
-
Select the IFS Cloud version you want to download translations for.
-
Expand the language you want to download and select what is required. a. If you want to download all translation for a language, select the language node.
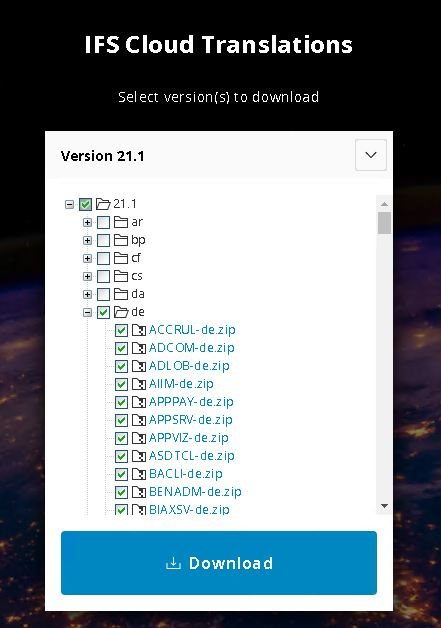
b. If you want to download translation for a selected set of components select only them.
![]()
-
Press Download to download the files.
-
Extract the ZIP and the Zip files inside of it.
-
Login to IFS Cloud.
-
Go to Used Languages page and Set Open for Translation to Yes for the Language you want to import translation for.
-
Go to the Import Language Files page.
-
Select Import Translation Files and Refresh Language Cache options. For large number of files the Run as Background Job option should be used.
-
Only Select the Language you are importing translations for and unselect the rest.
-
Press Next.
-
Drag and Drop or Select the Translation files you want to import. Do not try to specify more than 50 files as the process might get stuck or timeout.
-
Press Import and wait for the process to complete. If it's a Background Job, wait till it finishes the execution. Depending on the number of files the time may vary.
-
Now you should be able to see the new language.